




Key Takeaways
- Check Battery Wear: If your Roomba stops with a low-battery error before iRobot’s minimum in a full-charge runtime test with the dock unplugged, consider replacing the battery. With proper care, iRobot says a Roomba battery should last at least 2 to 3 years.
- Match and Replace: Match the Roomba battery to your exact model number. Open the bottom cover or battery door with a Phillips screwdriver, swap the pack, and dock your Roomba for at least 2 hours, or 3 hours before the first run on a 600-series model.
- Troubleshoot and Recycle: A cheap third-party Roomba battery may trigger error 17, and if a replacement won’t charge, check the connector, dock power, and charging contacts. Skip the old 72-hour reset for lithium-ion packs and recycle intact batteries through The Battery Network.
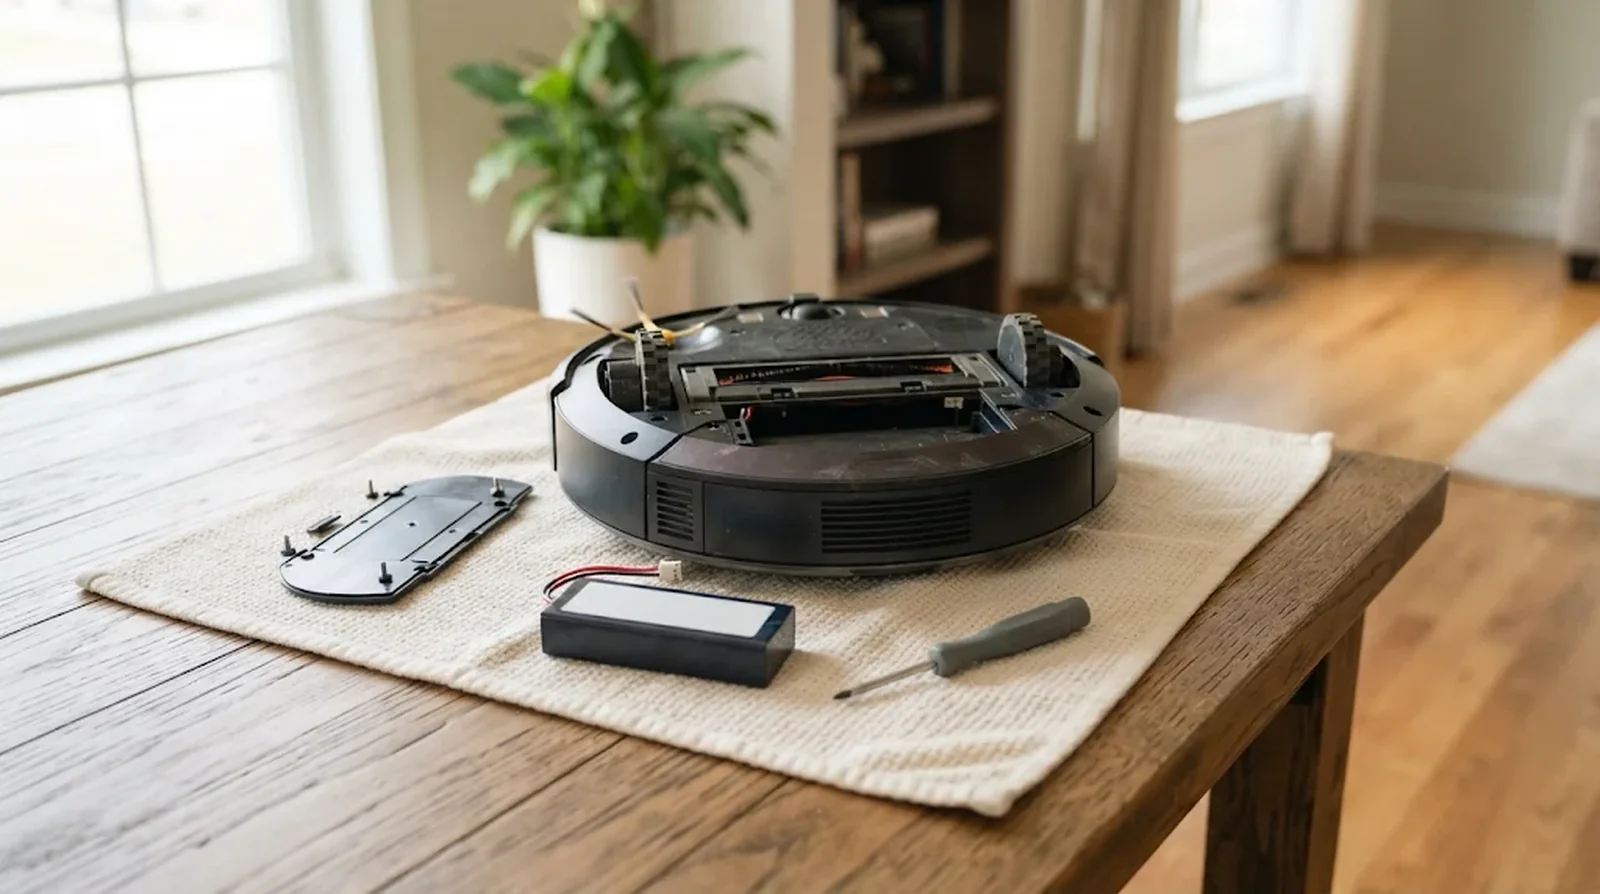
Your Roomba used to finish the whole floor. Now it heads home after a few rooms or asks you to charge it right after a full charge. You can replace your Roomba battery at home with a Phillips screwdriver in a few minutes, whatever series you own. The tricky part is buying the right pack, especially since many older iRobot batteries showed as out of stock on irobot.com in November 2026.
Before you order anything, give your Roomba a timed cleaning run. How long should it last? That depends on your series and the surface it cleans, so we’ll start with the runtime iRobot uses to decide when a battery may need replacing. Then you can match your exact model to the right pack before you open the cover.
We’ll cover every Roomba series, from the 500 through 900 families to the e, i, j, s, Combo, and Essential lines. That includes the 2025 Roomba 105 and 205, Plus 405 and 505, and Max 705 and 707. You’ll see how to make the swap, check that the new battery charges, and recycle the old one.
How to Tell Whether Your Roomba Battery Is Wearing Out
Does a short run mean you need a new battery? Check your brushes first. Hair and debris make your Roomba work harder, so a clogged brush can run down the charge faster. If your Roomba also leaves dirt behind, our guide to a robot vacuum not picking up dirt covers the brush and suction checks.
iRobot uses a minimum of 90 minutes for the e series, 75 minutes for the 900, i, j, and s series, and 60 minutes for the 400 through 800 series. Your Roomba may run for less time on carpet than on hardwood, so note which surface you use for the test.
- Fully charge your Roomba.
- Unplug the Home Base or Clean Base so your Roomba cannot recharge during the run.
- Start a cleaning job and time how long your Roomba runs.
- If a low-battery error ends the run before your series reaches its minimum, iRobot says to consider a replacement.
| Sign | What it usually means | What to do first |
|---|---|---|
| Your Roomba stops early with a low-battery message | The pack may be losing capacity, or the brushes may be making your Roomba use more power | Clear the brushes and time a run from a full charge |
| Your 600-series battery indicator turns red | Your Roomba is low on charge | Check how long it ran before the light turned red |
| Your Roomba Essential charges irregularly or fails to turn on | The battery may be at fault | Check whether your Essential can take and hold a charge |
| Charging error 9 or 11, or 109 or 111 | Your Roomba has detected a battery failure | Confirm you have a genuine iRobot pack and reseat it. You may need a replacement |
| Charging error 110 or 115 | Error 110 points to cells that are out of balance. Error 115 points to a cell that failed during charging | Check your app for the next step |
| Charging error 114 | Your Roomba has detected a fault inside the battery | Replace the pack |
| Charging error 20 or 120 | The pack may have a fault or may be unable to charge at that moment | Remove it for 15 minutes and reinstall it. A code that comes back can point to a battery problem |
If you own an 800-series Roomba, you may also see a runtime listed for your exact model. iRobot lists 60 minutes for the 801, 805, 850, and 860, and 90 minutes for the 890, 891, and 895.
What to Expect From Your Roomba Battery’s Lifespan
With proper care, iRobot says your Roomba battery should last at least 2 to 3 years. iFixit counts battery life another way and gives a typical estimate of about 300 to 400 charge and discharge cycles.
What if your Roomba uses XLife? iRobot says the XLife pack can get through twice as many cleaning cycles as its Advanced Power System battery. How much time you get out of either pack depends on your home and how you use your Roomba.
Where you charge and how long you leave your Roomba off the dock matter, too. Keep the dock at room temperature and away from direct sunlight or heaters, give your Roomba time to warm up if it has been somewhere freezing, and put it back on the dock soon after it cleans. If the charge seems to vanish quickly on a different brand, see our fixes for a robot vacuum battery draining fast.
Which Replacement Battery Fits Your Roomba
Start with your exact model number, including whether you have the Vac or Combo version. Here’s the catch. Two packs can have the same capacity and still fit different Roombas, so check the iRobot item number before you buy.
| Roomba series | Battery type and capacity | Official iRobot pack | US price | Stock on November 18, 2026 |
|---|---|---|---|---|
| 500 series | Yellow Advanced Power System NiMH, 3,000 mAh | APS item 80501 is the pack named in iRobot’s compatibility guide. The separate XLife listing also names the 500 series, so confirm your exact model before ordering it | Not listed | Not listed |
| Select 600 and 800 models and the 960 | Li-ion, 1,800 mAh for this replacement | Roomba 1800, item 4502233. Check the exact model list below | $109.99 | Out of stock |
| Select 600 and 800 models and the 960, 980, and 985 | Li-ion, 3,300 mAh for this replacement | Roomba 3300, item 4462425. The 600 and 800 fit list is the same as for item 4502233 | $129.99 | Out of stock |
| Select 600 and 800 models and the 700 series | NiMH, 3,000 mAh. The 700 series shipped with yellow APS | XLife, item 4636434. The listing names the 700 series, the 870 and 880, and the 600 models listed below that shipped with NiMH | $99.99 | iRobot showed conflicting stock statuses |
| e, i, and select j vacuums | Li-ion. The e series uses 1,800 mAh. Most i models use 1,800 or 2,210 mAh. The j5, j6, and j7 are listed at 2,210 mAh | McKinley, item 4854069, also listed as 4624864. The listing excludes j9+, Combo j7+, Combo j9+, and Combo 10 Max, and gives conflicting guidance on the i8 | $99.99 | Out of stock |
| Higher-capacity j models and Combo 10 Max | Li-ion, 4,460 mAh for j7+, j8+, j9, j9+, and Combo 10 Max | Item 4785636 lists Combo j7+, Combo j9+, and Roomba j9+ units purchased before July 15, 2024. Verify the part separately for the other models in this row | $169.99 for item 4785636 | Out of stock for item 4785636 |
| s series | Li-ion, 3,300 mAh | S9 battery, item 4650994 | $119.99 | Out of stock |
| Essential and 2 Essential | Li-ion, 2,600 mAh | Item 4850948 for Vac and Combo versions of both families | $89.99 | In stock |
| 100 and 1000 series | LFP, 3,000 mAh | Item 4850896 for the 104, 105, 106, 108, 1010, and 1020 Vac and Combo models, with or without AutoEmpty | $89.99 | In stock |
| 200 and 2000 series | LFP, 3,000 mAh | Item 4850836 for 205 Vac and Combo, 208, 209, and 2020 DustCompactor | $89.99 | In stock |
| Plus 400 and Plus 500 Combo and Max 700 Vac | LFP, 5,000 mAh for these families | Item 4850897 lists Plus 405, 4020, 505, and 507 Combo models, plus the Plus 504 Vac and Max 705 Vac | $89.99 | Out of stock |
| Max 700 Combo | LFP, 6,000 mAh | Item 4850895 for Max 705 Combo and Max 707 Combo with AutoWash | $89.99 | In stock |
| Roomba Mini | LFP, 2,400 mAh | Check the item number for your Mini | Not listed | Not listed |
Where Battery Fit Gets Tricky
The 600 and 800 series shipped with a mix of nickel-metal hydride, or NiMH, and lithium-ion packs. The 600 models that shipped with NiMH are the 618, 620, 630, 635, 645, 650, 655, and 660. In the 800 series, the 850, 870, and 880 shipped with NiMH, even though iRobot lists the 850 as compatible with both Li-ion replacements above.
For those two Li-ion packs, iRobot lists the 695, 690, 685, 680, 677, 675, 671, 670, 665, 652, 640, 615, and 614 in the 600 series. It lists the 895, 891, 890, 877, 860, 850, 805, and 801 in the 800 series. Most 900 models use a 1,800 or 2,130 mAh Li-ion pack, while the R985020 uses a 3,300 mAh pack.
Can you switch battery chemistries? On a compatible 600 model that shipped with NiMH, iRobot cautions that a Li-ion replacement may cause charging problems. On a compatible 600 model that shipped with Li-ion, iRobot says switching to NiMH may shorten battery life. Its 700-series guide also lists 1,800, 2,130, and 3,300 mAh Li-ion options with a charging caveat.
The 100 and 200 families both use lithium iron phosphate, or LFP, packs. Their cases are shaped differently, so you cannot swap one for the other. The Essential has a pack with an attached wire and connector made for that family.
Buying Parts After Chapter 11
iRobot announced on December 14, 2025, that Picea would acquire the company through Chapter 11. The deal closed on January 23, 2026. We explained what iRobot’s sale means for Roomba owners when the deal was first announced.
You could still buy batteries from iRobot’s US store in November 2026, though many older packs were listed as out of stock. iRobot’s announcements gave no guarantee of long-term parts supply for older Roombas.
How to Replace a Roomba Battery Step by Step
The basic swap works the same way across Roomba series. Turn your Roomba over, loosen the side brush screw and lift off the brush if it blocks access, then open the bottom cover or battery door. Swap the pack, close everything up, and put your Roomba back on the dock.
What changes from one Roomba to the next? The screwdriver size, the number of screws, and what holds the battery in place. Jump to your series once you’ve set out your tools.
1. Get Your Tools and Roomba Ready
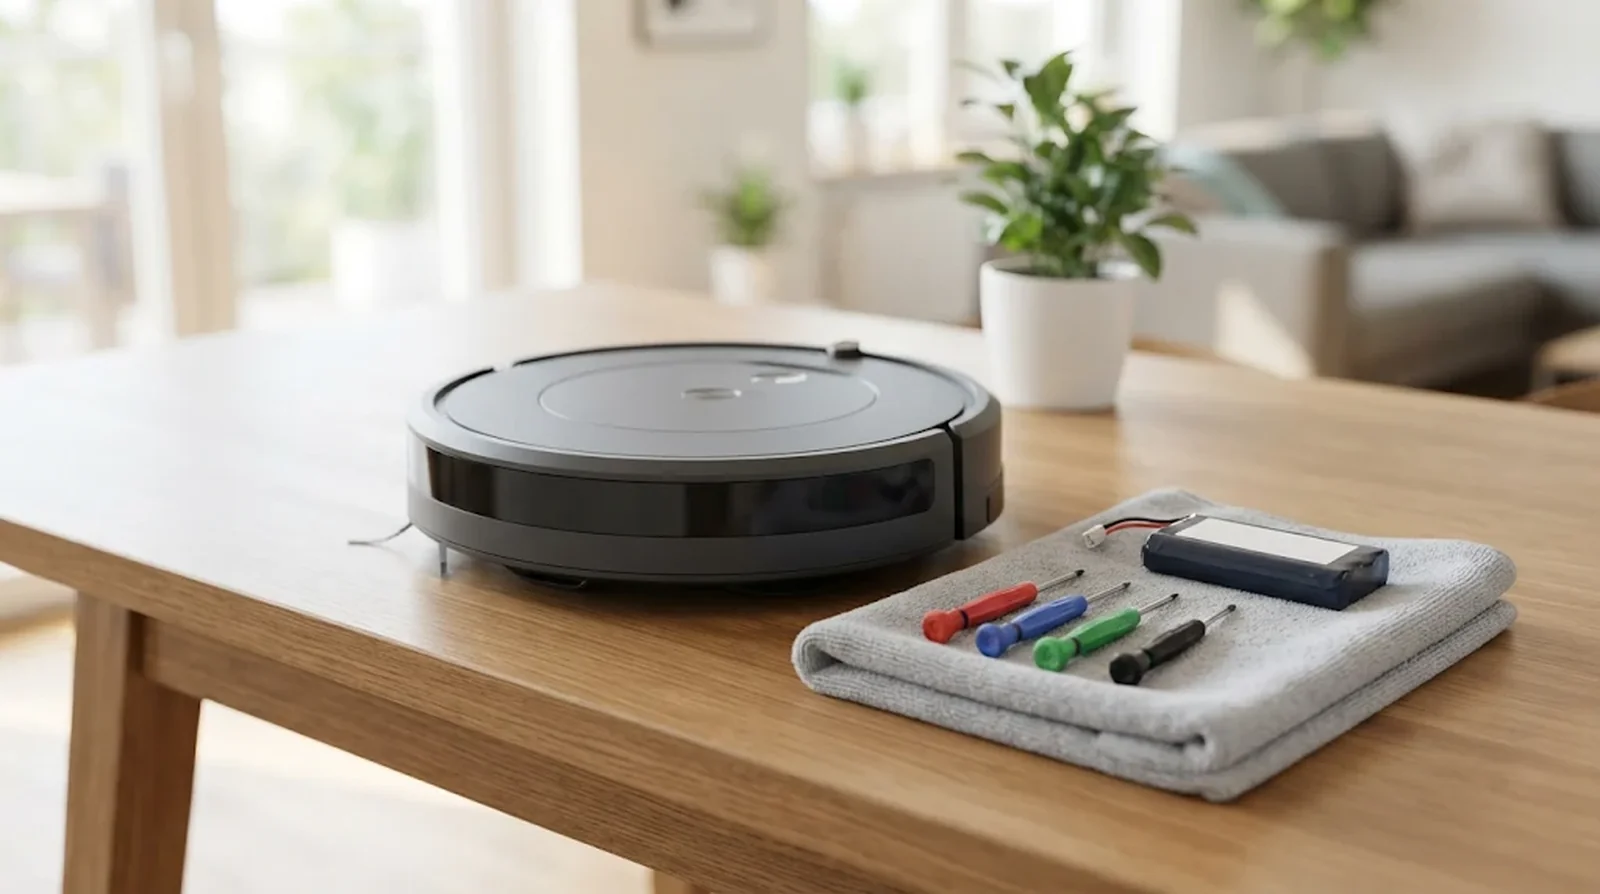
You’ll need a Phillips screwdriver, and the tip size depends on your model. The Roomba 690 uses a #0, the 980 and Essential use a #1, and the 891, i7+, and s9+ use a #2. The 100 and 200 families, including the 105 and 205, call for an extra-small Phillips tip.
Once you can see the old pack, take a moment to compare it with the new one. Check the shape, which way it sits, and whether the connector matches if your model has one. If the battery door sits raised after the swap, check the direction of the pack before tightening the screws.
How to Do It
- Set out your replacement pack and the Phillips screwdriver for your model.
- Take your Roomba off the dock. Use the power-off or ship mode procedure for your model where available.
- Lay a soft towel on a flat surface and turn your Roomba upside down on it.
- Follow the instructions for your series to expose the battery. Compare the old and new packs before fitting the replacement.
2. Change the Battery in a Roomba 500 or 600
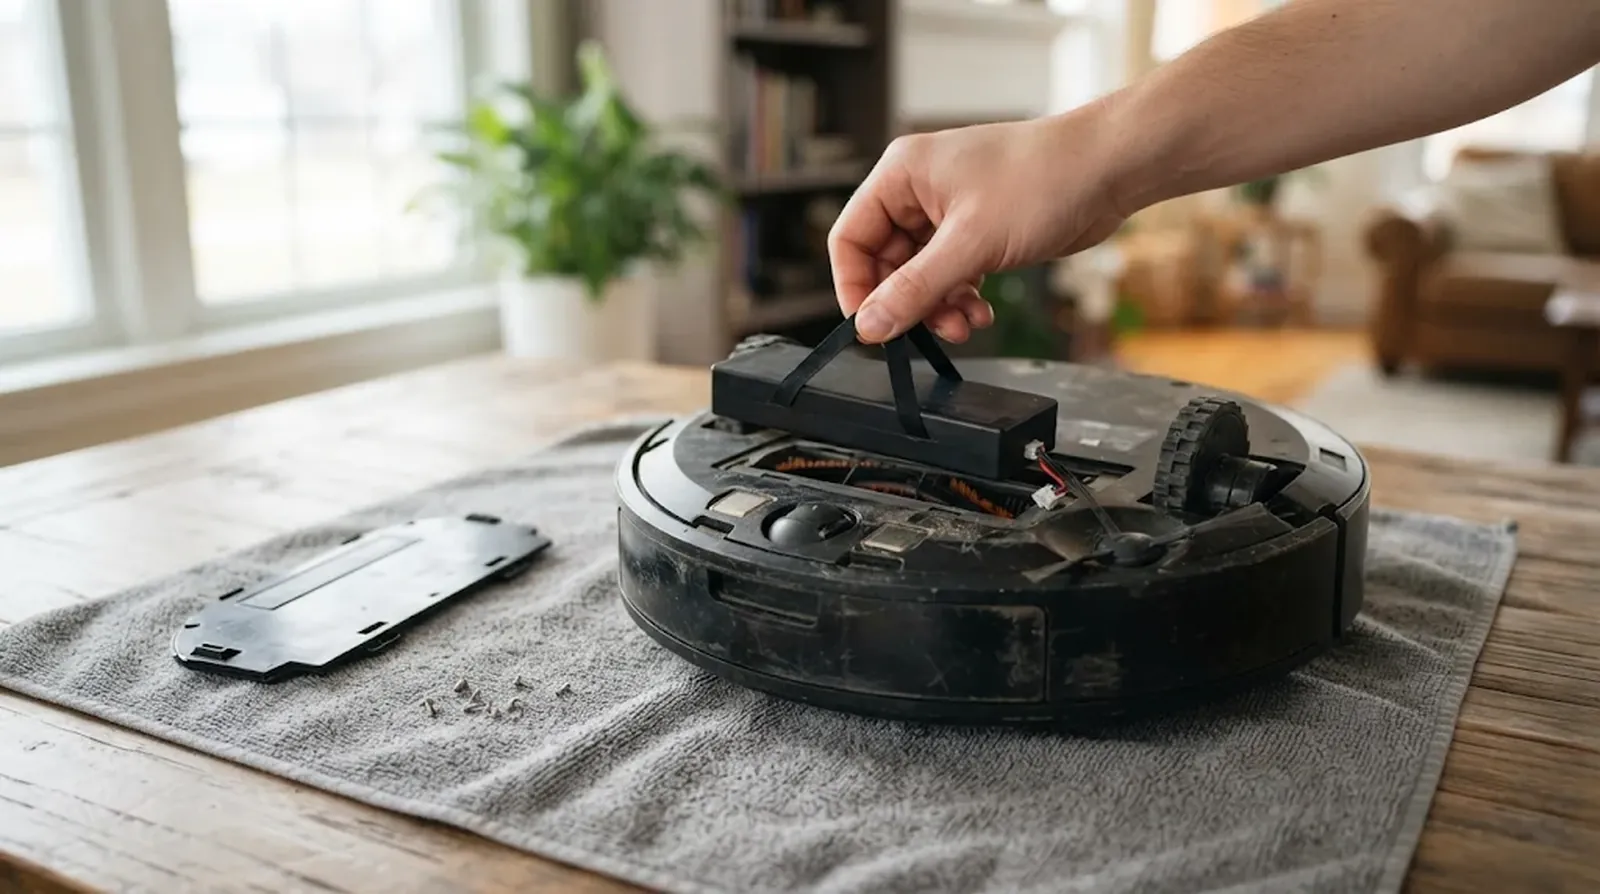
On the Roomba 690, you reach the battery through the bottom cover. The side brush has a captive screw, so you can lift the brush once you’ve loosened the screw. iFixit estimates about five minutes for the swap on this model.
Which cover screws should you take out? On the 690, look for four triangular arrows. If you’re taking the battery out to reboot a 600-series Roomba with a green dot, iRobot says to leave the pack out for 30 seconds.
How to Do It
- On the Roomba 690, use a Phillips #0 to loosen the captive screw in the side brush, then lift off the brush.
- Remove the four 6.4 mm screws indicated by the arrows and lift the bottom cover.
- Grab the two flexible tabs, one on either side of the pack, and lift the battery out.
- Seat the replacement, refit the cover and side brush, and tighten the screws. Return your Roomba to the dock.
3. Open the Battery Door on a Roomba 700, 800, or 900
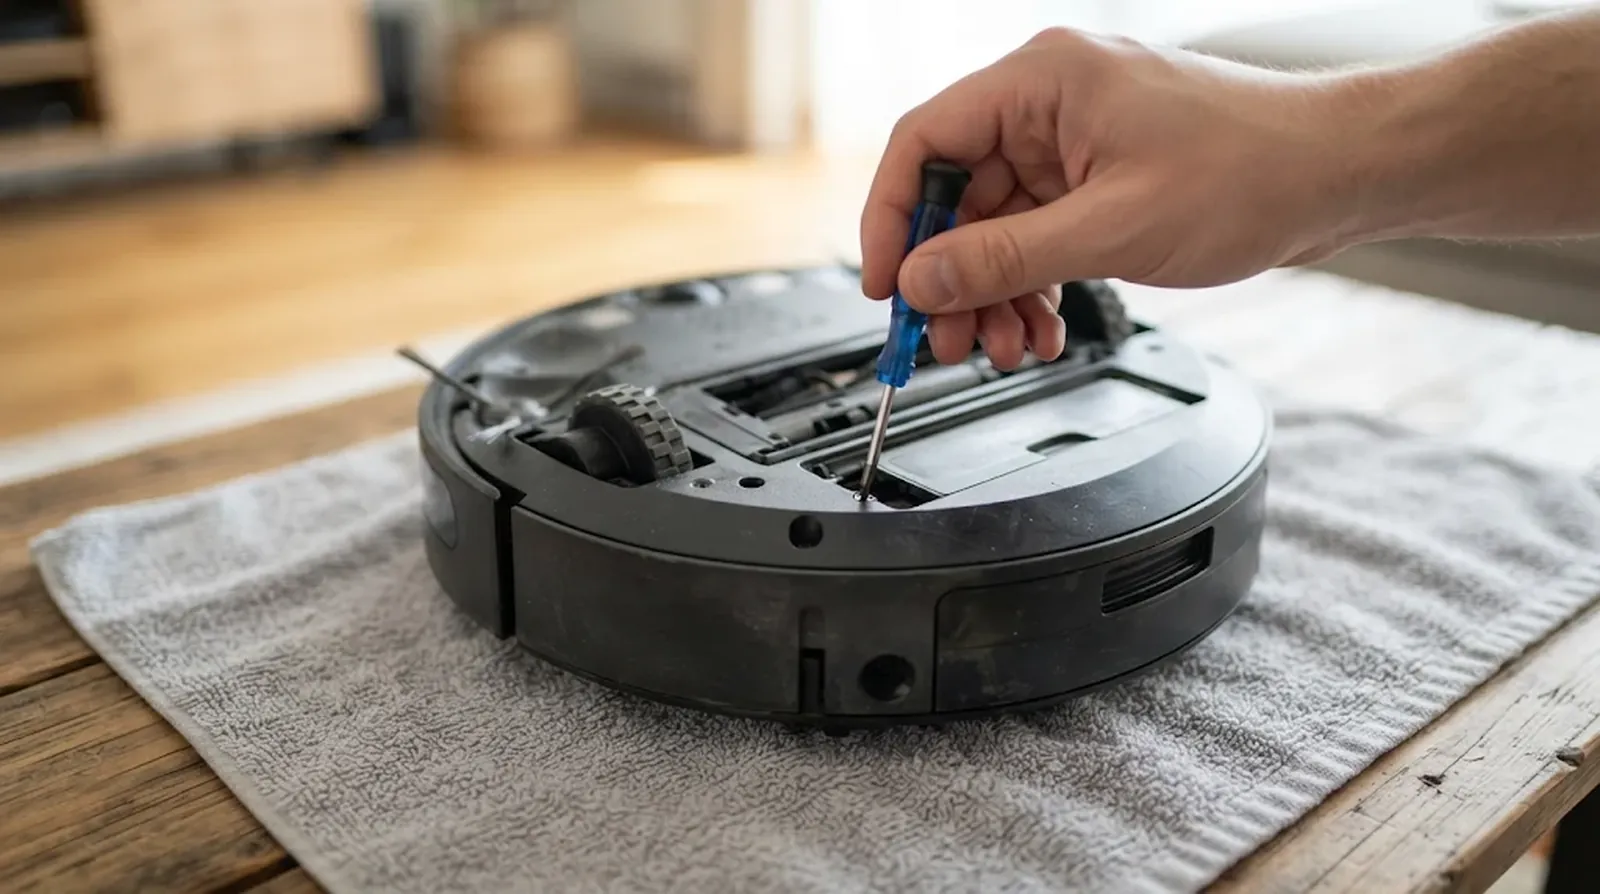
Look for a separate battery door on the underside. The Roomba 891 uses a Phillips #2 and has two captive 11 mm door screws. The Roomba 980 uses a Phillips #1 and has two 11.5 mm door screws.
On the 891, check the battery contacts for corrosion while the door is open. When you close it, keep the side brush bristles clear so they don’t get caught under the edge. iFixit estimates 5 to 15 minutes for the 891 and 5 to 10 minutes for the 980.
How to Do It
- Loosen the two battery door screws with the Phillips tip for your model. On the 891, leave the captive screws in the door.
- Lift the door and grab both battery tabs, one at each end of the pack. Pull the pack straight up.
- Seat the replacement and close the door. On the 891, check that the bristles are clear before you tighten the screws.
- Turn your Roomba upright and return it to the dock.
4. Release the Battery on a Roomba e, i, or j
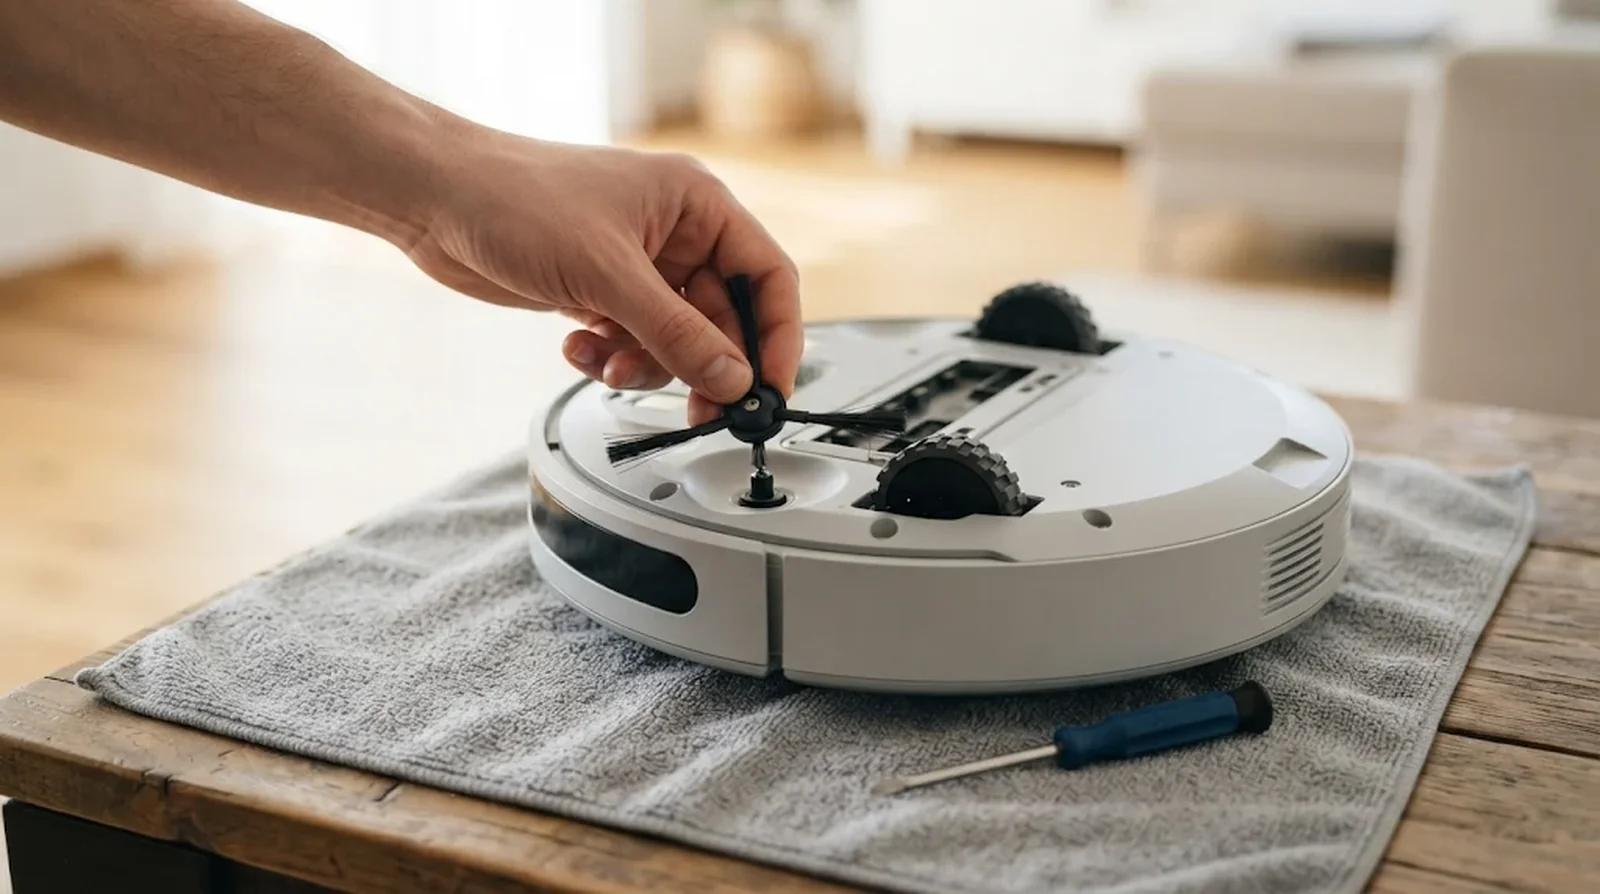
Check the underside before you start loosening screws. Newer versions of the i1, i3, i5, and Combo i5 have a separate battery door. The iFixit procedure for the i3 covers a version with a full bottom plate and a plastic clip that holds the pack in place.
The screw count changes again on the Combo j series. The i7+ has five bottom-plate screws and a separate 4 mm side brush screw. On a Combo j, you have four cover screws and one edge brush screw, for five total.
How to Do It
- Identify your access panel. If your i1, i3, i5, or Combo i5 has a dedicated battery door, open that panel. If you have a Combo 10 Max, follow the dedicated iRobot removal video for that model.
- On a full-plate i3, loosen the captive edge brush screw and pull the brush up off its hex axle. Loosen the five captive plate screws and lift the plate.
- On an i7+, use a Phillips #2 to remove the 4 mm side brush screw and loosen all five bottom-plate screws. On a Combo j, loosen the edge brush screw and the four cover screws.
- Release the pack. On the full-plate i3, flex the plastic clip to free it. On the i7+, press the latch and lift the battery.
- Seat the replacement, refit the panel you opened, and tighten the screws. Reattach the brush if you removed it, then return your Roomba to the dock.
5. Remove the Battery Module From a Roomba s Series
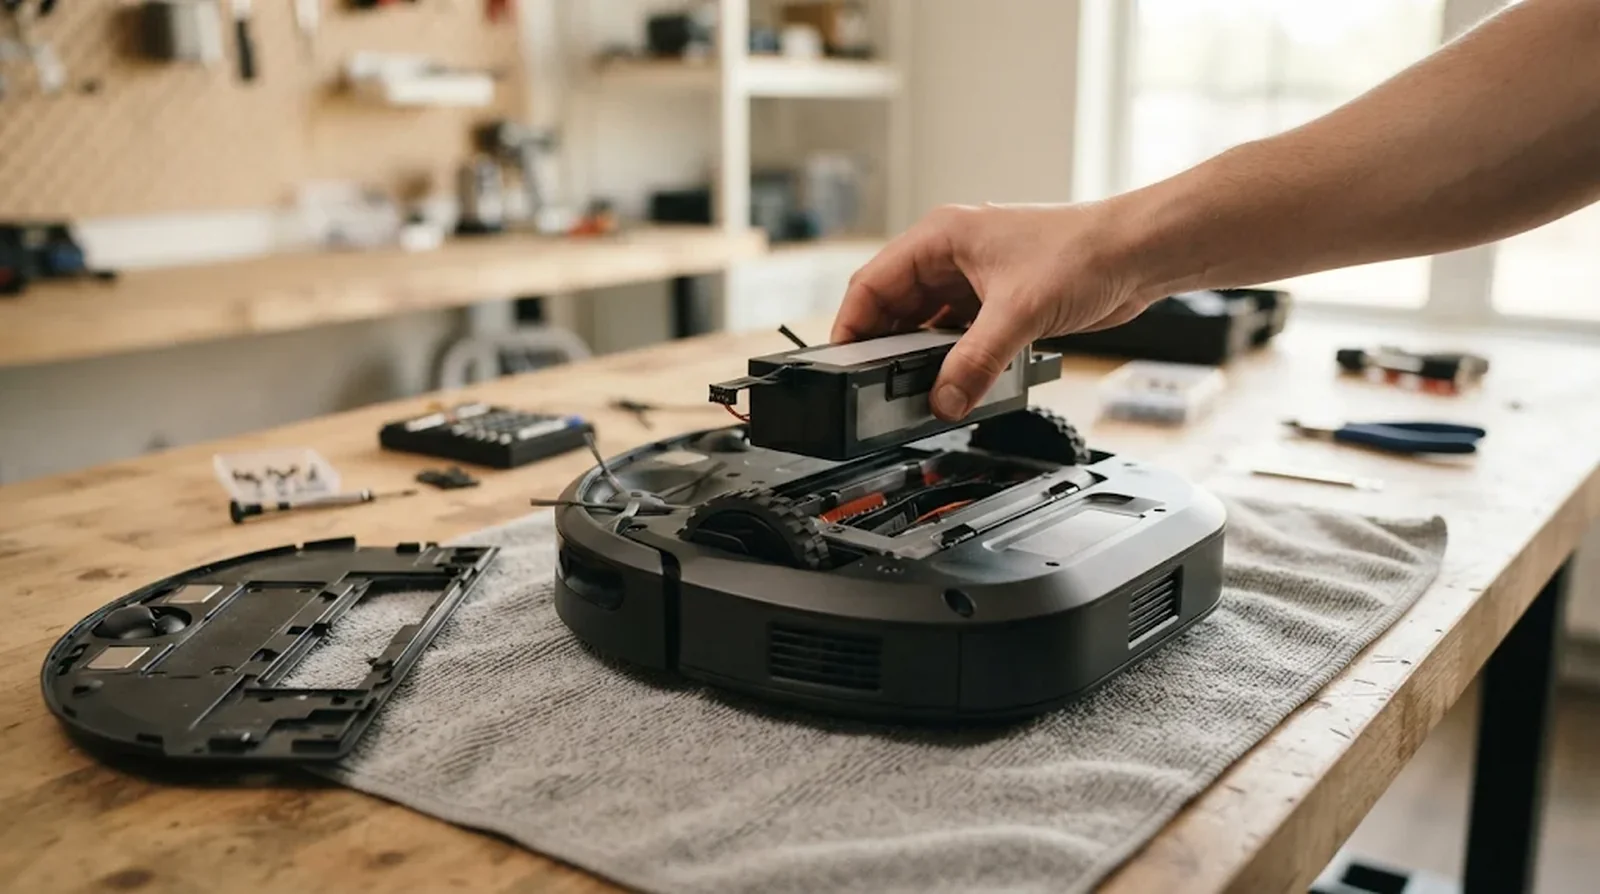
On the s9+, a Phillips #2 gets you through both the cover and the battery fastener. The four cover screws are captive, so loosen them until the cover lifts. iFixit estimates 2 to 10 minutes for this model.
Here’s the catch. There’s one more screw beside the battery module once the cover is off. Remove that 11 mm screw before pulling up on the tabs.
How to Do It
- Loosen the four captive cover screws with a Phillips #2 and lift the cover.
- Take out the 11 mm screw that sits beside the battery module.
- Pull up on the tabs to lift out the old module.
- Seat the replacement and reinstall the 11 mm screw. Refit the cover, tighten the four captive screws, and return your Roomba to the dock.
6. Disconnect the Wired Battery on a Roomba Essential
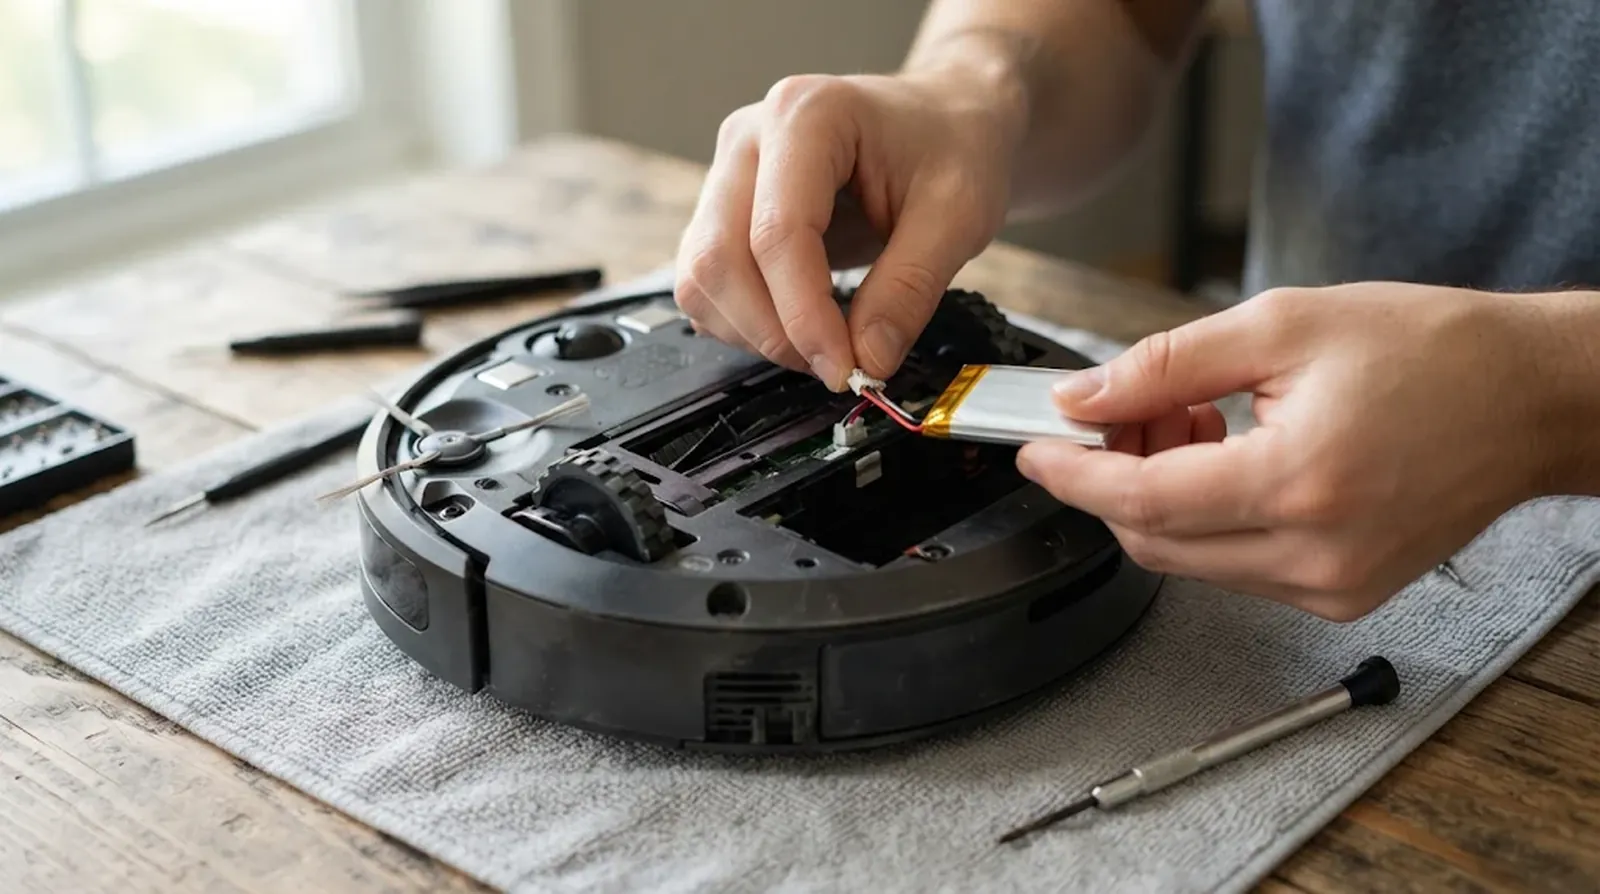
If you’re putting your Essential away, iRobot recommends using sleep or ship mode. Take your Roomba off the dock and hold HOME for 9 seconds. A dim red light may stay on.
If you’re replacing the pack, grab a Phillips #1. The battery sits under the panel above the brushes, and its wires stay attached until you release the connector. iFixit estimates about five minutes for the swap.
How to Do It
- Remove the two 12.7 mm screws from the panel above the brushes and lift the panel.
- Raise the battery far enough to reach its connector. Press the clip to disconnect it, then lift the pack and its wires out together.
- Plug in the replacement and settle it into the compartment. Refit the panel, tighten both screws, and return your Essential to the dock.
7. Swap the Battery on a Roomba 105 or 205
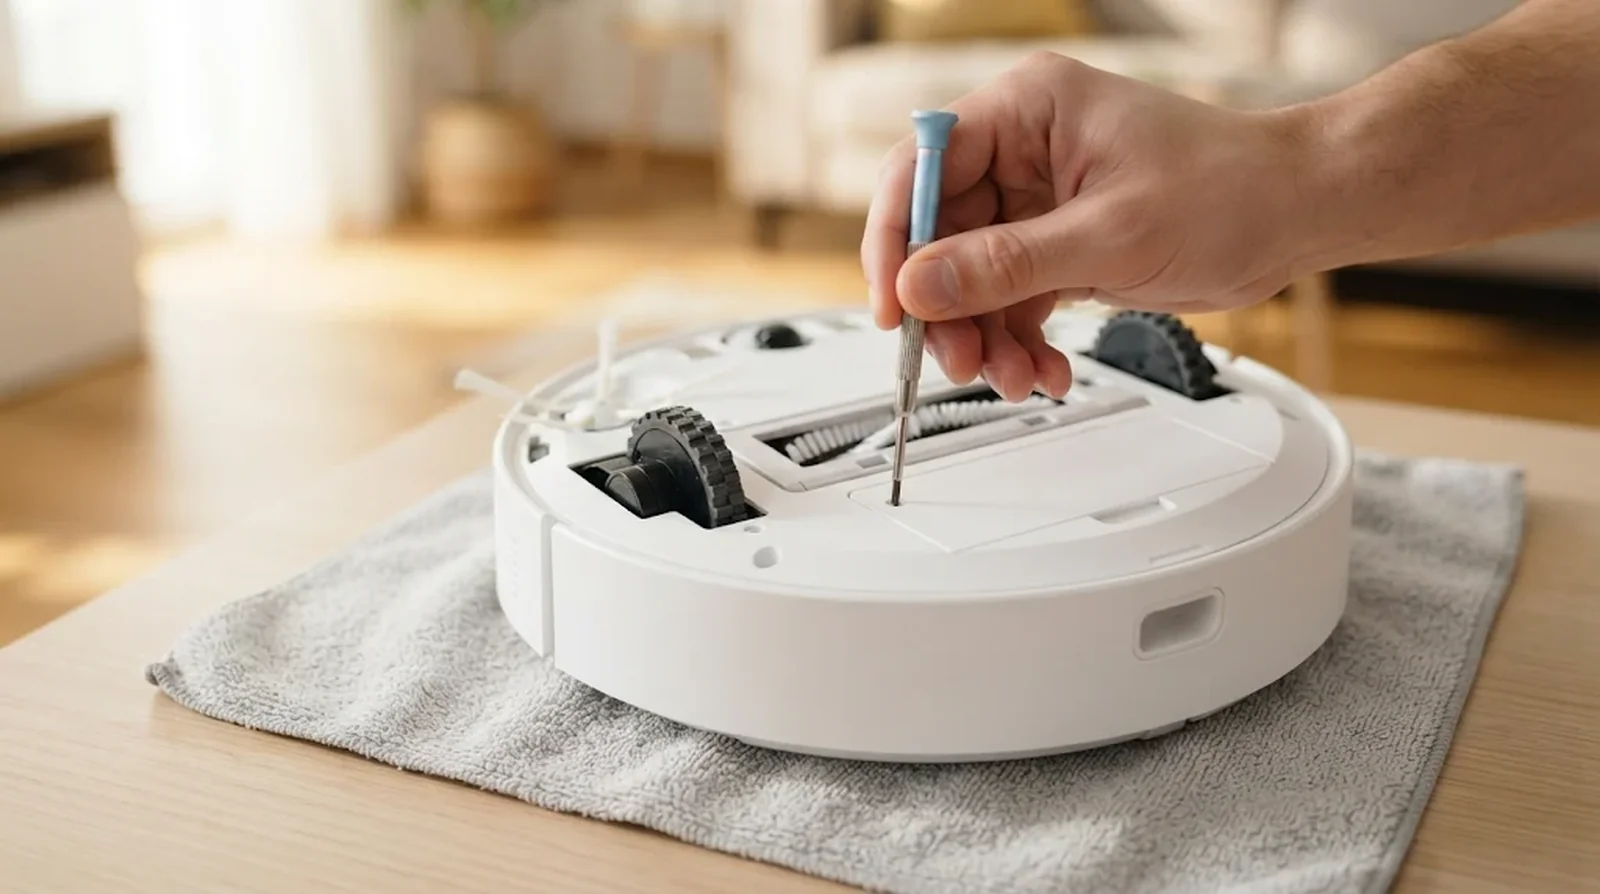
Both families use an extra-small Phillips screwdriver, and the door screw count tells you which set of instructions to follow. The 105 and other 100 or 1000 models have two small screws on the battery door. The 205 and other 200 or 2000 models have three.
Here’s the catch. Once you open the door, you still need to disconnect the clip at the end of the battery wires. Give yourself a moment to seat the connector when you put the new pack in.
How to Do It
- Turn your Roomba over and remove the two battery door screws on a 105 or the three on a 205.
- Lift the door, release the small black clip, and take out the old pack.
- Connect the new pack and place it in the compartment. If the door sits raised, check which way the pack is facing before tightening the screws.
- Secure the door and put your Roomba back on the dock.
8. Open a Roomba Plus 400, Plus 500, or Max 700
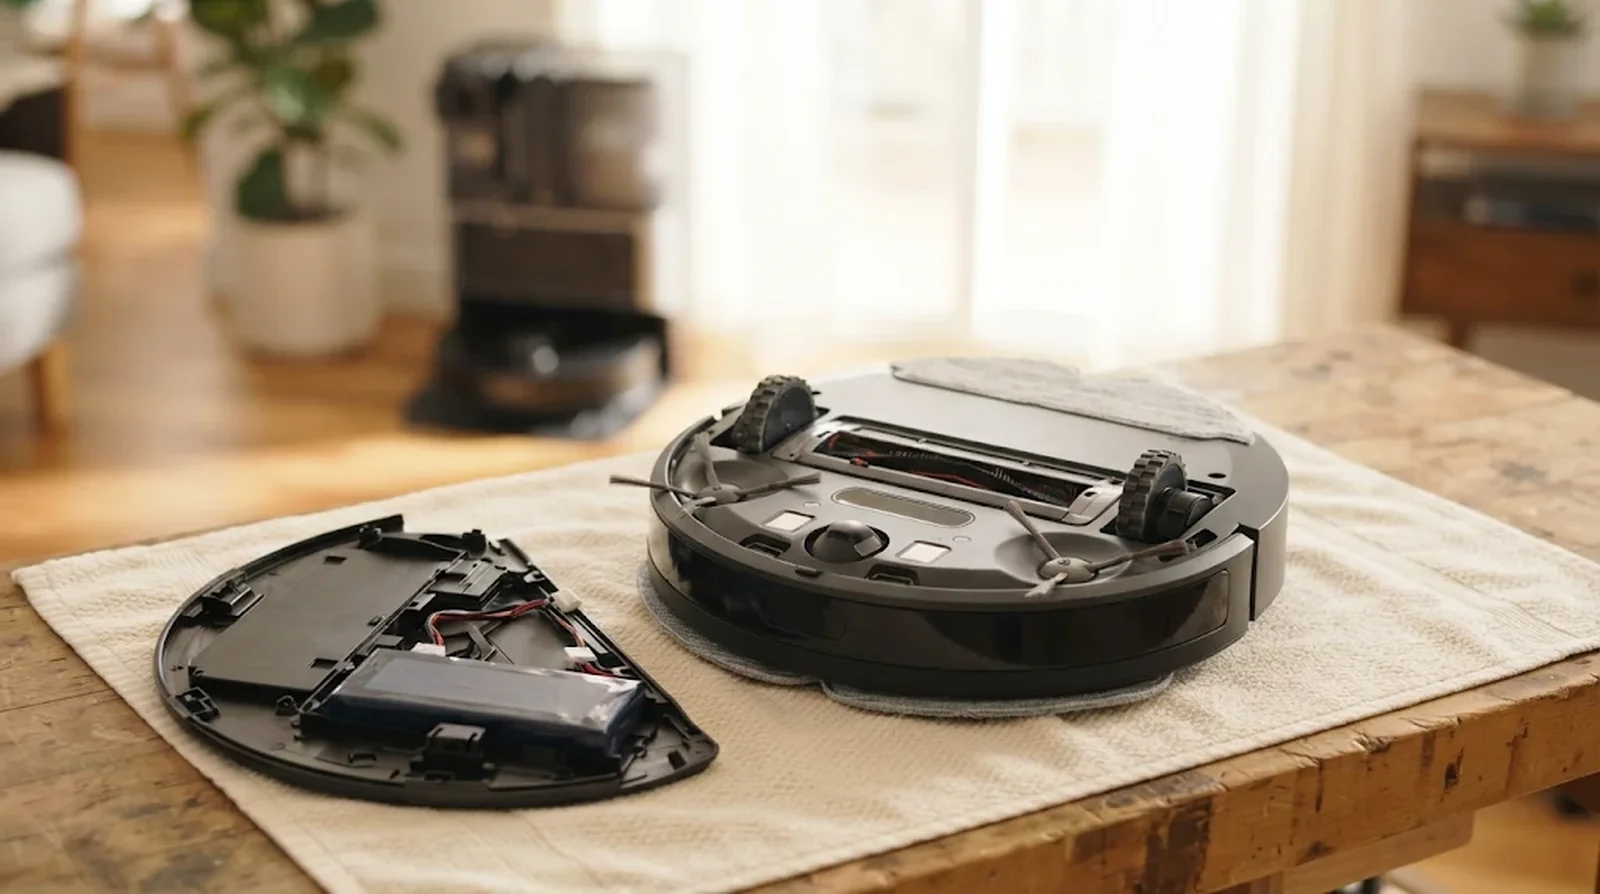
Which panel should you open? On a Plus 405, Plus 505, or Max 700, you reach the battery through the bottom cover. A Max 705 Vac has six cover screws, while the Max 705 and 707 Combo models have nine.
Check the full model number before you start. The Plus 410, 510, and 575 use a separate battery door and call for a small Phillips tip. The Roomba Mini also has its own battery door.
How to Do It
- Match your Roomba to the panel and screw count below.
| Your Roomba | Panel to open | Screws |
| — | — | — |
| Plus 400 or Plus 500 Combo, including the Plus 405 and 505 | Bottom cover | 9 |
| Max 700 Vac, including the Max 705 Vac | Bottom cover | 6 |
| Max 700 Combo, including the Max 705 and 707 Combo | Bottom cover | 9 |
| Plus 410, 510, 575, or Roomba Mini | Battery door | 4 |
- Use your Phillips screwdriver to loosen the screws, then lift the cover or door to reach the battery.
- Remove the old pack and seat the replacement. Refit the panel, tighten the screws, and return your Roomba to its dock.
9. Wake Your Roomba and Charge the Replacement
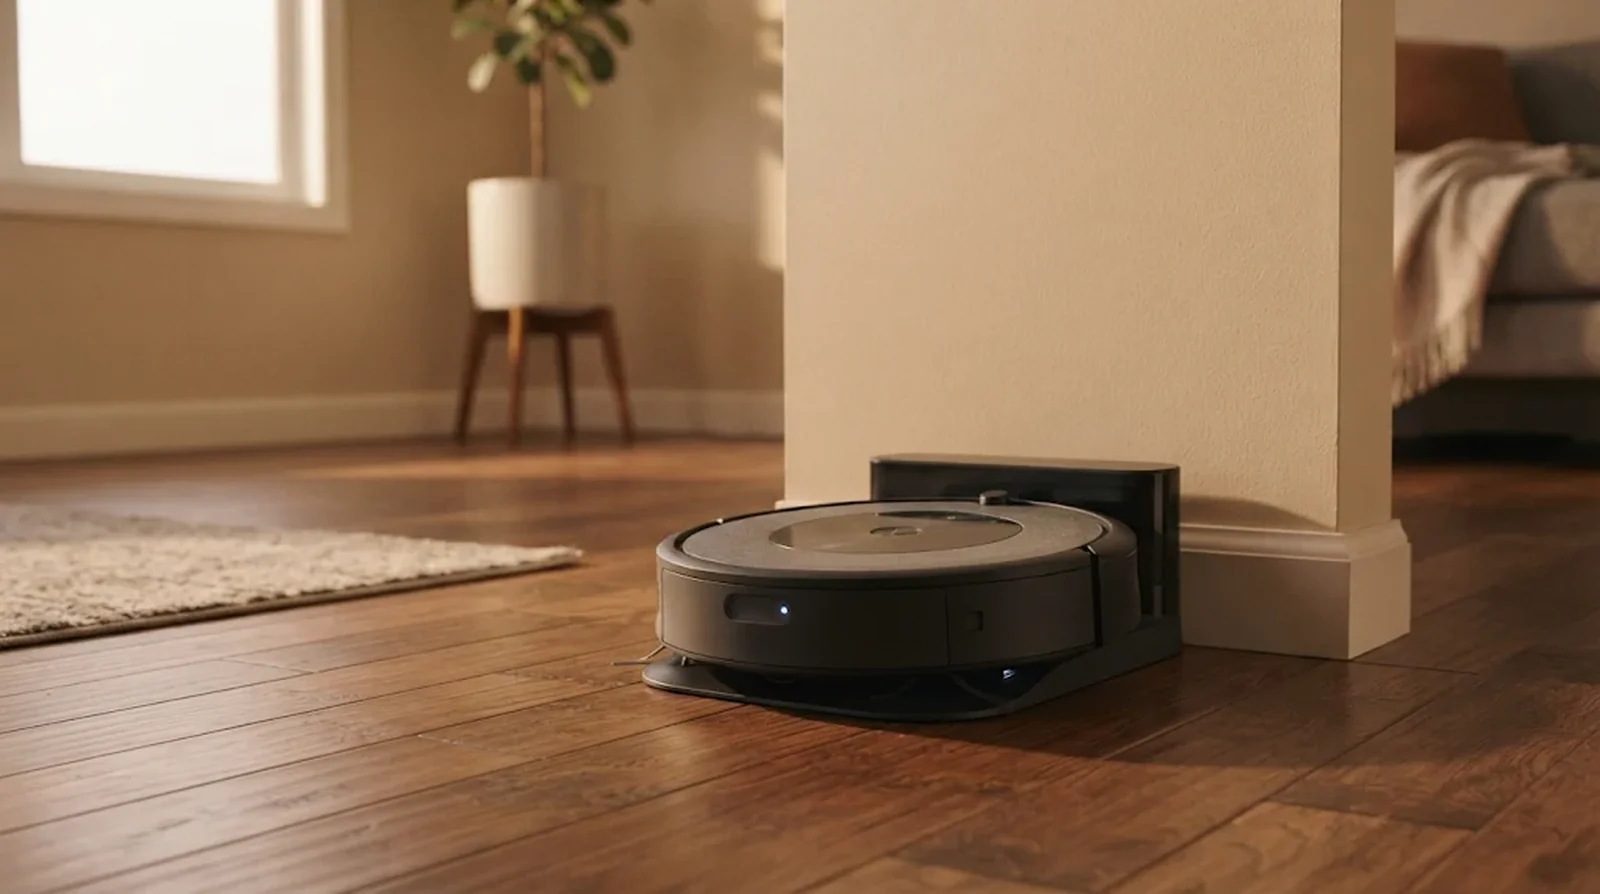
You can fit the new battery as soon as the old one comes out. Once your Roomba is back on the dock, give it up to a minute to wake if it was fully drained.
On most models, the swap itself works like a reboot. Your saved maps, cleaning schedules, and preferences stay in place.
How to Do It
- Close up your Roomba and place it on its charging station.
- Allow at least 2 hours for charging under normal conditions. If you have a 600-series Roomba, its owner’s guide calls for a 3 hour charge on the Home Base before you run it for the first time.
- Check the charging indicator. On i-series-era models, pulsing red means your Roomba is charging and still too low to clean, pulsing white means it is charging, and steady white means the battery is full. On the 600 series, amber means it is charging and steady green means the battery is full.
Should You Buy an Official iRobot Battery or a Third-Party Pack?
If the iRobot pack for your Roomba is out of stock, a cheaper replacement can look like an easy choice. Before you order one, check the exact model fit, what the seller says about safety certification, and how your Roomba may respond to an aftermarket pack.
How Prices and Stock Compare
On November 18, 2026, official iRobot packs ranged from $89.99 to $169.99 in the US. Many packs for older Roombas showed as out of stock, including the McKinley pack for select e, i, and j models and the S9 battery.
The iFixit packs listed for select Roombas ranged from $39.99 to $59.99. The lower price is worth checking against the exact fit list, especially if your model belongs to a series that shipped with more than one battery type.
| Where You Shop | US Price | What to Check |
|---|---|---|
| iRobot | $89.99 to $169.99 | Whether the item number for your exact model is in stock |
| iFixit | $39.99 to $59.99 | Whether your model appears on the listing for that pack |
What Can Go Wrong With an Aftermarket Pack
Your Roomba may refuse to charge if it cannot communicate with the pack. Charging error 8 points to a communication problem, while errors 17, 117, and 23 can mean your Roomba suspects the pack is not genuine. iRobot says aftermarket batteries may cause charging errors and may void your warranty.
Some owners report that aftermarket packs worked in their Roomba 960s. Others describe odd behavior after a swap. One j7+ owner said the robot began spinning and stopping during cleaning about two weeks after installing a NEPOWILL pack, and an i7 owner described similar behavior. The cause in those cases remains unconfirmed.
How to Check for Battery Safety
In January 2024, the US Consumer Product Safety Commission warned buyers to stop using certain ZAUTNKN.INC replacement batteries sold for Dyson V6 vacuums. Those packs fell short of UL 1642 requirements, and the agency cited three fire reports and one report of smoke inhalation. The warning covered Dyson replacements and gives you an example of why certification matters when buying a vacuum battery.
UL recommends buying lithium-ion batteries directly from the device maker. If you shop elsewhere, look for safety certification you can verify. A price far below the official pack or wording like “brand compatible” is a reason to check who actually made the battery.
When a Higher mAh Pack Fits
Can your Roomba take a higher-capacity battery? A compatible pack can have a higher mAh rating while keeping the same shape and nominal voltage. iRobot itself lists a 3,300 mAh option for select 600, 800, and 900 models.
Start with your exact model and check the voltage and physical fit before comparing capacities. The 100 and 200 families both have 3,000 mAh packs, and their different shapes keep you from swapping them across those families. The capacity on the label tells you how much charge the pack is rated to hold, so you still need the model fit.
What to Do if Your Roomba Still Won’t Charge or Stops Early
You put in a fresh pack and your Roomba still won’t charge or quits early. Where should you look next? Start with how the battery sits in the robot, then check whether power is getting from the dock to the charging contacts. For dock problems that started before the swap, our Roomba not charging guide goes deeper.
Work Through the Charging Checklist
Some owners report seeing the same charging trouble after fitting a new pack. One Roomba i3 owner tried a generic battery and an original one, and still saw the base light blink rapidly.
If your Roomba displays a charging code, keep it handy as you work through the checks. An error can point you toward a loose pack, a problem with the charging contacts, or a battery that needs time to warm up or cool down.
- Reseat the battery. Check that it faces the right way and that any wired connector is fully seated. Error 1 or 101 means your Roomba cannot detect the pack.
- Check dock power. Make sure the cord sits firmly at the base and at the outlet. If you have a Clean Base, lift the lid and check for its red light.
- Clean the charging contacts on your Roomba and its base. iRobot says green or copper-colored contacts, or contacts that stay pressed in, indicate damage and need replacement.
- Check under the front caster. One owner suggested looking for debris that could hold your Roomba too high to meet the dock contacts.
- Let your Roomba reach room temperature. iRobot gives roughly 60 to 75°F as a charging range, so let the robot warm up or cool down before trying again.
- Follow the code if charging still fails. Error 19 or 119 means charging timed out, so reseat the pack and clean the contacts. For error 20 or 120, take the battery out for 15 minutes before putting it back.
- Reboot your Roomba using the controls for your model. On an i-series Roomba, hold CLEAN for 20 seconds. On a j-series model or Combo 10 Max, hold CLEAN for 9 seconds.
When the Problem May Be Elsewhere
Some owners report seeing the same symptoms after a battery swap. One Roomba 630 owner said the robot asked to be charged as soon as a cleaning job started, even though it showed a full charge and the pack had been replaced about a month earlier. If your old and new packs behave the same way, check what else could be cutting the run short.
Look at the brushes before you spend money on another battery. Hair and debris make your Roomba work harder and use its charge faster. Clear the brushes, fully charge your Roomba, and time a cleaning job with the dock unplugged so you can compare the run with iRobot’s minimum for your series.
Do You Need to Reset or Calibrate a New Roomba Battery?
Start by charging your Roomba on its dock. iRobot’s current guidance for lithium-ion batteries gives you charging instructions, with no separate calibration step. The 72-hour routine you may have seen dates back to older battery packs.
How Long to Charge Before the First Run
Under normal conditions, iRobot says to allow at least 2 hours for charging. If you have a 600-series Roomba, its owner’s guide asks for a full 3 hours on the Home Base ahead of the first cleaning cycle.
The overnight advice comes from an older 500-era manual, which gives that timing for the first use. Check which model the instructions refer to when you see different charge times.
Where the Old 72-Hour Reset Came From
The old routine circulated in the RobotShop community for deeply discharged Advanced Power System batteries from the NiMH era. The forum procedure involved holding SPOT and DOCK for at least 15 seconds, charging the robot, leaving it on the charger for another 72 hours, and then running it until the pack was empty.
iRobot’s current help pages give no 72-hour reset procedure for lithium-ion packs. If you’ve fitted a lithium-ion replacement, use the charging guidance for your Roomba model.
When to Reboot or Factory Reset
A reboot keeps your maps, schedules, and other saved preferences. A factory reset erases that information and returns your Roomba to its factory defaults. iRobot suggests contacting support before you factory reset your robot.
If your Roomba docks halfway through a job and takes a while to go back out, check whether it’s using Smart Recharge and Resume. iRobot says a mid-job recharge may take longer until you customize your Smart Maps.
What Your Roomba’s Charging Errors Mean
When your Roomba’s light ring turns red and it announces a charging error, check the number in your app. Codes 1 to 21 show in the iRobot HOME app, and codes 101 to 121 show in the newer Roomba Home app used by 2025 models.
| Error code | What it means | What to try |
|---|---|---|
| 1 or 101 | Your Roomba cannot detect the battery | Remove the pack and seat it again |
| 2 or 102 | The charging current is too high | Use a genuine iRobot lithium-ion pack and check for liquid damage |
| 3 or 103 | Charging failed | Try charging again and inspect for liquid damage |
| 4, 5, 104, or 105 | Little or no current is reaching the dock or robot | Clean the charging contacts |
| 6 or 106 | The battery is too warm | Let it cool to room temperature before charging |
| 7 or 107 | The battery is too cold | Let it warm to room temperature before charging |
| 8 | Your Roomba cannot communicate with the battery | Check that the pack is genuine, then reseat it |
| 9, 11, 109, or 111 | Your Roomba detected a battery failure | Confirm the pack is genuine and reseat it. You may need to replace it |
| 110 | The cells are out of balance and cannot reach a full charge | Check the app for guidance |
| 114 | The battery has an internal fault | Replace the battery |
| 115 | A cell failed during charging | Check the app for guidance |
| 17, 117, or 23 | Your Roomba may have detected a battery that isn’t genuine | Fit a genuine iRobot pack and make sure it sits securely |
| 19 or 119 | Charging timed out | Reseat the battery and clean the charging contacts |
| 20 or 120 | The battery may have a fault or may be temporarily unable to charge | Take the pack out for 15 minutes, then reinstall it |
| 21 or 121 | Your Roomba reached the dock and could not charge | Clean the charging contacts |
Error 14 points to your Roomba’s bin. If your Roomba still won’t charge after you try the fix for your code, work through the charging checklist above.
When to Buy a Battery and When to Replace Your Roomba
Does your Roomba still drive, clean, and dock normally? If the wheels, brushes, sensors, and dock work and the robot falls short of iRobot’s minimum in a timed run, a battery swap makes sense.
| Option | US Price |
|---|---|
| Official iRobot replacement battery | $89.99 to $169.99 as listed on November 18, 2026 |
| New Roomba 105 Vac | $299 at its March 2025 launch |
A new Roomba makes more sense if your robot still has faults unrelated to the battery after a swap or you can’t get the correct pack. iRobot’s US store was still selling batteries in November 2026 after the Picea deal closed on January 23, 2026, though many older packs were listed as out of stock. Long-term parts availability for older models remained uncertain. If you do shop for a new robot, our guides to the self-emptying robot vacuum worth buying and the best robot vacuum for pet hair can help you pick one.
How to Get More Life From Your Replacement Battery
Where you keep your Roomba between runs matters. Set the dock in a room temperature spot out of direct sunlight, and keep your Roomba docked when it’s idle.
- Recharge After Cleaning: Put your Roomba back on its Home Base or Clean Base soon after a run so it can recharge.
- Keep the Brushes Clear: Remove hair and debris so your Roomba uses less power turning the brushes.
- Plan for Storage: If you’re putting your Roomba away for more than a few weeks, use ship mode if your model supports it or follow its instructions for removing the battery. Pick a cool, dry storage spot and fully charge the pack at least once every six months.
How you enter ship mode depends on your series. If you have a 600-series Roomba, its owner’s guide calls for charging and removing the battery before long-term storage off the dock.
| Your Roomba | How to Prepare It for Storage |
|---|---|
| e series | Hold CLEAN for 12 seconds until you hear a tone. Release it, then press CLEAN again |
| i or s series | Hold HOME for 10 seconds, then press CLEAN to confirm |
| j series or Combo 10 Max | With one wheel lifted, hold CLEAN for 3 seconds, then press CLEAN again to confirm |
| Essential | Take it off the dock and hold HOME for 9 seconds |
| Supported 100 through 900 models, including Plus, Max, and Mini | Take it off the dock and hold the home and bumper buttons for 10 seconds |
| 400 through 900 models with NiMH packs, including XLife | These models have no sleep mode. Follow your model’s instructions for removing the pack |
Where to Recycle Your Old Roomba Battery
Keep your old Roomba battery out of household trash and curbside recycling. Take it to a battery recycler or a household hazardous waste collection program.
- For an intact pack, cover the terminals with clear tape, electrical tape, or duct tape, or put the battery in its own clear plastic bag. This keeps the terminals from making contact and sparking.
- Find a drop-off at batterynetwork.org/locator or call 1-877-2-RECYCLE. The Battery Network, formerly Call2Recycle, accepts spent rechargeable batteries, including NiMH packs.
Here’s the catch. Most standard drop-off sites don’t accept damaged, defective, or recalled batteries, so contact the maker or your local household hazardous waste program for instructions. If the battery is swollen, the EPA suggests keeping it away from flammable materials, for example by setting it in a bucket of kitty litter or sand while you arrange disposal.
FAQs
Yes, if the pack fits your exact model and matches the original battery’s shape and nominal voltage. For example, iRobot sells a 3,300 mAh pack that fits the 900 series and some 600 and 800 models.
UL recommends buying lithium-ion batteries from the device maker. If you shop elsewhere, verify the pack’s safety certification and check that your exact Roomba model is listed. iRobot warns that an aftermarket pack can trigger charging errors and may void your warranty.
The battery may have lost enough capacity that it can no longer sustain a cleaning run. Clear any hair or debris from the brushes, then fully charge your Roomba and time a run against iRobot’s minimum for your series. If a replacement pack gives you the same result, check the dock and charging contacts.
Your maps and schedules stay saved when you swap the battery. On most Roombas, the swap works like a reboot and keeps your preferences, too.
iRobot recommends leaving your Roomba docked between runs and recharging it soon after each job. Keep the dock somewhere at room temperature and out of direct sunlight. If your Roomba will sit unused for several weeks or longer, follow the storage instructions for your model.
Keep it away from flammable materials and contact the manufacturer or your local household hazardous waste program for disposal instructions. The EPA suggests setting it in a bucket filled with kitty litter or sand while you arrange disposal. Most standard battery drop-off sites turn away damaged packs.
Final Word
Give your Roomba a timed run from a full charge before you buy anything. If it falls short of iRobot’s minimum for your series, check the full model number and buy the pack listed for that exact Roomba.
When the pack arrives, follow the steps for your series and let your Roomba charge fully before sending it out again. If the old pack is intact, tape its terminals or bag it separately and take it to a battery recycling drop-off.
