




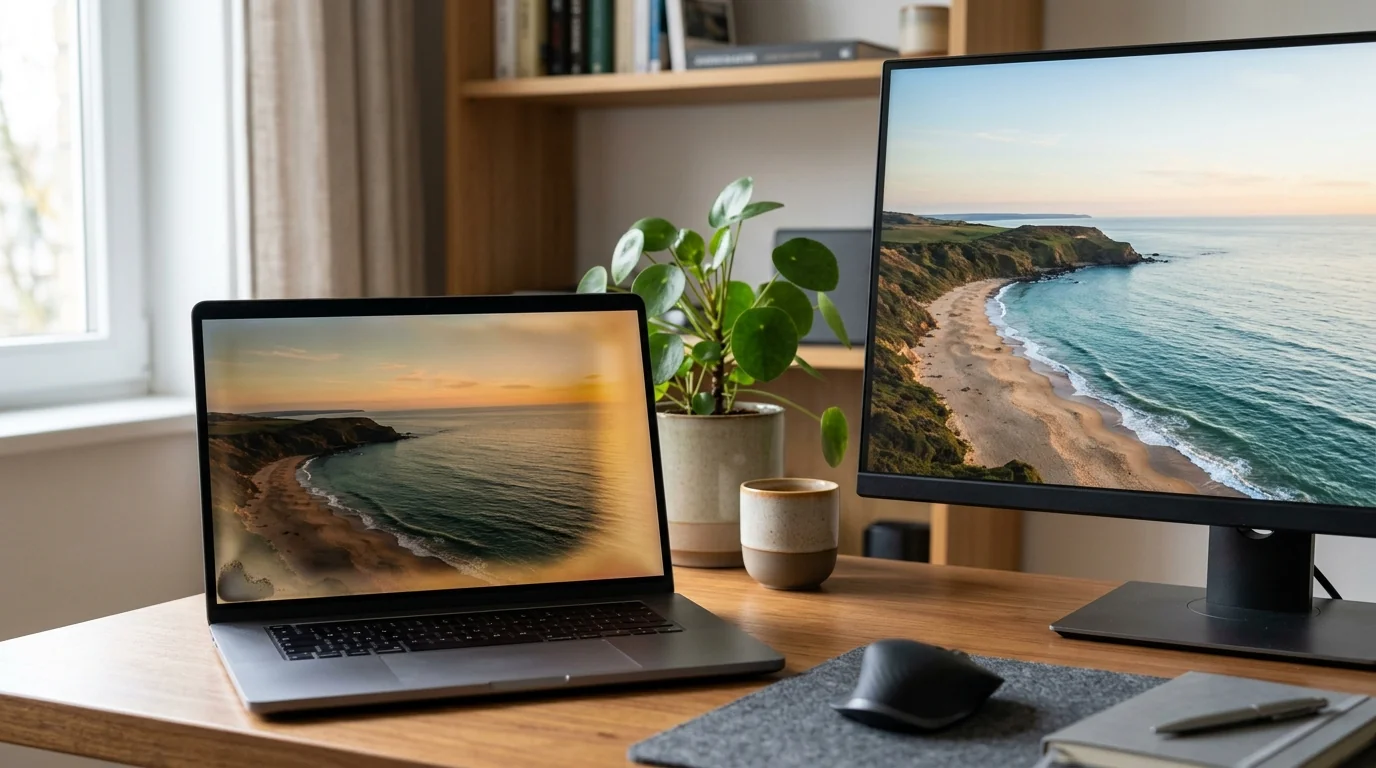
Does your laptop screen suddenly look yellow? Or has a dark blotch appeared where everything looked normal yesterday? Screen discoloration often comes from display options, color profiles, graphics drivers or cables, with many software fixes taking just minutes.
Heat, pressure and aging are a different matter. They can damage the panel or backlight, so changing a few controls may not remove the problem.
You see, similar-looking patches can have very different causes. A warm tint across your display might come from a blue light filter, while a rainbow spot could point to pressure damage. Knowing which one you have helps you choose what to try.
We’ll walk you through 11 fixes, starting with color controls and working toward repairs. Before that, let’s work out what you’re actually seeing.
What Screen Discoloration Looks Like (and What It Isn’t)
Screen discoloration means your display produces inaccurate colors, uneven tints or unusual patches. But a tiny faulty pixel and a lingering outline of yesterday’s content are different problems. Start by comparing these common appearances with your screen.
- Yellow or warm tint: Whites may look cream, amber or brownish. The tint might cover your entire display, appear near the edges or make one side look warmer than the other. Pink, blue and reddish casts can occur too.
- Dark shadows and blotches: You may see dim areas in a corner, along an edge or in a fixed spot. Pressure damage, worn backlights and displaced light-diffusing layers can cause these patches.
- Rainbow pressure spots: These look like shimmering, multicolored patches where the panel has been compressed. Mild pressure damage sometimes fades after the force is removed, while heavier damage can remain.
- Backlight bleed: Bright halos or patches appear around the edges, especially during dark scenes. They are easier to notice in a dim room, and some edge light leakage falls within a monitor’s normal tolerance.
- Cloudy mura patches: Parts of your display look unevenly lit, particularly on gray backgrounds. Small differences in panel spacing or liquid crystal filling during manufacture can create this cloudiness.
- Colored stripes: Lines across your display can come from cable or driver trouble, overheating, or faulty display circuitry. They do not automatically mean the panel itself has failed.
Still unsure which description fits? This comparison separates general discoloration from other defects that can look similar.
| Problem | What you see | Usual cause | Can it fade? |
|---|---|---|---|
| True LCD discoloration | Soft-edged patches or uneven yellow, brown or other tints | Heat, pressure or deterioration inside the panel | Physical damage often remains. A tint caused by software may be corrected |
| Dead pixels | Individual dots that remain dark | Failed pixels caused by manufacturing faults, damage or age | Dead pixels generally remain |
| Burn-in or ghosting | A faint outline of earlier content, such as icons or a menu bar | Prolonged static content and pixel aging, particularly on OLED or plasma | Temporary image retention can clear. Burn-in can be permanent |
| Mura | Cloudy areas with uneven brightness | Small manufacturing differences within the LCD layer | Usually remains |
| Pressure spots | Rainbow patches or dark areas where force was applied | Compression of the panel layers | Mild spots sometimes fade. Severe damage usually remains |
| Backlight bleed | Bright edges or halos against dark content | Uneven escape of light from the backlight | Lower brightness may make it less noticeable, without removing the cause |
One more clue can help. A patch with a sharply round or rectangular outline is more suggestive of a backlight or contamination issue than deterioration of the panel materials.
An e-reader can show a similar edge glow, as our guide to Kindle light bleed explains.
The takeaway? Describe the defect before choosing a fix. A whole-screen tint, a tiny dot and a cloudy corner need different checks.
Why Your Screen Changes Color
Did your display turn yellow overnight, or has one corner been getting darker for months? The timing matters because software, signal problems and worn components can produce similar symptoms. Let’s separate the causes before you start changing controls.
Software and Display Options
- Night light and blue light filters: These intentionally make your display warmer by reducing blue light. A schedule or an accidental activation can explain why whites suddenly look yellow.
- Color profiles and presets: An unsuitable or damaged profile can make your colors inaccurate. Monitor presets can also alter color temperature, brightness, contrast and gamma.
- Graphics drivers: Old, corrupted or incompatible drivers can produce odd hues and other visual errors. Problems can begin after an operating system update introduces a driver conflict.
- Cables and ports: A damaged cable or loose connector can interfere with the color signal. Poor contact at connector pins may disrupt individual RGB components.
- Resolution and refresh rate: An unsuitable resolution can make color gradients less smooth. An incorrect refresh rate can cause flickering or distorted colors, while limited color depth can produce visible bands.
- Operating system glitches: Software bugs, app conflicts and malfunctioning color-management services can change how your display renders colors. Pending updates sometimes contain a fix.
Hardware Causes
- Panel and polarizer aging: Liquid crystals and optical films deteriorate with use. Heat and ultraviolet exposure can yellow polarizers and adhesives, while aging color filters may transmit less blue light.
- Backlight wear: LEDs can lose brightness at different rates, leaving dark bands or making one side look warmer than the other. Older fluorescent backlights can also yellow as they age.
- Heat damage: Prolonged heat can damage liquid crystals, adhesives and other display layers. Nearby processors or control circuits can create uneven heating, so the discoloration may be concentrated in one area.
- Pressure damage: A tight bag, an object against the lid or forceful cleaning can compress the LCD layers. Loose-looking rainbow patches may improve, but severe compression can leave permanent damage.
- Loose internal cable: A poor connection between your panel and the computer’s internal electronics can cause intermittent color problems. External cable checks will not correct that connection.
- Factory mura: Small differences in panel spacing or liquid crystal filling can create cloudy areas from manufacture. These are usually permanent.
- Other component faults: A failing GPU, damaged display controller or motherboard fault can produce unusual colors, stripes or flickering.
What the Timing Tells You
You see, when the problem began can be as useful as how it looks. Use these clues to choose your starting point, without treating them as proof.
- Sudden after an impact or move: Suspect physical stress, especially if the affected area matches where force was applied.
- Gradual over months: Heat exposure, panel deterioration or uneven backlight aging become more likely.
- Present from day one: A manufacturing defect is a possibility. HP also notes that some early defects and connection problems appear within 30 to 90 days.
- Right after an update: Start by checking the graphics driver and software.
- Only after prolonged use: Heat may be involved, particularly if the device becomes unusually hot.
Software or Hardware? Run This 2-Minute Test First
Before you try all 11 fixes, check where and when the defect appears. A quick visual comparison gives you a starting point, although restarting or connecting another display takes longer. Work through these checks, then use the table to choose your next step.
- Open full-screen red, green, blue, white and black test images, followed by a uniform gray screen. Note whether the patch stays in the same place across different colors. Gray helps you spot uneven brightness.
- Inspect a white screen in a dark room. Look for a whole-screen tint or isolated yellow areas, then compare dark content for bright edge halos.
- Restart and inspect BIOS or UEFI before your operating system loads. F2, F10 and Delete are common entry keys, depending on your device. A defect that remains here makes hardware trouble more likely.
- Connect your laptop to an external monitor or TV. For a separate monitor, try another cable, port or source device. Compare which display or connection still shows the problem.
- Change your viewing angle and inspect for dents, cracks or signs of compression. If you check whether a shadow responds to very light pressure around the edges, avoid pressing firmly. Excessive force can damage the LCD.
- Take a phone photo so you can compare the affected area later. Note whether it appears immediately, develops as the device warms up or occurs in only one application.
The results narrow down your choices. A normal external display, for example, points toward your laptop’s display or its connection, but does not identify the exact failed component.
| What you see | Likely cause | Fix number to try |
|---|---|---|
| Your entire display becomes warmer at particular times | A scheduled blue light filter or automatic color adjustment | 1, turn off the color filters and True Tone |
| Colors look wrong across applications after profile or preset changes | An unsuitable color profile or monitor mode | 2, restore the default profile and image mode |
| Color temperature or gamma appears incorrect | Calibration trouble | 3, use the built-in calibration tool |
| The problem began immediately after a system or driver update | A driver conflict or software fault | 4, update or roll back the driver |
| Another cable or port removes the discoloration | A damaged cable or unreliable connection | 5, reconnect or replace the cable and try another port |
| You see flickering, distorted colors or stepped gradients | Unsuitable refresh rate, resolution or color depth | 6, review the supported display format |
| Only one browser or application looks wrong | An extension, app conflict or rendering problem | 7, check the affected browser or app |
| Colors deteriorate after prolonged use and the device feels hot | Heat-related trouble | 8, allow it to cool and check airflow |
| A rainbow or dark patch appeared after compression | Pressure damage | 9, remove the pressure and allow time for recovery |
| The affected area resembles a surface smear or greasy film | External dirt or residue | 10, clean gently |
| The defect remains in BIOS, or the same monitor looks wrong with another source | Panel, backlight, internal connection or display circuitry trouble | 11, arrange a hardware inspection |
Start with the row that best matches your result. You do not need to repeat every software fix when the evidence points toward damaged hardware.
How to Fix Screen Discoloration in 11 Steps
Start with the color controls, profiles and drivers before considering hardware repairs. These software fixes can resolve tinting without replacing your display, while damaged panel layers or a worn backlight need different treatment.
After each fix, compare the same solid-color screens you used earlier. Has the tint disappeared? Does the patch remain? We’ll use those results to decide whether you need the next step.
1. Turn Off Night Light, Night Shift and True Tone
Does your white background look cream or yellow? A blue light filter may be doing exactly what it was designed to do. These filters deliberately make your display warmer.
- Windows: Open Settings > System > Display and turn off Night light.
- Mac warm-color filter: Open System Settings > Displays > Night Shift and disable the filter.
- Mac automatic color adjustment: Open System Settings > Displays > select display > True Tone and turn off the toggle.
Check any third-party filter, including f.lux. Review automatic schedules too, because a filter can switch on at sunset or during selected hours.
If the Windows control is grayed out, your display driver may be involved. Microsoft notes that Night light is unavailable with certain drivers, including DisplayLink and Basic Display. We cover driver changes in fix 4.
If whites return to a neutral appearance after disabling the filter, you have identified the source of the warm tint.
2. Reset the Color Profile and the Monitor’s Image Mode
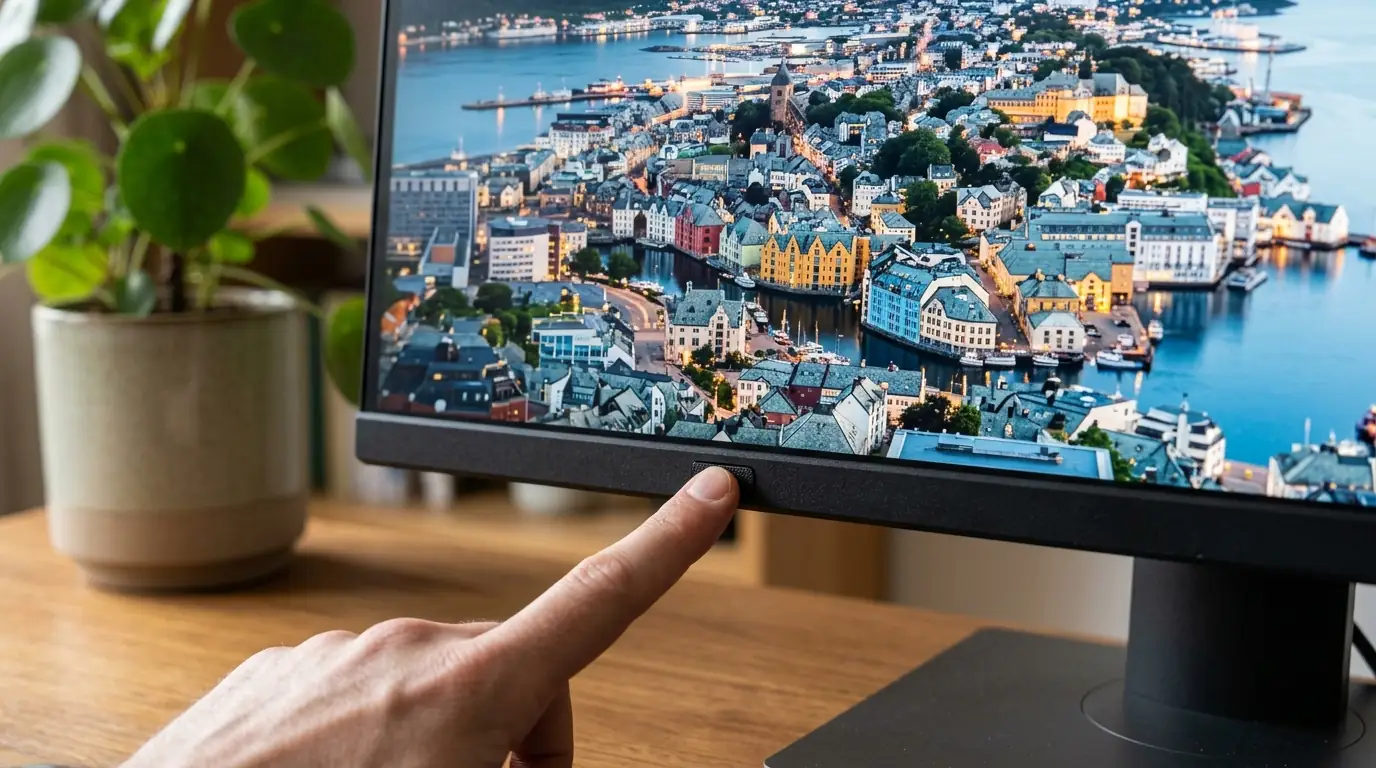
Still seeing odd colors? Your computer’s color profile or your monitor’s preset could be responsible. Either can alter the appearance of the whole display.
- Windows: Open Settings > System > Display > Color profile and select your display. Use Set profile to choose the default profile, or Remove to delete an unwanted profile.
- Mac: Use System Settings > Displays > Color > Restore defaults where available.
- External monitor: Open its built-in menu and restore the default image preset rather than a gaming or other specialized preset.
You see, presets change more than brightness. They can alter contrast, gamma and color temperature, so a preset that suits one activity may reproduce colors poorly for another.
If brightness changes with the content on your Windows screen, also check Settings > System > Display > Brightness. The Change brightness based on content control offers Off, Always and On battery only. This addresses automatic brightness variation rather than damage inside the panel.
If colors look normal again after restoring the profile or preset, leave those controls at their defaults.
3. Calibrate the Display With the Built-In Tool
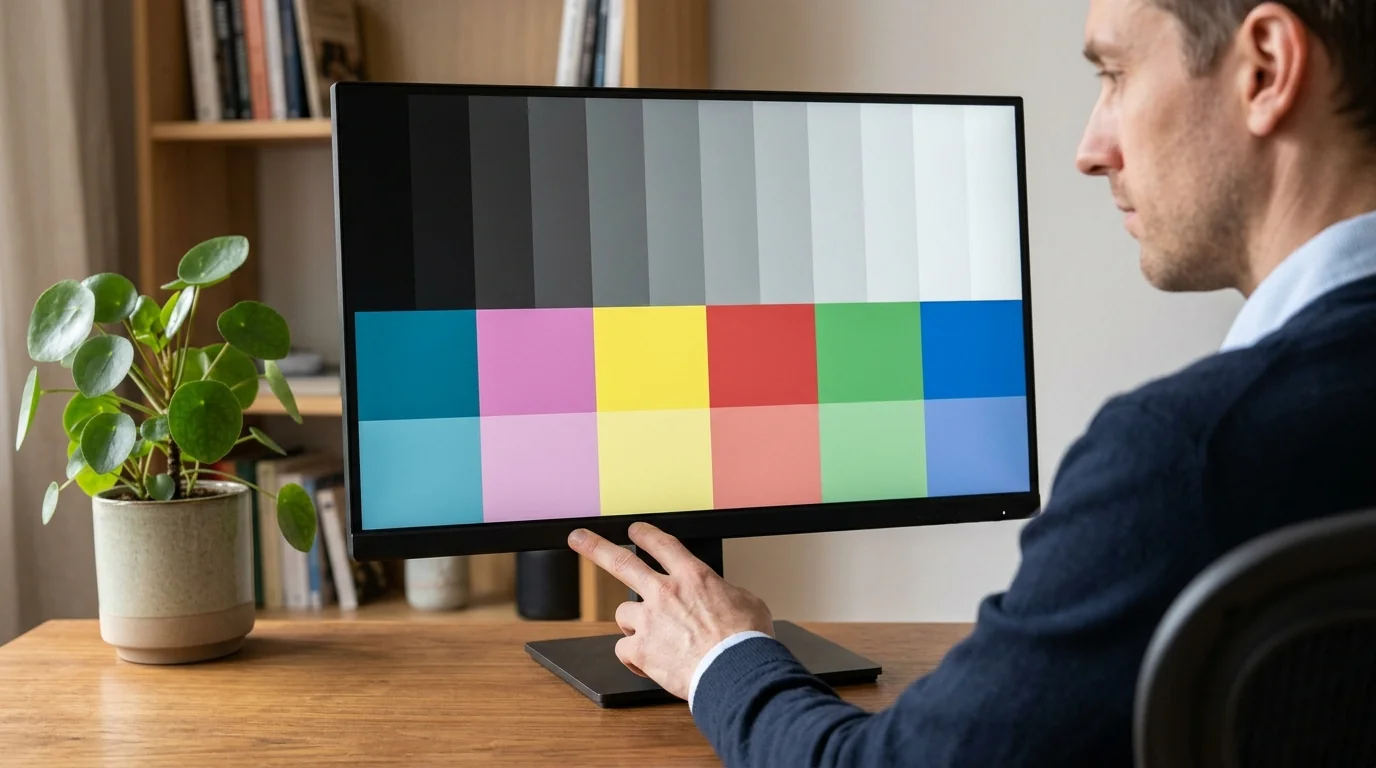
Your profile may be correct while the display still needs calibration. If colors remain too warm, too cool or otherwise inaccurate, the built-in tool gives you guided adjustments.
- Windows search: Search the Start menu for “calibrate display color” and follow the wizard.
- Windows menu: Use Settings > System > Display > Color profile > Calibrate display.
- Mac: Use System Settings > Displays > Color > Calibrate where available.
Work through the tool’s instructions for gamma and color balance, along with any brightness or contrast adjustments it requests. Then compare your test screens again rather than judging the result from one website or application.
Calibration has limits. It can correct inaccurate color reproduction, but it cannot restore damaged liquid crystals, polarizers or adhesives. Reducing brightness may also make backlight bleed less noticeable without repairing its cause.
If your test screens look more neutral and consistent afterward, calibration has helped correct the display’s color reproduction.
4. Update or Roll Back Your Graphics Driver
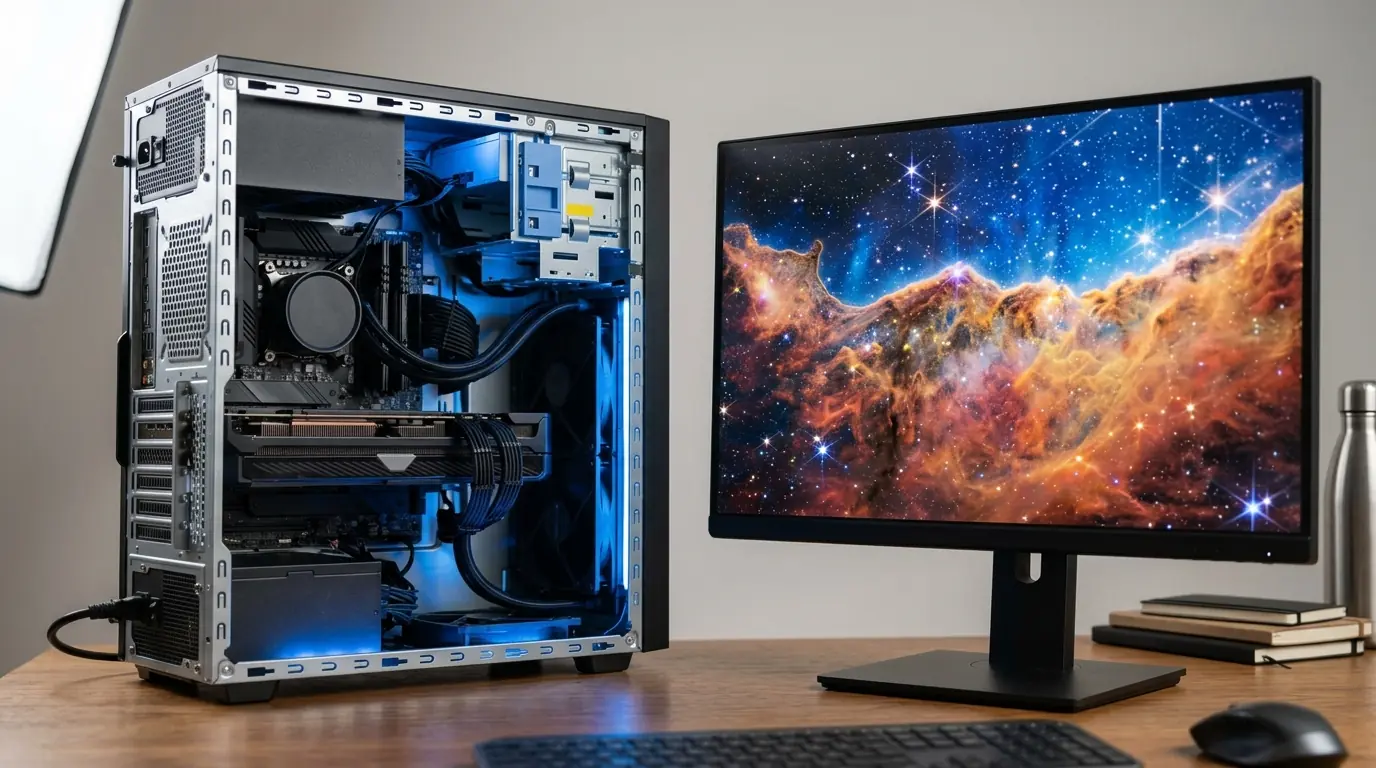
Did the discoloration begin after an update? That is a useful clue. An outdated, damaged or incompatible graphics driver can render colors incorrectly, while a newly installed driver can introduce a conflict.
- Windows: Use Device Manager > Display adapters > Right-click > Update driver.
- Mac: Check System Settings > Software Update for available updates.
On Windows, you can also obtain graphics drivers from NVIDIA, AMD or Intel, depending on your hardware. Restart after installing the update, then compare the same test screens.
If the trouble began immediately after a driver update, try returning to the previous version through Device Manager > Display adapters > Properties > Driver tab > Roll Back Driver. Pending operating system updates may also correct color-management bugs.
If the discoloration disappears after updating or rolling back the driver, the problem was in the software controlling your display.
5. Reseat or Swap the Cable and Port
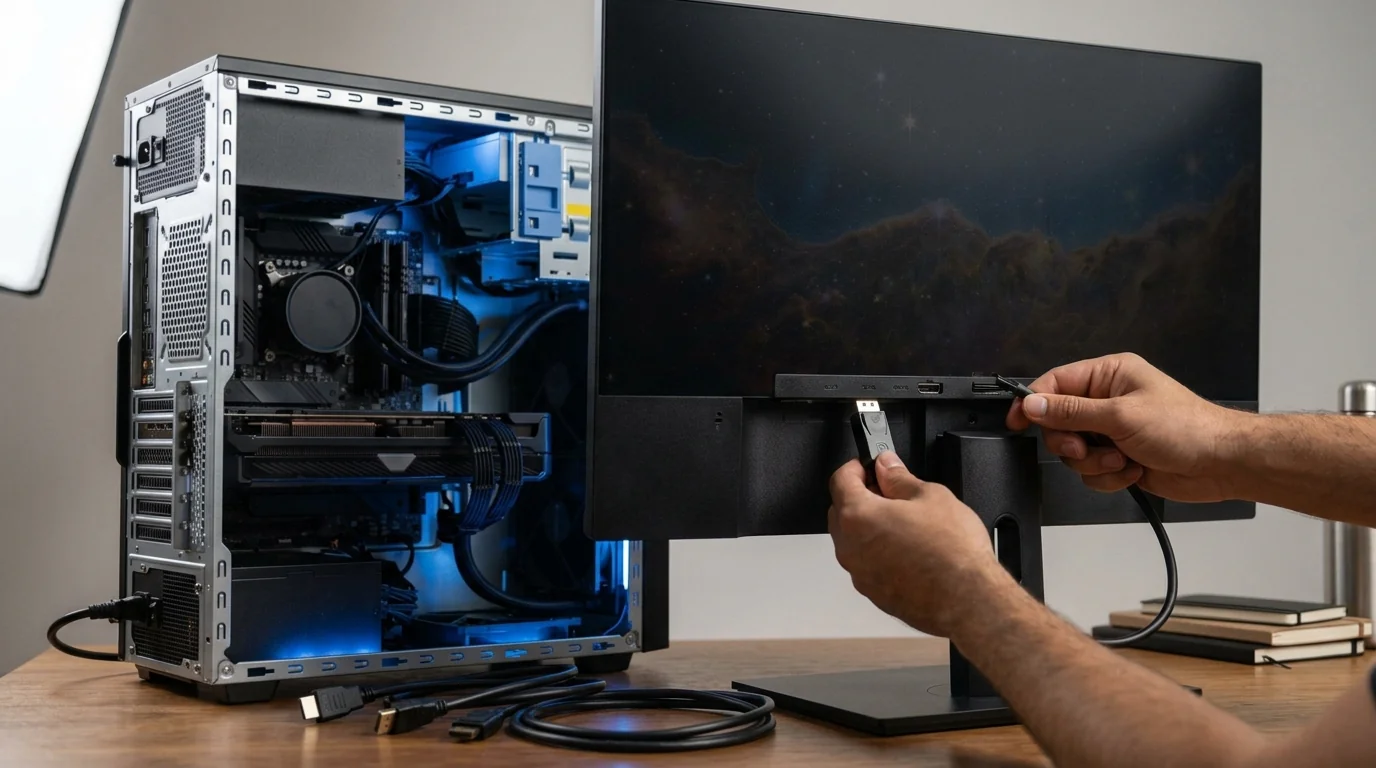
Your monitor may be fine while the signal reaching it is unreliable. A damaged cable or loose connection can distort colors, so check the connection before considering a replacement display.
- Reconnect the cable: Unplug and firmly reconnect your HDMI, DisplayPort or USB-C cable.
- Inspect the connection: Look for cable damage or poor contact at the connector.
- Try another cable: Compare the display using a different cable.
- Change ports: Try another connection on both your computer and monitor.
You see, a connector does more than carry an image. Loose pins can disrupt parts of the RGB signal, leaving colors inaccurate even when the screen itself still works.
For a laptop’s built-in display, an external cable swap cannot correct a loose internal connection. If the external monitor looks normal but your laptop panel remains discolored, keep internal cable or panel trouble in mind for fix 11.
Consoles run into the same cable and port trouble, which we cover in our Switch 2 not connecting to TV fixes.
If another cable or port restores normal colors, use the working connection.
6. Match the Resolution and Refresh Rate
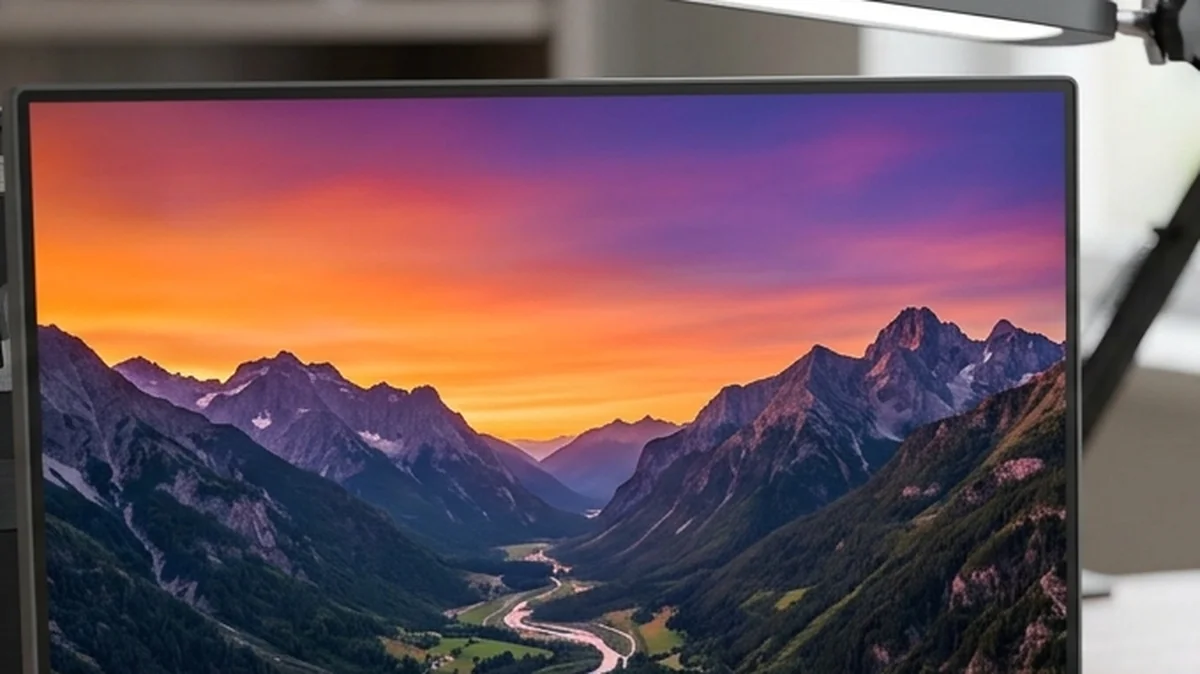
Do gradients look like separate bands rather than smooth transitions? Or do strange colors appear alongside flickering? Your display format could be contributing to the problem.
- Resolution: Choose a resolution that matches your monitor’s capabilities.
- Refresh rate: Use the recommended refresh rate for your display.
- Color depth: Review the supported color-depth options if gradients appear stepped or uneven.
Lower resolutions can reproduce gradients less accurately. Limited color depth can also create banding, where you see distinct strips of color instead of a continuous transition.
Using the wrong refresh rate may leave your screen flickering or reproducing colors inaccurately. These controls address how the image is displayed, so they will not repair pressure damage or deteriorated panel materials.
If gradients become smoother or flickering and color distortion disappear, keep the supported display format.
7. Rule Out the Browser or a Single App
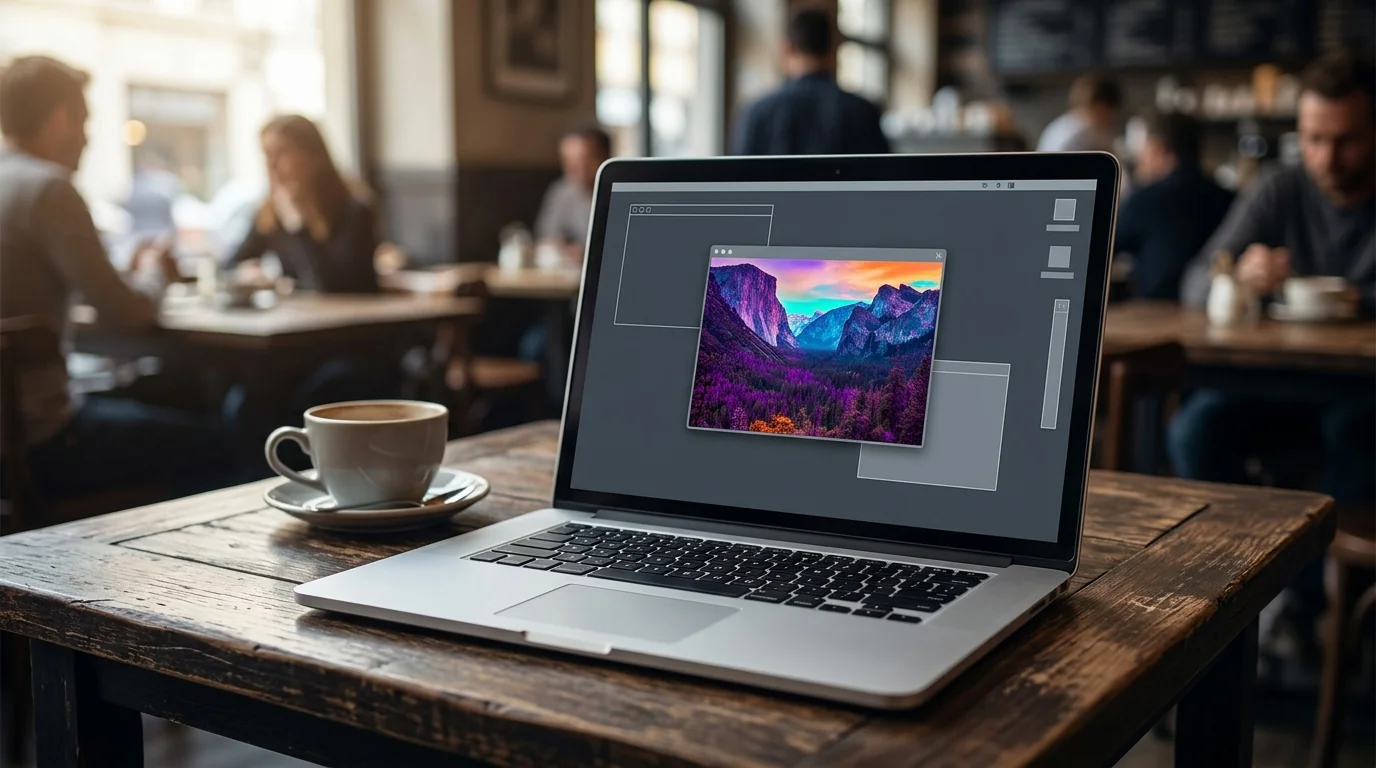
Does screen discoloration appear everywhere, or only while you browse one website? Compare other applications before treating it as a whole-display problem. An isolated color difference can come from the browser or application.
- Disable extensions: Check whether a browser extension is involved.
- Clear the cache: Remove cached browser content, then compare the affected page again.
- Review the driver: Browser GPU rendering can also produce color errors, so return to fix 4 if needed.
A website can use a color profile or code that conflicts with your display’s color controls. That means one page looking wrong does not automatically indicate damage inside your monitor.
Try another user account too. If the colors look normal there, an account-specific software problem becomes more likely. Keep that separate from a patch that remains across applications and before the operating system loads.
If the affected content looks normal after the browser changes, you have corrected the app-specific problem.
8. Let an Overheating Screen Cool Down
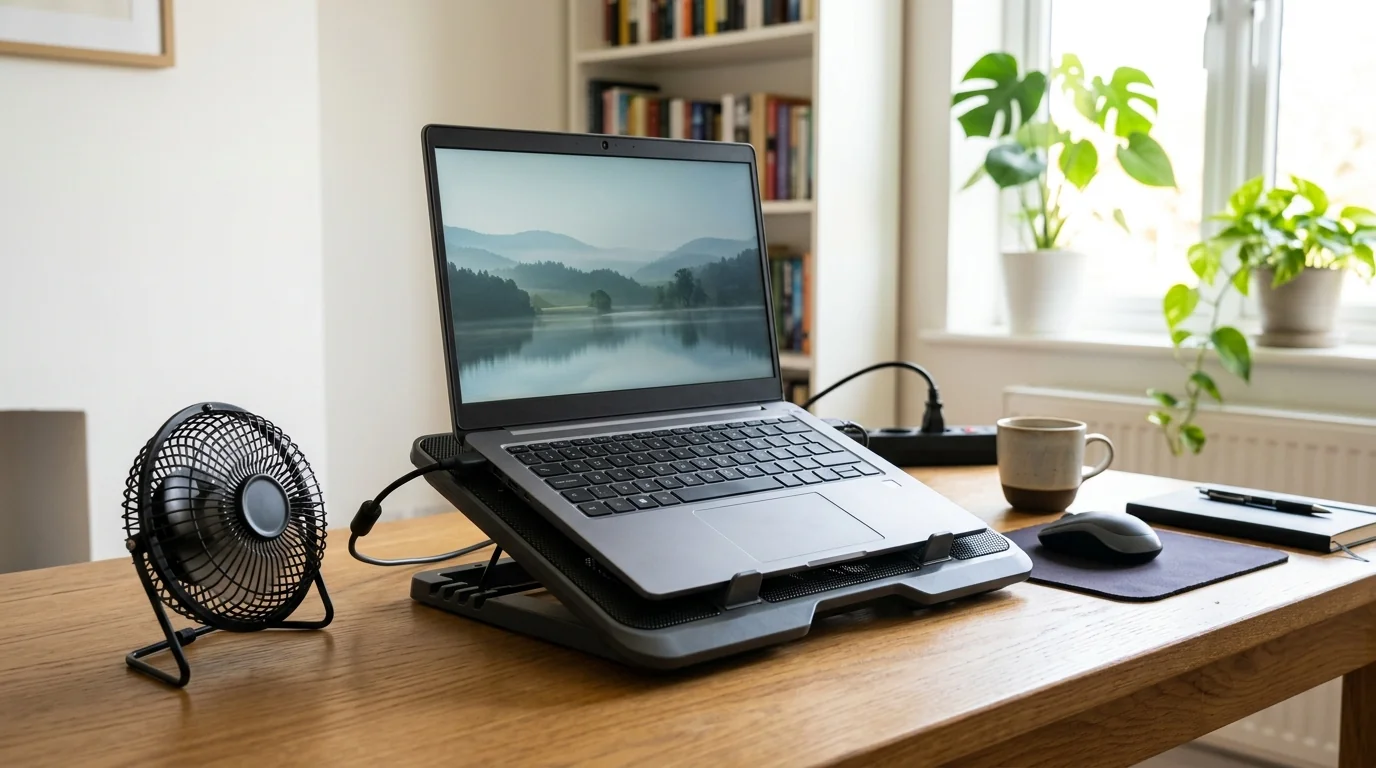
Does your display look normal at startup, then develop odd colors as the device gets hot? Heat could be involved. Give the device time to cool before judging whether the discoloration remains.
- Shut it down: Allow an unusually hot device to cool.
- Check airflow: Make sure blankets, pillows or other obstructions are not covering the vents.
- Check the fans: Look for signs that cooling fans are not operating properly.
- Improve cooling: A cooling pad may help a laptop with inadequate airflow.
Graphics-heavy applications can strain the GPU and expose heat-related color problems. Better ventilation or dedicated GPU cooling may help, depending on the hardware.
Cooling has limits, though. Prolonged heat can damage liquid crystals, polarizers and adhesives. If your screen still looks yellow after you leave the device switched off for 48 hours, lasting deterioration inside the LCD becomes more likely.
Phones overheat for many of the same reasons, as our guide to why your phone gets so hot shows.
If the colors return to normal after cooling, heat is a useful clue, and the cooling problem still needs attention.
9. Give Fresh Pressure Spots Time to Fade
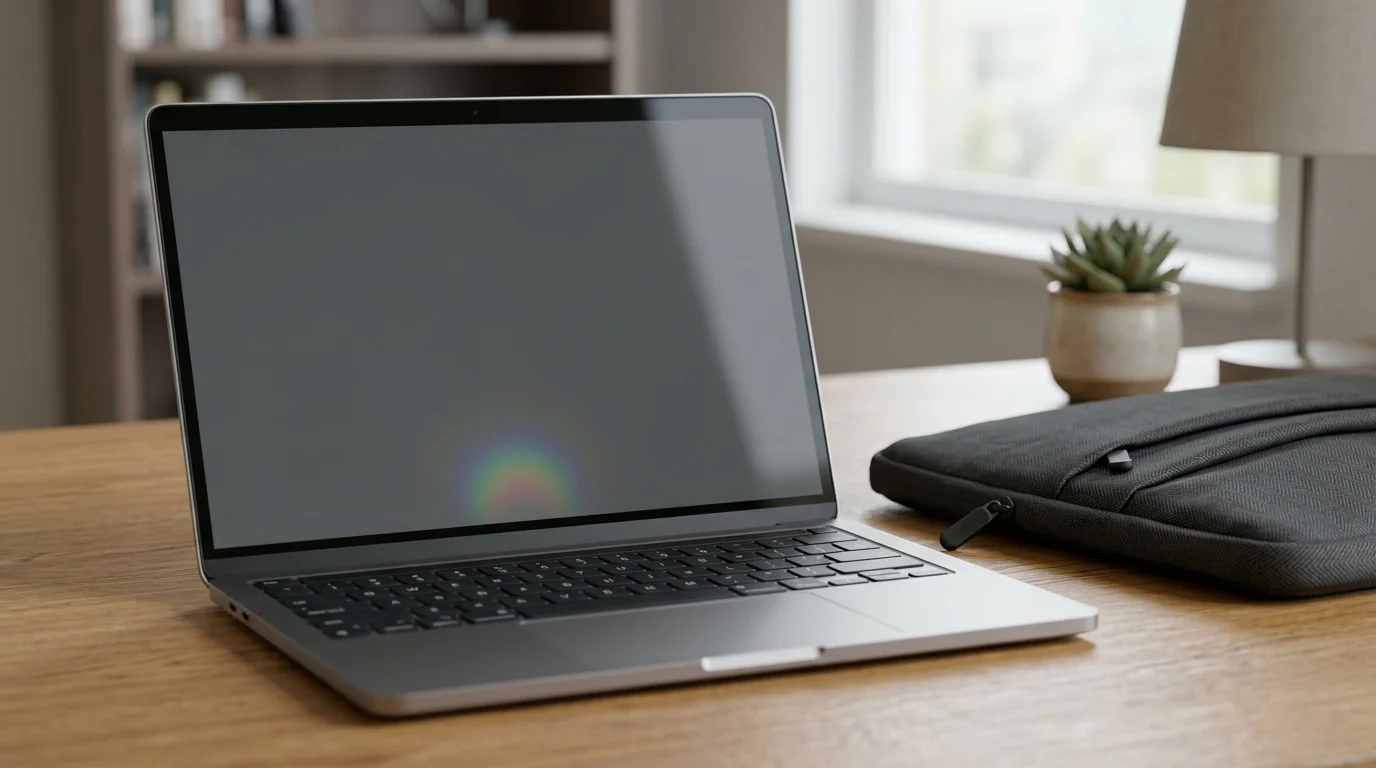
Did the patch appear after your laptop was squeezed during transport? Light pressure damage sometimes fades once you remove the stress. Before assuming the panel needs replacement, give it time to recover.
- Remove the force: Take the laptop out of a tight bag and keep objects away from the screen.
- Let it rest: Stop using the laptop and leave it open and flat, with the display facing upward.
- Compare afterward: Allow 24 to 48 hours, then check the patch against your earlier photo.
You see, pressure can compress the liquid crystal layer and produce rainbow patches or dark spots. Mild damage may improve, but a panel subjected to heavier force can remain permanently discolored.
Resist the temptation to keep pressing the spot to check its response. Excessive pressure can cause lasting damage, and a persistent patch may require panel replacement.
If the patch fades during the rest period, that supports temporary pressure damage as the cause.
10. Clean the Screen Without Pressing on It
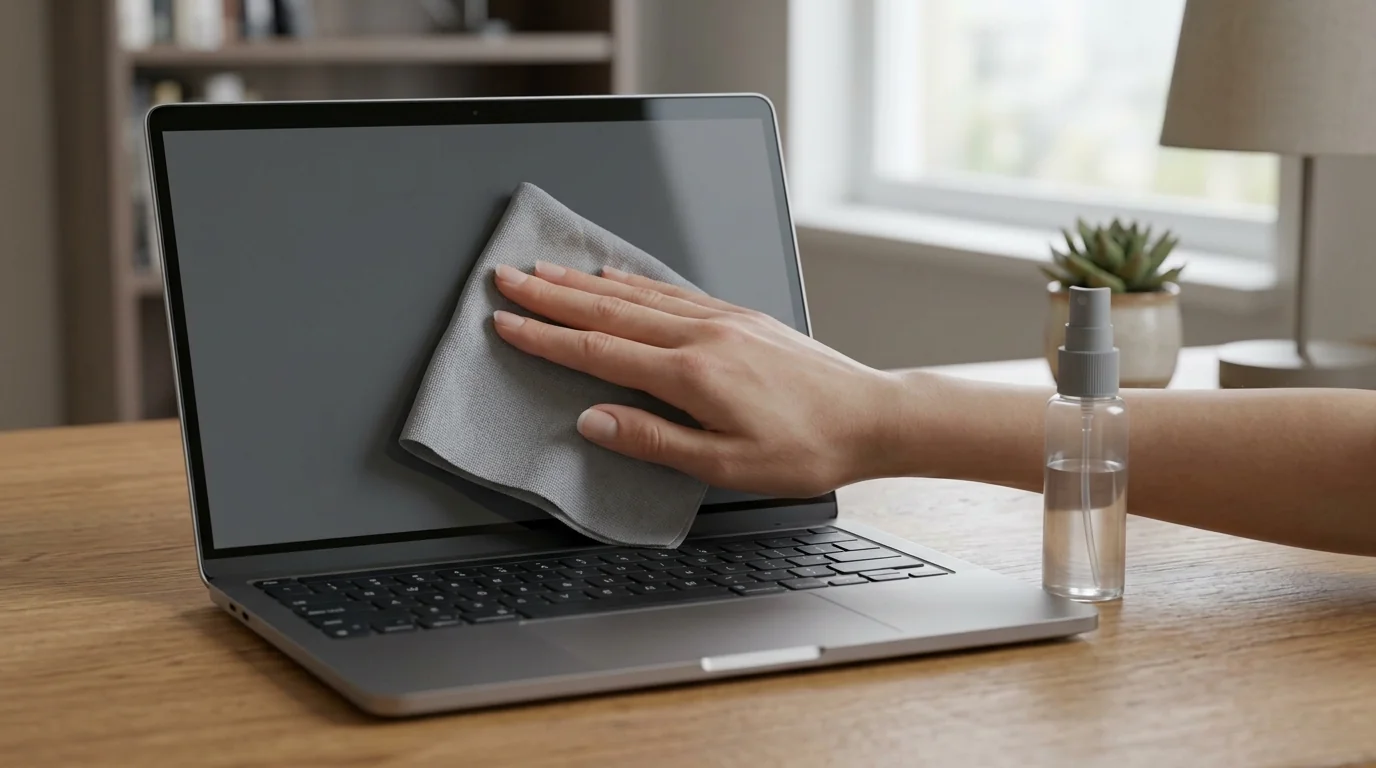
Is that uneven area actually a greasy film or smudge? Surface contamination can look like screen discoloration. A gentle clean helps you check without putting more pressure on the panel.
- Use microfiber: Choose a soft cloth instead of paper towels.
- Dampen it slightly: Use water, distilled water or a screen-safe cleaner.
- Keep your touch light: Wipe in gentle circular movements without pressing hard.
- Skip harsh cleaners: Avoid household cleaning products and strong chemicals.
The cloth should remove residue without forceful rubbing. Heavy cleaning can compress the display layers, so scrubbing harder is a poor response to a stubborn-looking patch.
Cleaning cannot correct deterioration inside the panel or a failing backlight. If the area remains after surface dirt is removed, return to the diagnostic clues rather than repeatedly wiping it.
If the affected area clears with gentle cleaning, surface residue was responsible for its appearance.
11. Get the Backlight, Cable or Panel Repaired
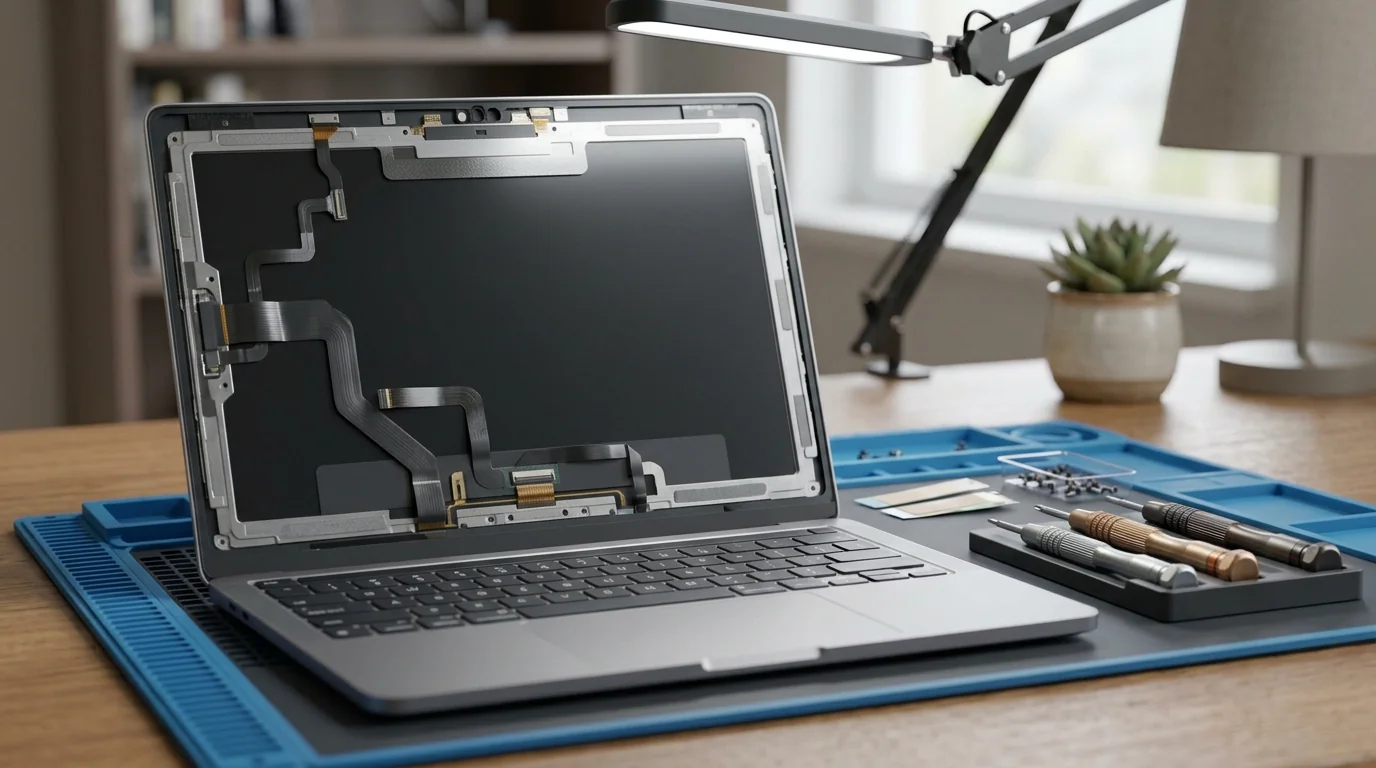
Has the defect survived the software fixes and remained visible in BIOS or UEFI? Or does the monitor still look wrong when connected to another device? Those results make professional hardware inspection a sensible next step.
- Backlight: Ask the shop to check for worn LEDs or faulty lighting circuits behind dark bands and uneven illumination.
- Internal display cable: A loose connection may need reconnection rather than component replacement.
- Panel: Lasting pressure damage, deteriorated optical layers, severe burn-in or many failed pixels may require a replacement panel.
- Related electronics: Persistent stripes, flickering or unusual colors can also involve display control circuits, the motherboard or GPU.
The repair depends on the failed component. Your LCD panel may still be usable when the backlight is the problem, while damage within the panel layers calls for different work.
Check warranty coverage before authorizing the repair, and provide photos or videos of the defect. We’ll compare costs and coverage in the next section.
If your original test screens look normal after the repair, the work has addressed the visible defect.
Purple, Green or Washed Out on Only One Input?
Does your monitor look normal through one connection but purple, green or faded through another? That points toward the signal path or input-specific color controls. Before blaming the panel, compare one variable at a time.
Follow the Cable, Adapter or Port
Keep the monitor and source unchanged while trying another cable. Then compare an adapter-free connection or another port. If the tint follows the cable or adapter, that part of the connection becomes the main suspect.
A missing green channel can make the image appear purple or magenta. Owners in Pine64 and MacRumors discussions reported purple displays when using DVI-to-HDMI adapters, but those reports do not establish the cause of every purple screen. Worn USB-C hubs and inexpensive DisplayPort-to-HDMI adapters are also worth checking.
Reset the Affected Input’s Color Mode
Your monitor can remember a different preset for each input. An FPS, vivid or black-equalizer mode on one port can therefore produce different colors from another port on the same display.
On the affected input, try Standard, sRGB or User mode and restore the monitor’s default color controls. Compare a plain gray image, keeping any manual RGB adjustments small. Gamma around 2.2 and a color temperature near 6,500 K are reference points given by KTC.
Check Nvidia’s Output Range
Do blacks look dark gray, with weak contrast across the screen? Nvidia can identify a monitor as a television and send limited-range RGB, using 16-235 rather than 0-255. This can happen with TV-style formats such as 1920 x 1080 at 60 Hz, including over DisplayPort.
In Nvidia Control Panel or Nvidia App, open Display > Change resolution. Set Output dynamic range to Full and select Apply. Check the monitor’s HDMI Black Level or HDMI RGB PC Range control too, using the appropriate Normal, High, Full, RGB 0-255 or Automatic option.
Check AMD’s Pixel Format
AMD graphics can default to YCbCr444 over HDMI. On some monitors, that produces slightly weaker contrast, altered color values or colored fringes around text.
Open AMD Software > Display > Pixel Format and choose RGB 444 PC Standard, the full-range RGB option. Compare the result before making another change. If the same corner remains tinted across every source, the panel becomes a stronger suspect.
Yellow Tint Keeps Coming Back After Every Restart?
You correct the colors, restart your laptop, and the yellow tint returns. Frustrating, right? A laptop maker’s utility or GPU control panel may be applying another layer of color adjustment over Windows, so check those controls next.
Look for a Second Color Layer
Windows is not the only place that can alter your display’s color temperature. Laptop utilities can apply eye-care, blue-light or vivid modes, while Nvidia, AMD Radeon and Intel control panels have their own color controls.
Review those applications as well as the Windows display options. If you have already disabled Night light, check whether another utility still has a warm-color mode enabled. Restoring one layer will not remove an adjustment applied elsewhere.
What Asus Owners Reported
In an r/ASUS discussion, commenters reported that Armoury Crate Game Visual had been set to EyeCare, and returning it to Default corrected the tint. Another owner reported changing the color temperature through Custom Color in AMD Radeon Software.
A Tom’s Guide forum owner described whites returning to normal after opening the display controls, only for the tint to return after resolution changes or Windows updates. Another reported toggling night mode off and on. These are owner accounts, rather than proof that your laptop has the same fault.
Be Careful With Disabling Services
The r/ASUS thread’s original poster reported stopping Asus Optimization and disabling the service. Another owner attributed yellowish whites to MyASUS OLED protection and said uninstalling the app removed the tint.
Those changes had trade-offs for some owners. Reported losses included MyASUS functions, smart charging, keyboard lighting and brightness control. Check the utility’s color mode before treating service removal as a harmless fix.
Stains That Look Like Discoloration but Aren’t
Does the stain remain visible when your screen is switched off? The problem may be on the outer surface rather than in the displayed colors. Coating wear, including the issue associated with some Retina MacBook Pro displays, needs a different response from software tinting.
Check Whether the Stain Is on the Glass
Worn anti-reflective coating can leave irregular stains near the edges or across the middle of the display. Reports about the MacBook issue, often called Staingate, described symptoms appearing as early as seven months after purchase.
Check whether the patch remains visible with the display off and stays unchanged across different screen colors. Those clues point toward the outer coating. Changing a color profile will not restore a coating that has worn away.
What Was Reported About Apple’s Response
Apple reportedly treated the damage as cosmetic before establishing an internal replacement program in 2015. Reports described earlier repair charges reaching $800, but Apple never publicly confirmed the program.
The reported eligibility period covered three years after purchase or one year from October 16, 2015, whichever provided longer coverage. That was a historical report, so check with Apple about your device rather than assuming those terms apply to it today.
Avoid Trying to Scrub It Away
Harsh cleaning products can damage display coatings. Use a soft microfiber cloth and a screen-safe cleaner or lightly dampened cloth, keeping pressure gentle.
If the stain comes from missing coating, repeated cleaning will not replace that layer. Once ordinary surface residue has been removed, leave the patch alone and seek an assessment rather than scrubbing harder.
Repair or Replace? What It Costs and What Warranty Covers
Should you repair the display or put that money toward another device? Start by photographing and recording the defect before contacting support. Then compare the quote with these typical ranges from HP, which vary by device and screen quality.
| Repair option | Typical cost | When it is worth considering |
|---|---|---|
| Backlight replacement | $100 to $300 | Uneven lighting is the main fault and the device justifies the repair expense |
| Screen panel replacement | $150 to $500 or more | Damage is limited to the display, particularly on an expensive device or one covered by warranty |
| Internal cable reconnection | $50 to $150 for labor | A loose internal connection is responsible for the problem |
Replacement becomes more sensible when the quote exceeds half the price of a new device. The same applies if your computer is at least five years old or several components are failing. Backlight work can offer poor value on an older or budget laptop. If you do replace it, our looks at the Surface Laptop Ultra and the M6 MacBook Pro can help you compare.
Repair deserves consideration when your device is otherwise working well and the fault is confined to the display. Warranty coverage or an expensive device can make that choice more attractive. HP gives $100 to $200 as an example of a reasonable repair cost.
Standard warranties commonly cover manufacturing defects and premature component failure, often for one to three years. Normal wear, pressure damage and heat exposure are frequently excluded, so check your actual coverage before authorizing work.
You may have other protection too. An accidental-damage plan can cover physical damage, and some credit cards extend the manufacturer’s warranty. Your photos and videos help document the problem when you contact support.
How to Stop Discoloration Coming Back
Once your colors look normal again, a few everyday habits can help keep them that way. You cannot prevent all panel aging, but you can reduce unnecessary pressure, heat exposure and display wear.
- Handling: Close your laptop using both hands so pressure is distributed evenly. Remove pens, earbuds and other objects from the keyboard before closing the lid. Use a padded sleeve during transport and avoid bags that squeeze the display.
- Heat and sunlight: Keep the device away from direct sunlight and hot cars. HP recommends moderate temperatures of 60 to 80°F, or 15 to 27°C. Keep vents clear of blankets and pillows, consider a cooling pad if needed, and avoid leaving your laptop running closed for long periods.
- Cleaning: Use a soft microfiber cloth with distilled water or a screen-safe cleaner, applying only light pressure. Clean keyboard debris too, because it can reach the display when you close the laptop. Avoid household cleaners, harsh chemicals and paper towels.
- OLED and static images: Avoid leaving the same content displayed for hours. Use a screensaver or automatic sleep after five to ten minutes without activity. Dark mode can reduce OLED pixel wear, while avoiding prolonged high brightness helps limit display aging.
- Maintenance: Check graphics drivers regularly, with HP recommending quarterly updates. Recalibrate your display every three to six months and shut the device down properly. Protect it from excessive humidity, and let condensation clear before powering it on after moving from a cold environment into a warm one.
Keep pressure gentle, airflow clear and static content brief. These habits reduce the risk of another display problem, even though they cannot stop components from aging.
FAQs
A mild pressure spot can fade after you remove the force and leave the display alone for 24 to 48 hours. Damage caused by severe compression or aging materials usually remains. A software tint generally needs a change to the relevant color controls or driver.
A blue light filter, changed color profile or driver conflict can suddenly make your display warmer. Check whether the change followed an update or happens after login. Laptop color utilities can apply their own adjustments, even when Windows Night light is off.
Your warranty may cover discoloration caused by a factory defect or unusually early component failure. Coverage commonly runs for one to three years, while ordinary wear, pressure damage and heat exposure are often excluded. Check whether you also have accidental-damage protection.
Discoloration can become worse over time when the panel or backlight is deteriorating. Yellowing may begin around an edge or corner and gradually become more noticeable. Compare photographs taken over time so you can show support how the affected area has changed.
Use single-color test images and a gray background to look for uneven tinting or brightness. Compare the defect in BIOS or UEFI and with another display, cable or input. Take a photo so you have a record for later comparison.
Excessive laptop heat can damage display materials and cause yellowing, but a nearby vent alone does not identify the cause. Prolonged heat can degrade adhesives, polarizers and liquid crystals. Check for obstructed airflow and fan trouble, especially if the colors deteriorate during use.
Final Word
Start with fix 1, then use the 2-minute test to narrow down what your screen is doing. Compare the result after each relevant fix. You may find that a color control or connection change is enough.
If the defect remains visible in BIOS or follows the monitor across every source, stop repeating software adjustments and arrange an inspection. Bring your photos and test results with you so the repair shop can assess the problem.
