




Key Takeaways
- Prepare Your Echo: To use Alexa's online voice functions, you need Wi-Fi credentials, your Amazon login, the included adapter, and an updated Alexa app. Echo speakers use the app, Echo Show and Echo Hub offer screen controls, and Echo Spot 2024 can use a QR code.
- Connect Your Echo: Add your Amazon Echo through Devices, then Add Device, or hold the Action button until orange appears. Change networks through Device Settings, use screen controls or manual entry, try a phone hotspot, reuse saved passwords, and leave a factory reset until last.
- Fix Connection Failures: After a router change, update your Echo's credentials; sign-in-page Wi-Fi may require MAC address approval. Restart your Echo, check placement, router, password, bands, and app updates before considering a factory reset that erases configuration, then use Help & Feedback for further support.
Your new Echo is plugged in, or your new router is online, but Alexa still cannot reach the internet. To connect Alexa to Wi-Fi on an existing speaker, open the Alexa app, select Devices, choose your Echo, then open Device Settings and select Change or remove a Wi-Fi network. For a new speaker, select the plus icon in Devices, then Add Device. Echo Show and Echo Hub offer on-screen network controls, while Echo Spot 2024 can direct you into the app through a QR code.
Sounds simple enough, right? Here’s the catch. Older instructions may tell you to look for Change beside Wi-Fi Network, connect your phone to a temporary Amazon network, or use a browser. Those instructions do not always match the process you see today.
You see, getting connected starts with choosing the right route for your Echo. A speaker without a screen uses the app, while a display gives you another way to reach its network controls. Before you start pressing buttons, though, check what your Echo needs and what its lights are telling you.
What Your Echo Needs Before It Can Get Online
Have your network credentials and Amazon login ready before opening the app. Use the power adapter that came with your Echo, and download or update the Alexa app before starting.
Should your phone’s Bluetooth be on? Yes, alongside Wi-Fi, because current setup can find your Echo through its Bluetooth signal.
| Requirement | What works | What to watch for |
|---|---|---|
| Power | Your Echo’s included power adapter | Amazon includes checking the original adapter among its troubleshooting steps |
| Amazon account | Your account email address or phone number, plus its password | Have your login details available for setup |
| Wi-Fi credentials | The name and password of your intended network | A changed password means your Echo’s saved connection needs updating |
| Alexa app | The latest available app version | Update it before retrying a setup that fails |
| Phone connections | Wi-Fi and Bluetooth enabled | Current app setup can use Bluetooth to locate the Echo |
| Home network | Amazon lists 2.4 GHz and 5 GHz support with 802.11a/b/g/n | Ad-hoc and peer-to-peer networks are unsupported |
| Model-specific Wi-Fi | Echo Dot Max specifications include Wi-Fi 6E and 802.11a/b/g/n/ac/ax | Amazon’s general help text does not list every newer model’s capabilities |
| Personal network security | Amazon documents WPA/WPA2 PSK in its manual-entry process | Its cited guidance does not confirm WPA3 or WEP compatibility |
| Enterprise security | Third-party setup guidance lists WPA2-Enterprise as unsupported | Treat this as unofficial guidance rather than an Amazon-confirmed specification |
Here’s the thing. The general compatibility list does not mean every Echo has identical Wi-Fi hardware. If your router uses WPA3 only and setup fails, we’ll cover the qualified mixed-mode workaround later.
What the Light Ring Tells You During Setup
An orange ring means your Echo is in setup mode or attempting to get online. Spinning teal and blue comes earlier, while the speaker starts.
Purple needs a little more attention. During initial setup, it indicates a Wi-Fi problem, but a purple flash after a request means Do Not Disturb is enabled.
| Light | What it means | What to do |
|---|---|---|
| Spinning teal and blue | Your Echo is starting | Wait for startup to finish before continuing |
| Orange | Setup mode is active, or your Echo is attempting an internet connection | Continue the app’s setup prompts |
| Purple during initial setup | A Wi-Fi connection problem has occurred | Check the network connection before continuing |
| A quick purple flash right after you ask something | Do Not Disturb is switched on | Do not treat this alone as a failed Wi-Fi connection |
| Solid red | Your microphone is disabled | Check the microphone button if Alexa does not respond |
| Blue after completing setup | Amazon’s setup guide uses this as the cue that Alexa is ready | Try asking Alexa for music, news, or the weather |
| Yellow | You have a notification | Treat it as a notification indicator |
| Green | A call or Drop In is involved | Treat it as a calling indicator |
| White | The light indicates volume | Do not use it to judge your Wi-Fi connection |
A red light can explain why Alexa seems unresponsive without proving that your Wi-Fi has failed. That said, if purple appears during initial setup, your next move is to check the connection rather than the microphone.
How to Connect Alexa to Wi-Fi
Start with the method that matches your Echo and what you need to change. A new Echo Dot, Echo Pop, Echo, or Echo Studio uses the app’s add-device process, while an existing speaker has a separate control for changing networks.
No orange light, or an Echo with a screen? Those need different steps. You do not need to work through every method below, so go directly to the one that fits.
1. Add Your New Echo Speaker
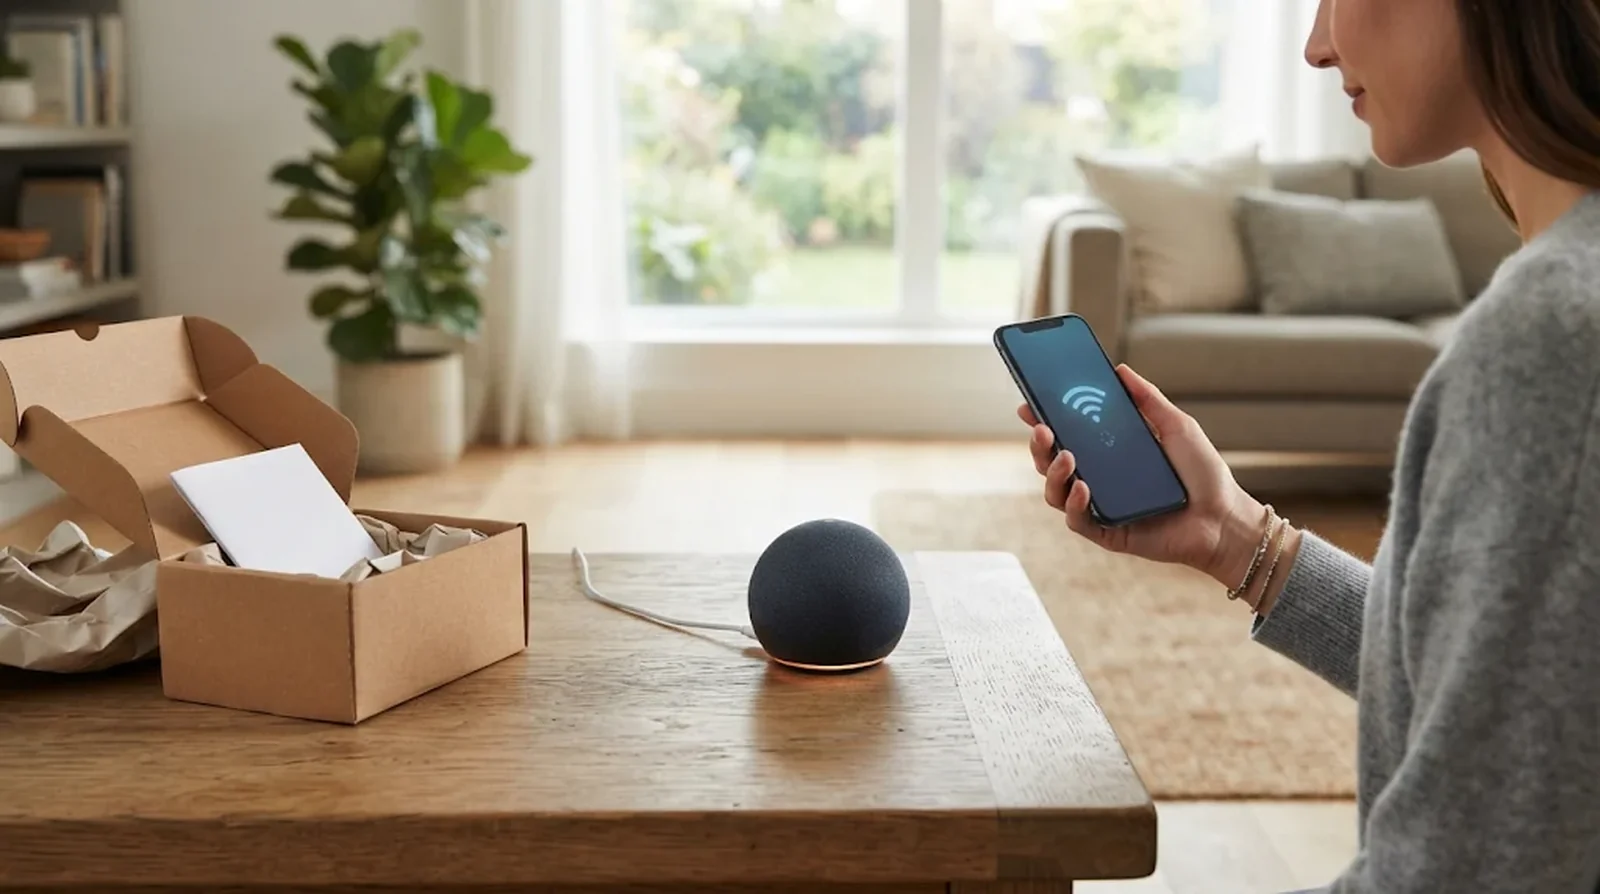
Use this method when you are connecting an Echo speaker for the first time. Amazon documents the same app route for models including Echo Dot, Echo Pop, and Echo Studio.
Your app may offer to begin setup as soon as you open it. If that does not happen, you can add the speaker yourself through Devices. An older Amazon guide points you toward More, but the current instructions use the plus icon.
Here’s the thing. Older walkthroughs may tell you to join a temporary network named Amazon-XXX, while current setup can locate your speaker through Bluetooth. Follow the process your app presents rather than waiting for an older screen to appear.
How to Do It
- Plug your Echo into an outlet using its included adapter.
- Enable Wi-Fi and Bluetooth on your phone.
- Open the Alexa app and select Devices.
- Tap the plus icon, then choose Add Device.
- Select Amazon Echo.
- Choose Echo, Echo Dot, Echo Pop and more.
- If Available Devices appears, select your Echo.
- Follow the remaining prompts to select your Wi-Fi network and enter its password.
- If the app specifically asks you to connect your phone to an Amazon-XXX network, complete that step before continuing.
2. Get Your Echo Into Setup Mode
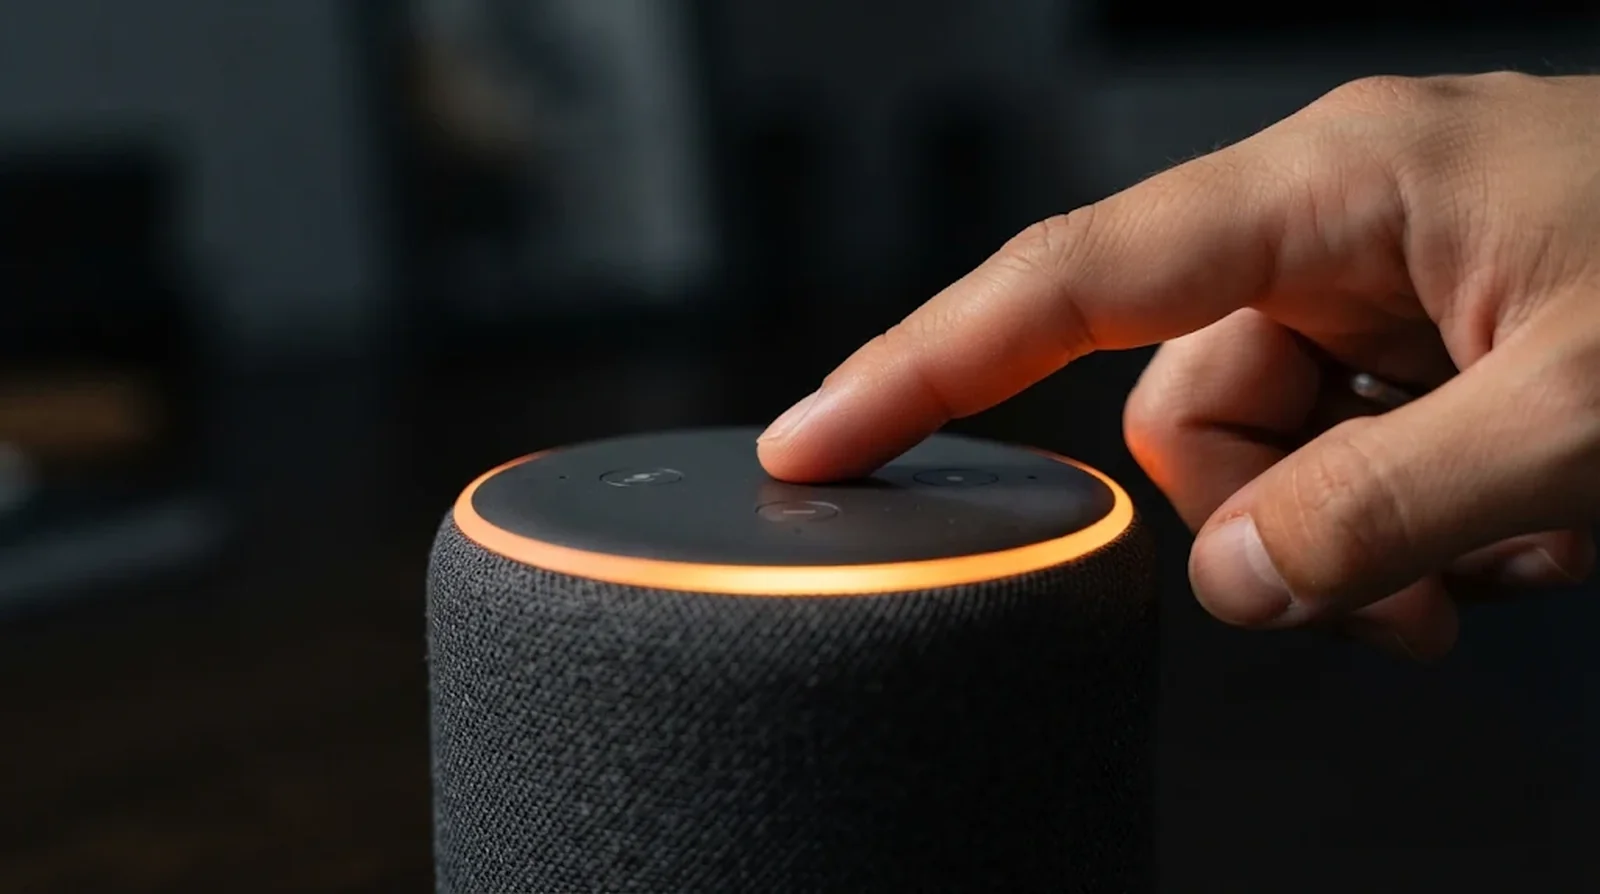
Your new Echo should enter setup mode after you plug it in. Give it one to two minutes before deciding that the orange light is missing.
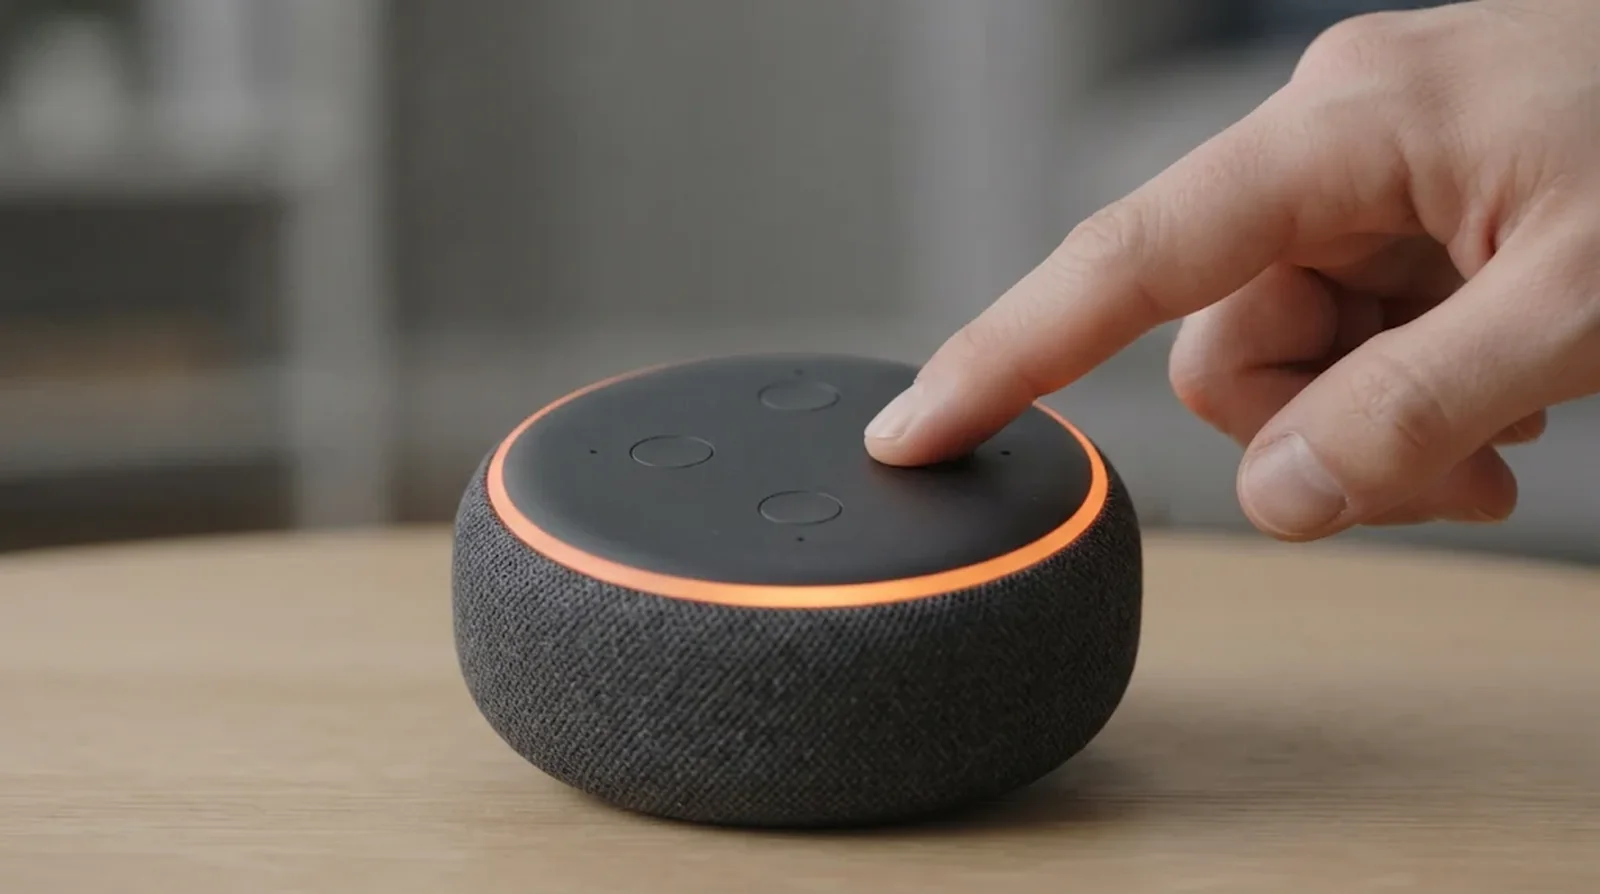
Still waiting? Restart the speaker, then try its Action button. Hold the Action button until you see an orange ring, which can take up to 20 seconds.
You may have seen guides giving different hold times. That variation means you should watch for the orange light rather than rely on one short countdown for every model. For an Echo Show, Spot, or Hub, use the screen method below instead of assuming this button procedure applies.
How to Do It
- Allow your newly powered Echo one to two minutes to start.
- If orange does not appear, disconnect its power for 30 seconds, then reconnect it.
- Find the Action button, identified by a dot.
- Press and hold it until the ring becomes orange, allowing up to 20 seconds.
- Listen for a possible announcement that setup mode has begun.
- Return to the Alexa app and continue the appropriate setup or network-change process.
3. Change Your Echo’s Network
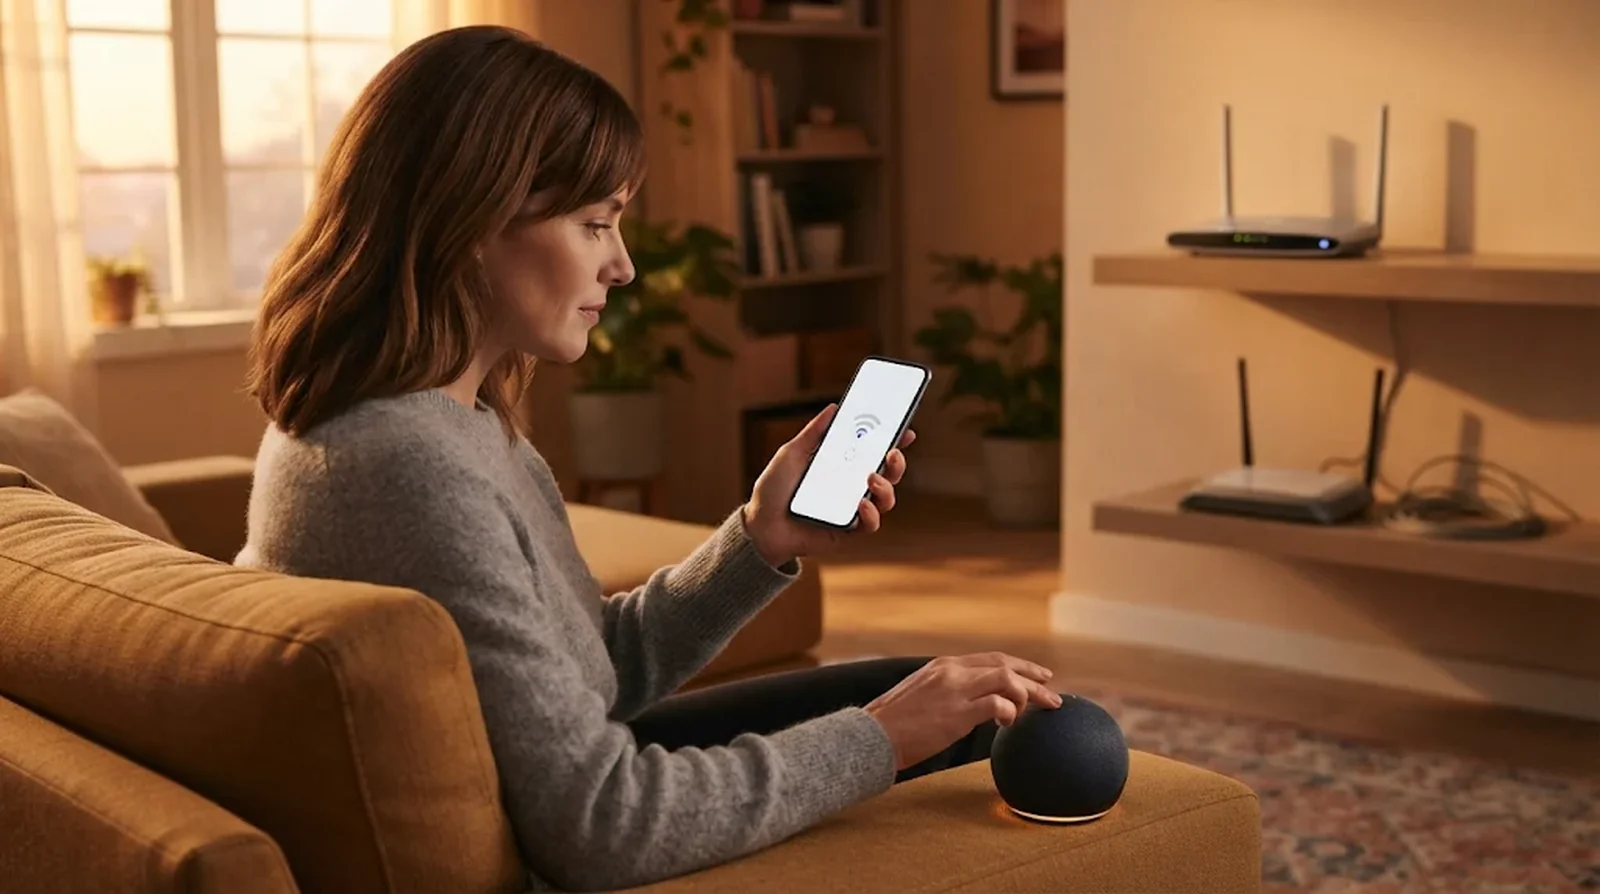
Use this method after replacing your router, changing internet providers, or updating your Wi-Fi password. You can choose a previously used network or enter another one through your existing Echo’s device page.
Amazon’s current control is Change or remove a Wi-Fi network, inside Device Settings. On some app versions, you may instead see Change beside Wi-Fi Network. Older walkthroughs may include Echo & Alexa, Status, or a gear icon along the way.
Trying to do this in a browser? Android Authority reported that alexa.amazon.com had become a QR-code route to the mobile app. The newer Alexa.com service has no confirmed Echo Wi-Fi setup route, so use the app for your speaker.
How to Do It
- Open the Alexa app.
- Select Devices and choose the Echo you want to reconnect.
- Open Device Settings.
- Select Change or remove a Wi-Fi network.
- Choose a previously connected network, or select Join another Wi-Fi Network.
- Follow the prompts to complete the connection.
If your app uses the older label, follow the matching route.
- Open your Echo’s device page.
- Look for Wi-Fi Network, which some versions place under Status or behind the gear icon.
- Select Change beside the network name.
- Follow the instructions, including entering setup mode if requested.
4. Use Your Echo’s Screen
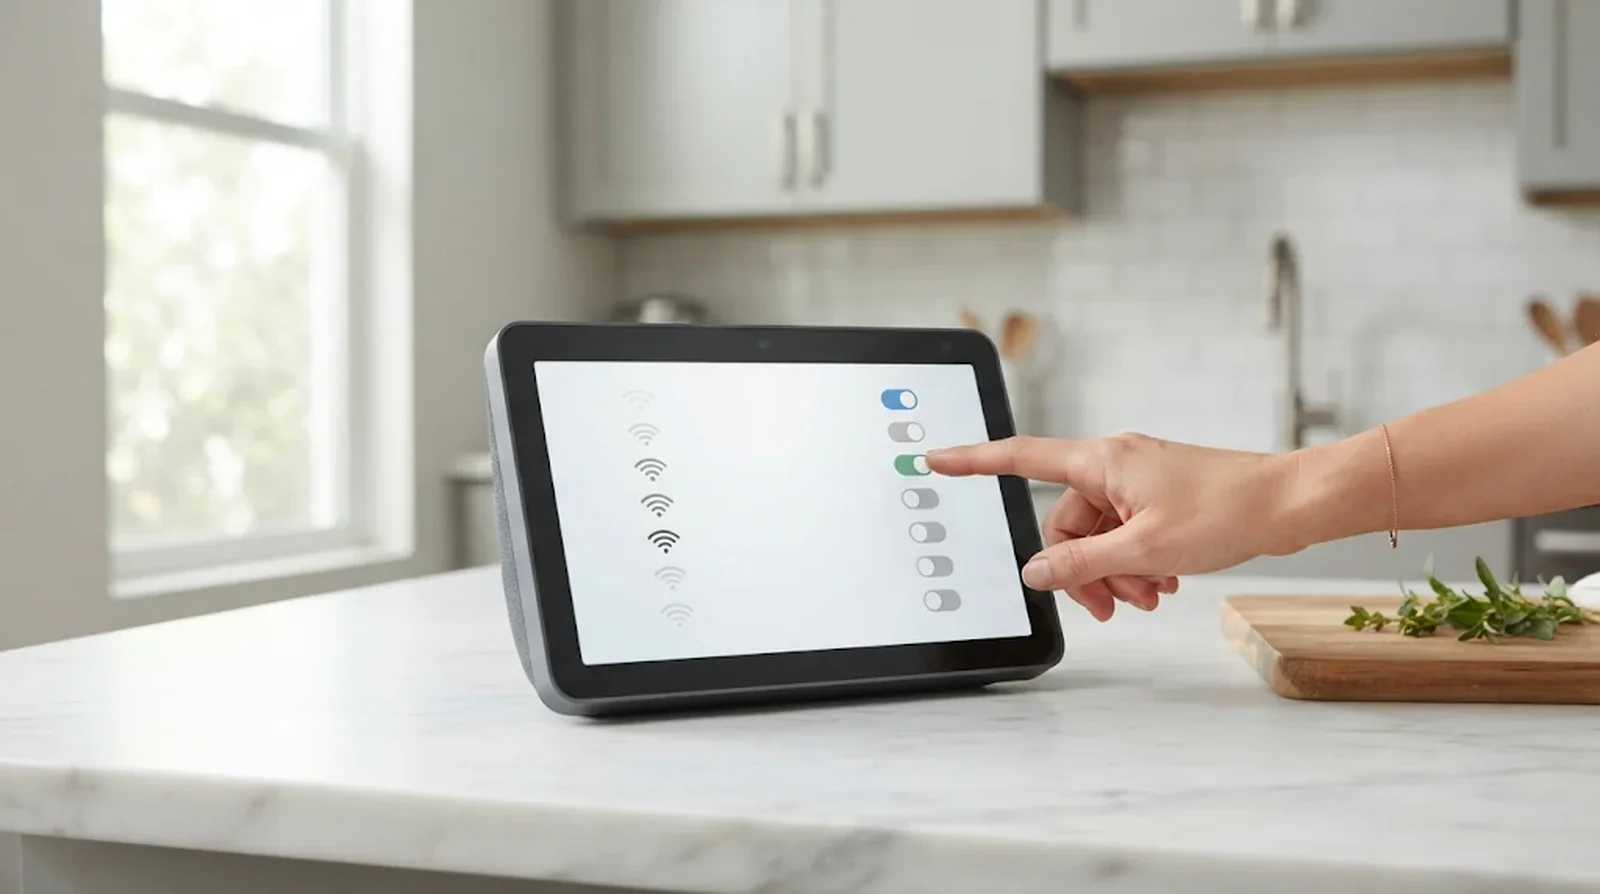
With an Echo Show or Echo Hub, you change Wi-Fi on the device itself. A new Echo Show also guides you through connecting during its initial on-screen setup.
Already using Alexa+? Open the Menu icon to reach Settings, rather than relying on the original Alexa swipe-down route. Amazon also warns that Echo Hub and all Echo Show 5 generations may display different menu labels, with a software update planned.
Echo Spot 2024 has its own documented QR-code process. Its screen can send you into the Alexa app, so having a display does not mean every part of its setup happens without your phone. Still choosing a screen model? See whether the Echo Show 16 or a cheaper Echo fits you.
How to Do It
For an Echo Show, Echo Hub, or screen device using the network menu, follow these steps.
- Swipe down from the top and select Settings, or open Settings by voice. With Alexa+, tap the Menu icon, then Settings.
- Select Device Options.
- Open Network.
- Make sure Wi-Fi is enabled.
- Select your network and complete the prompts.
- If your network is missing, tap the refresh icon. We’ll cover manual entry in the next method.
For a new Echo Show, begin with its initial setup.
- Plug the Echo Show into an outlet.
- Wait for the display to start and Alexa to greet you, which Amazon says takes about a minute.
- Follow the on-screen instructions to select Wi-Fi and complete setup.
For an Echo Spot 2024, use its QR-code route.
- Plug in your new Spot and find the QR code on its display. If an existing Spot shows Wi-Fi Off, tap that icon to begin the reconnection process.
- Scan the displayed QR code with your phone.
- Open the link to launch or download the Alexa app.
- Follow the guided instructions to connect your Spot to Wi-Fi.
- If requested, visit amazon.com/code and enter the displayed registration code.
If you want to begin a new Spot’s setup manually, use the app.
- Open the Alexa app.
- Tap Add.
- Follow the prompts to set up your Spot and join your network.
5. Enter a Missing Network Yourself
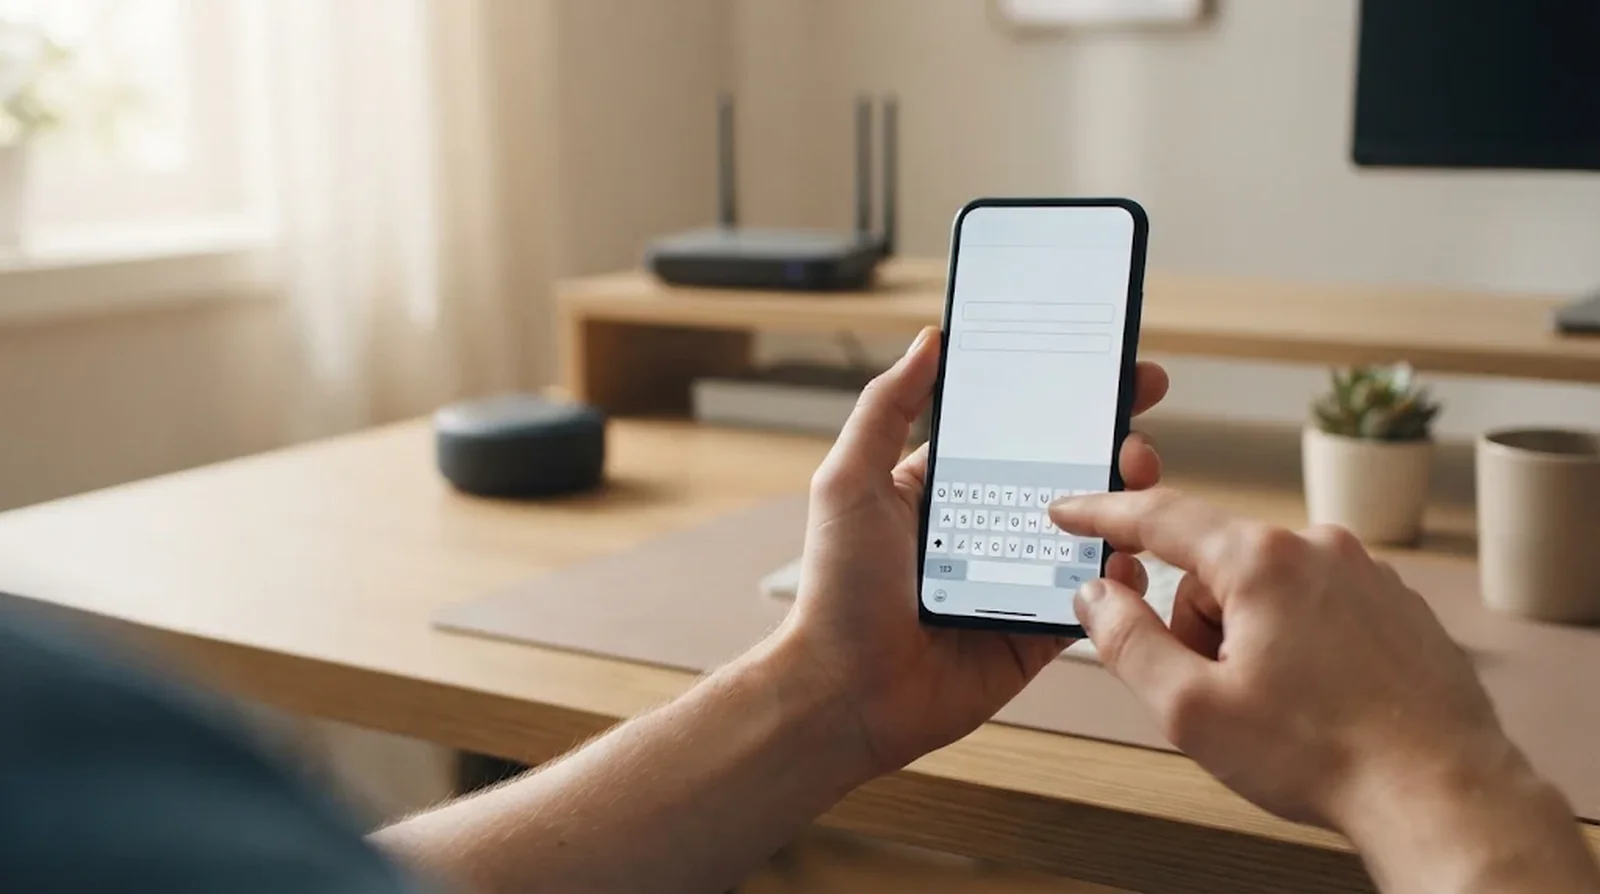
Your network is not appearing in the list? On an Echo with a screen, try refreshing the list before entering its details manually. Amazon documents a manual-entry route through Preferences.
Here’s the catch. That documented route applies to screen devices, while older speaker instructions mention Add a Network or Rescan only when those controls appear. Do not assume your speaker’s app will offer every option shown on an Echo Show.
How to Do It
For an Echo with a screen, use the manual network controls.
- Open Settings, then Device Options.
- Select Network.
- Tap the refresh icon to check for your network again.
- If it remains missing, open Preferences.
- Select Add a Network.
- Enter your network’s name.
- Choose WPA/WPA2 PSK as the security type.
- Enter your password, matching its capitalization.
- Tap Save.
For an Echo speaker, follow the controls available in your app.
- Begin the network-change process described in method 3.
- If Rescan appears, select it to refresh the available networks.
- If Add a Network appears, use it to enter your network details.
- Complete the remaining prompts.
6. Try Your Phone’s Hotspot
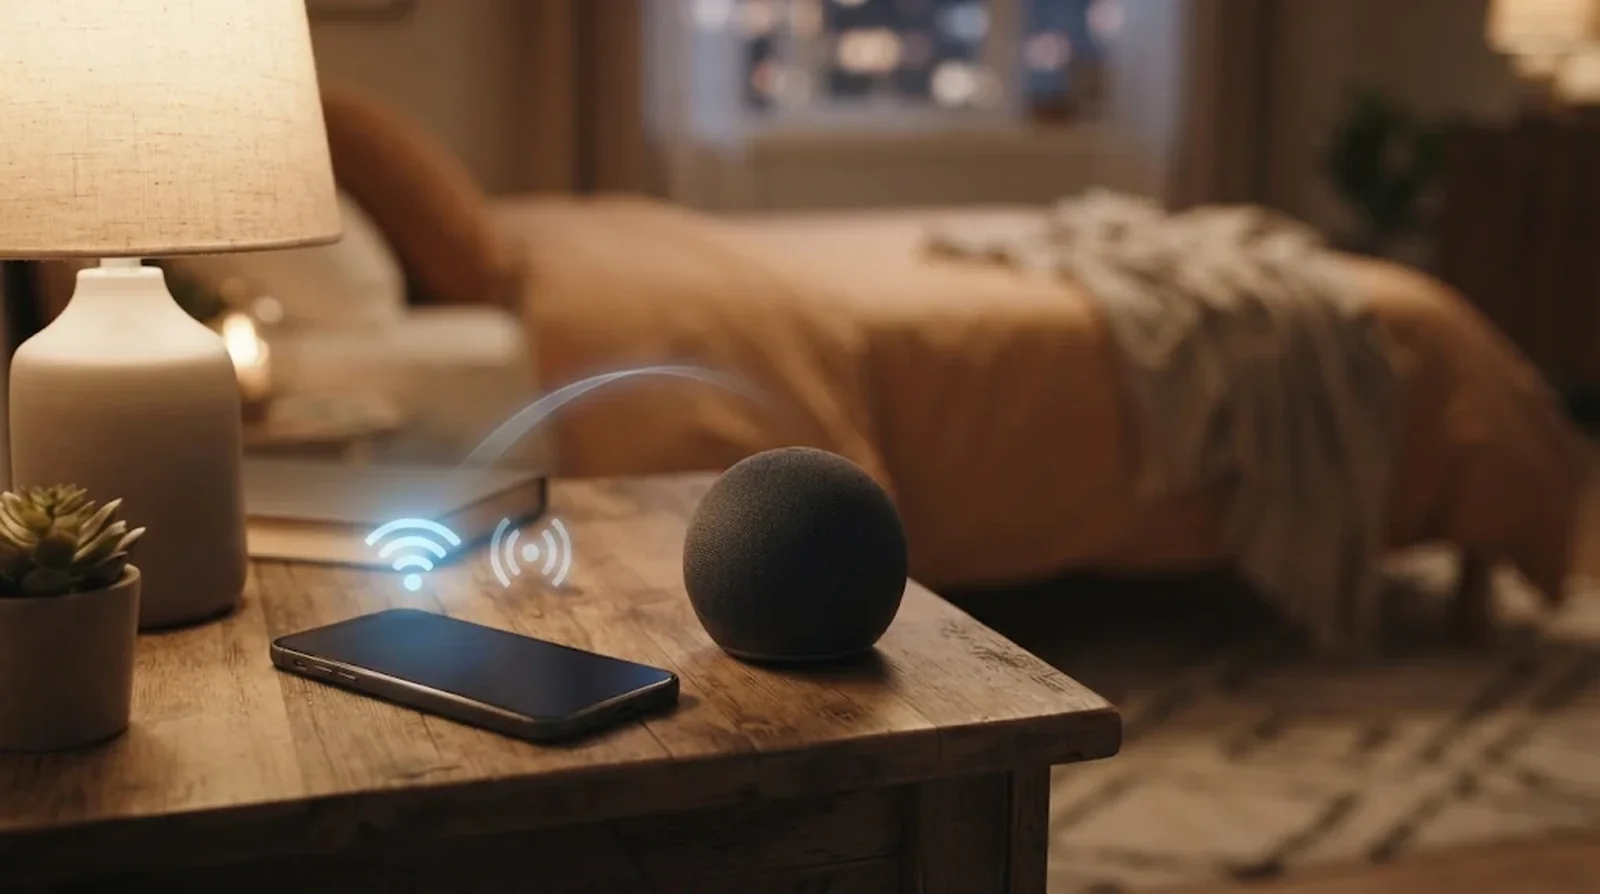
Still unable to finish setup on your home network? Amazon recommends trying your phone as a Wi-Fi hotspot when other setup checks fail. Your Echo then uses the hotspot as its internet connection.
That said, the connection uses mobile data. Guiding Tech reports that an Echo can reconnect to a previously configured hotspot when you turn it on again, but that does not repair your home Wi-Fi.
How to Do It
- Enable your phone’s Wi-Fi hotspot.
- Begin the appropriate connection method for your Echo speaker or screen device.
- Choose your hotspot’s network from the available connections.
- Enter the hotspot password when requested.
- Complete the setup prompts.
- When you want to return to home Wi-Fi, use the network-change method for your Echo.
7. Reuse Your Saved Wi-Fi Password
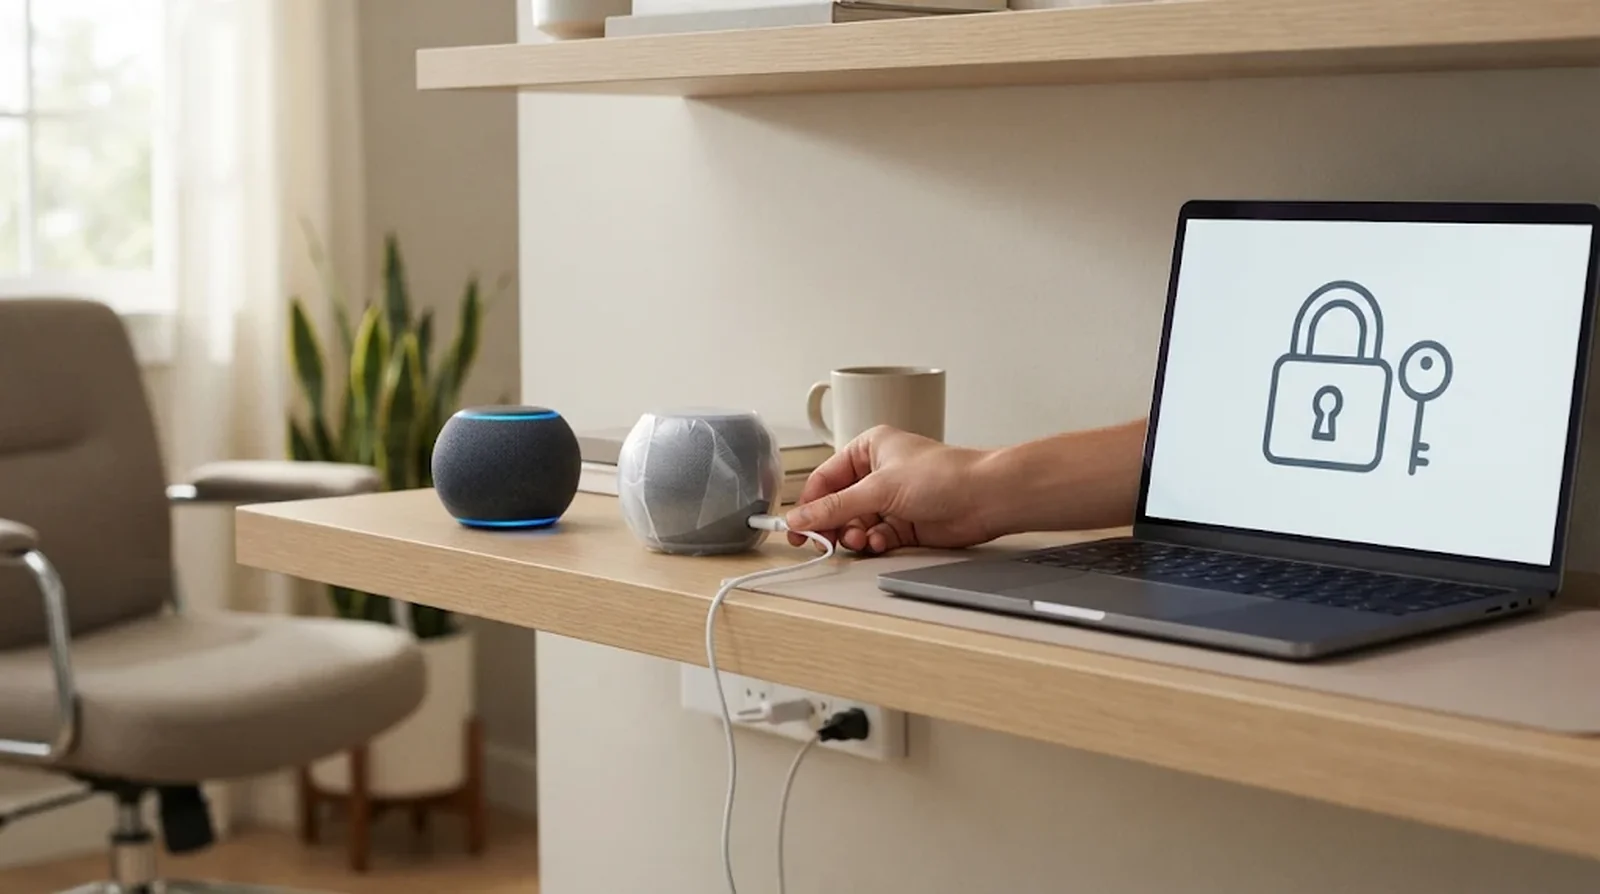
Adding another Echo does not always mean entering the same password again. Amazon can store encrypted Wi-Fi passwords and use them to connect compatible devices.
Through Frustration-Free Setup, an Echo already online can help another compatible device connect using your saved credentials. If you bought the new device through Amazon and linked it to your account at checkout, setup may begin automatically when you power it on.
Want control over what gets saved? You can decline password storage when entering your credentials or delete saved passwords later. Amazon also provides a separate control for allowing Amazon Family members’ devices to use them.
How to Do It
For a compatible device using Frustration-Free Setup, follow these steps.
- Check that your Wi-Fi password has been saved to your Amazon account.
- Keep an existing Echo online so it can act as a helper.
- Power on the new compatible device linked to your account.
- Follow any remaining setup prompts if automatic setup does not finish.
- After changing your network password, run Wi-Fi setup again to save the replacement.
To remove passwords saved to your account, use the account controls.
- Open Manage Your Content and Devices.
- Select Preferences.
- Open Saved Wi-Fi Passwords.
- Select Delete.
To manage password sharing with Amazon Family, use the sharing control.
- Open the saved-password controls.
- Clear the option labeled Also allow Amazon Family members’ devices if you do not want that sharing enabled.
8. Reset Your Echo as a Last Resort
A reset belongs near the end of your troubleshooting, after restarting and trying the normal connection methods. The procedure depends on your exact Echo model, so check its generation before pressing buttons.
A full factory reset erases everything stored on your Echo, and you will need to set it up again. Some models offer a separate reset that retains smart-home connections, so choose carefully.
You see, the same button sequence does not cover every Echo. Use the matching instructions below rather than applying an Echo Dot procedure to an Echo Pop, Echo Studio, or another model.
How to Do It
For an Echo Dot from the second through fifth generation, this option retains smart-home connections.
- Press and hold the Action button for 20 seconds.
- Wait for the ring to go dark and light up again.
- Continue setup once the speaker enters setup mode.
For a full factory reset of an Echo Dot from the second through fifth generation, use both buttons.
- Press Volume down and Microphone off together.
- Keep both pressed for 20 seconds.
- Once the Dot enters setup mode, repeat the new-speaker setup process.
For an Echo Show or Echo Spot, use the on-screen reset route.
- Open Settings. With Alexa+, reach it through the Menu icon.
- Select Device Options.
- Open About this Device.
- Choose Reset to Factory Defaults.
- Complete setup again after the reset.
For Echo Show second generation or Echo Show 10, you can select the option that retains smart-home connections.
- Open the same reset menu.
- Choose Reset to Factory Defaults but retain Smart Home Device Connections.
- Follow the remaining instructions.
For screen models with the documented Microphones & Camera off control, Amazon also provides a button route.
- Press Microphones & Camera off and Volume down together.
- Keep them pressed until the Amazon logo appears, which takes about 15 seconds.
- Complete the on-screen setup after the reset.
For Echo Hub, use its own menu wording.
- Open Settings, then Device Options.
- Select About the Device.
- Choose Reset to Factory Defaults.
- Follow the setup instructions after it resets.
For a first-generation Echo, use the recessed Reset button.
- Find the Reset button and use a paper clip to press it.
- For a reset that retains smart-home connections, use a brief press. For a factory reset, keep the button pressed for eight seconds instead.
- Wait for the ring to turn off and return.
- Continue setup when the Echo enters setup mode.
Reconnect Alexa After a Router or Provider Change
Your new internet connection works on your phone, but your Echo is still offline. Amazon says you should update your Echo’s network connection after changing your router, internet provider, or Wi-Fi password.
Before resetting anything, check whether you can reuse your previous network credentials or select the new network normally. Community reports describe both options, along with cases where the app remains stuck on the old connection. Shopping for a new router too? Read what the FCC warning on TP-Link routers means for you first.
Reuse Your Previous Network Name and Password
Want to avoid reconnecting every device separately? Community advice on Mumsnet suggests giving your replacement network the same name and password as the previous one. Your Echo may then reconnect using the credentials it already knows.
Treat this as a community suggestion, not an Amazon-guaranteed fix. If your Echo remains offline, move on to its normal network-change controls rather than assuming matching credentials will solve every router compatibility problem.
Select the New Network in the App
Seeing your old network does not necessarily mean you cannot choose another one. Amazon’s current app instructions let you select a previously connected network or join a different network from your Echo’s device page.
Here’s the thing. The control you need is Change or remove a Wi-Fi network, although some app versions show Change beside Wi-Fi Network. Start with the current wording and use the older label only if that is what your app displays.
- Open the Alexa app and select Devices.
- Choose your Echo, then open Device Settings.
- Select Change or remove a Wi-Fi network.
- Choose Join another Wi-Fi Network.
- Follow the prompts to connect to your replacement network.
For an Echo with a screen, make the change on the device. Open Settings, then Device Options, then Network, and select your new connection.
Deal With an App Stuck on the Old Network
What if the old network is all you see and the app keeps spinning? An Xfinity forum poster reported resolving that situation by factory-resetting the Echo and adding it again as a new device. That is one reported fix, so keep it behind the normal connection checks.
A factory reset erases the Echo’s stored configuration. For an Echo Dot from the second through fifth generation, Amazon documents holding Volume down and Microphone off together for 20 seconds. For other models, use the matching reset instructions in method 8.
You can also remove old passwords stored with Amazon if needed. Password deletion and a device reset are separate actions, so choose the one that addresses what you need to clear.
- Open Manage Your Content and Devices.
- Select Preferences.
- Open Saved Wi-Fi Passwords.
- Select Delete.
- If you have factory-reset your Echo, add it again through the new-device process.
Connect Alexa to Wi-Fi With a Sign-In Page
Your hotel, dorm, or apartment network may ask you to open a page before internet access begins. That extra login step can prevent an Echo from connecting even when you know the network name.
The useful options depend on what the network operator allows. You may need device registration, a travel router, or a phone hotspot rather than another attempt at the same login page.
Understand Why the Login Page Fails
Your Echo does not have a browser for completing a network’s sign-in page. In an apartment-community Wi-Fi discussion, a forum poster reported that the Alexa app displayed a blank page when it reached the website login step.
Amazon explicitly says captive-portal configuration is unsupported for Alexa Smart Properties. That statement concerns its business service, so it should not be presented as a blanket consumer-support policy for every Echo. The reported blank-page problem still explains why an ordinary password-based setup may not work on your network.
Register Your Echo’s MAC Address
Your school or hotel may offer a way to approve the Echo directly. University instructions describe registering its MAC address, while hotel forum discussions suggest asking staff to add that address to an approved-device list.
Where do you find it? During app setup, look on the Wi-Fi page or near the bottom of Echo Setup. On an Echo Show, university guidance places it at the bottom of Connect to Network, while other university instructions point you to About on the device’s Alexa app page after setup.
- Find your Echo’s MAC address using the relevant screen.
- Ask your school, hotel, or building’s network team whether it supports device registration.
- Submit the address through its registration portal, or ask staff to approve it.
- Follow that network’s connection instructions.
If your dorm gives you a password specific to that device, University of Surrey guidance recommends leaving password storage with Amazon unchecked. Keep that instruction separate from MAC registration, since your campus determines which credentials and registration steps you need.
Try a Travel Router or Phone Hotspot
Hotel forum discussions suggest a travel router as another option. The idea is to complete the network login through that router and connect your devices through it, but this remains community advice rather than an Amazon-documented hotel setup method.
A phone hotspot is also suggested in travel discussions, and Amazon recommends it as a fallback for failed Echo setup. It uses mobile data, so keep that in mind before using it for streaming audio.
- If you choose a travel router, complete its connection and sign-in process for the hotel or building network.
- Connect your Echo to the travel router’s Wi-Fi using the appropriate app or screen method.
- If you choose a phone hotspot instead, enable it and select its network during Echo setup.
- Complete the remaining connection prompts.
Set Up an Echo for Someone in Another Home
Helping a parent or relative does not always mean you can finish everything remotely. Amazon documents a way to prepare an Echo Show with their network details before sending it, while speakers have different options.
Start by keeping their Amazon account and Wi-Fi credentials separate from yours. Buying the device as a gift helps avoid having it registered to your account.
Prepare an Echo Show Before Sending It
Amazon’s documented method lets you add your relative’s Wi-Fi details while the Echo Show is still at your home. You enter their network manually, use their Amazon account, and send the device after preparation.
Once powered on at their home, the Show can join the network you entered. Here’s the catch. The password is case-sensitive, so enter it with the correct capitalization before selecting Save.
- Buy the Echo Show as a gift so it is not registered to your account.
- Begin setting it up at your home using your relative’s Amazon account.
- Open Settings, then Device Options, then Network.
- Select Preferences, then Add a Network.
- Enter their home Wi-Fi name.
- Choose WPA/WPA2 PSK.
- Enter their Wi-Fi password and select Save.
- Unplug the Echo Show and send it to them.
- Have them connect it to power at home so it can join the saved network.
Plan Local Help for an Echo Speaker
Amazon documents the preloaded-network method above for screen devices. For a compatible speaker, Frustration-Free Setup may help if your relative’s Amazon account already stores their network password and the device is linked to that account at checkout. Automatic setup can then begin when they power it on.
If automatic setup does not work, plan for someone with a phone to be near the Echo. Current app setup can locate the speaker through Bluetooth, so having local help nearby is the practical reality of that process. Amazon does not spell out a nearby-person requirement in its setup instructions.
- Check whether your relative’s Wi-Fi password is saved with their Amazon account.
- For Frustration-Free Setup, make sure the compatible device is linked to their account at checkout.
- Have them power on the speaker at home.
- If guided setup is still needed, arrange for them or another helper to use the Alexa app near the Echo.
- Complete the new-speaker or network-change method using their account and home network.
Why Your Echo Still Won’t Connect and How to Fix It
Your phone is online, but your Echo still refuses to connect. That does not tell you whether the problem is the speaker, its saved credentials, or the router.
Start with Amazon’s connection checks before changing router controls or erasing your Echo. If those checks fail, move to the network-specific cases below. If your Echo is online but Alexa ignores you, follow our guide to fixing Alexa when it stops responding.
Work Through Amazon’s Connection Checks
Amazon’s general Wi-Fi guidance begins with restarting your Echo, then checking its distance from the router and nearby interference. Follow that order before moving to more disruptive steps.
There is one useful distinction. Amazon’s setup-specific guidance puts updating the Alexa app near the beginning, so check for an update early if you cannot finish initial setup.
- Disconnect your Echo from power for 30 seconds, then reconnect it using its original adapter.
- Keep it within about 30 feet of your router, roughly 9 to 10 meters.
- Keep microwaves, baby monitors and other electronics away from it.
- Test the connection with another device. If that device also cannot get online, restart your modem or router.
- When your other devices are fine, check the Wi-Fi password you entered and temporarily turn off other connected devices.
- If your router broadcasts separate names for 2.4 GHz and 5 GHz, try the other band.
- If you changed your password, router, or internet provider, update the Echo’s network connection through the earlier method.
- Check that your Alexa app is current.
- If the connection remains unreliable, use the reset instructions for your exact model.
- If setup still fails, try your phone’s hotspot as Amazon’s fallback.
Check Networks That Share One Name
Your router may put 2.4 GHz and 5 GHz under a single network name. Amazon’s instruction to try the other band applies when those bands have separate names, so you may not see two choices in the Alexa app.
In an Xfinity forum case, hotspot setup worked when the home connection did not, and staff suggested using the 2.4 GHz connection. Temporarily separating the bands is community troubleshooting advice, not a universal Amazon requirement.
Older Orbi discussions also include reports of success after updating router firmware or disabling ax mode. Those reports concern particular router setups, so treat them as possible checks rather than instructions every mesh owner should follow.
Set Up Your eero Network First
If you use eero, Amazon says to install that network before adding your Echo. Joining the network and using an Echo to extend it are separate functions.
Want your Echo to extend the mesh? Amazon lists these models as supporting eero Built-in.
- Echo Pop
- Echo Dot, fourth, fifth, and sixth generation
- Echo Dot with Clock, fourth and fifth generation
- Echo, fourth generation
- Echo Dot Max
- Echo Studio, 2025 release
- Echo Studio with Home Camera, 2026 release
Enable the extender feature in the eero app through Discover, then Amazon Connected Home, then eero Built-in. That control manages the extension feature, so it does not replace the Echo’s normal Wi-Fi setup process.
Treat WPA3 Advice as a Router Workaround
If your Echo stopped connecting after a router security change, check whether the network now uses WPA3 only. Amazon’s Wi-Fi help pages do not confirm WPA3 compatibility, while its documented manual-entry option is WPA/WPA2 PSK.
Community advice in an Xfinity discussion recommends WPA3-Personal-Transition or WPA2/WPA3 mixed mode when devices cannot connect. That is a reported workaround, not an Amazon promise that the change will fix your Echo.
Recover After a Power Outage
Your internet service may be back while your Echo remains offline. Let the modem and router finish returning online before disconnecting the Echo for 30 seconds and powering it up again.
If several devices still cannot connect, keep checking the network rather than repeatedly resetting one speaker. Amazon suggests allowing a few hours or contacting your internet provider when multiple devices are affected. If your phone shows Wi-Fi but no internet, these iPhone connected to Wi-Fi but no internet fixes can help, and Google speakers have their own Google Home Wi-Fi fixes.
| What you see | Likely cause | What to try |
|---|---|---|
| Your app cannot find the Echo | Bluetooth may be off, or the speaker may not be in setup mode | Enable phone Bluetooth and use the setup-mode method |
| Other devices also cannot get online | A router or internet-service problem | Restart the modem or router and contact your provider if needed |
| Your Echo fails after a password or router change | Its saved connection may need updating | Use the network-change controls |
| Your Echo fails on a shared-name network | Band selection or router compatibility may be involved | Try the other band if available, or consider the qualified router advice above |
| Your Echo fails after a WPA3-only change | The security mode may be involved | Consider the community-reported transition-mode workaround |
| Your Echo stays offline after an outage | Its connection may not have recovered | Restore the router first, then restart the Echo |
| Setup fails at home but works through a hotspot | The home network may need further checks | Review its bands and security mode without assuming one confirmed cause |
What Alexa Can Still Do Without Wi-Fi
Without an internet connection, Alexa cannot process your voice requests. You will need to restore a connection before those services work again.
Your Echo can still serve as a Bluetooth speaker if you paired it with your phone while it was online. You can then use it for audio played from your phone. Alarms and timers created before the connection dropped can still sound, too.
Need Alexa’s online functions before your home connection returns? A phone hotspot can provide temporary internet access using mobile data. Use the hotspot method above to connect your Echo rather than treating Bluetooth audio as a replacement internet connection.
How to Keep Your Echo Connected
A few habits can help you avoid repeating the same connection checks. Keep track of network changes and use the controls that match your Echo model. The same habits keep smart plugs and other gear online too.
- Keep the App Current: Download Alexa app updates before setting up another Echo or retrying a failed connection.
- Use the Included Adapter: Power your Echo with its original adapter, as Amazon recommends in its troubleshooting guidance.
- Check Your Placement: Follow Amazon’s distance guidance and keep the Echo away from microwaves, baby monitors, and nearby electronics.
- Update Changed Credentials: Reconnect your Echo when you change the Wi-Fi password, router, or internet provider.
- Refresh Saved Passwords: If you save credentials with Amazon, completing Wi-Fi setup after a password change can store the replacement.
- Restore the Network First: After an outage, let the modem and router return online before restarting your Echo.
- Prepare Bluetooth While Online: Pair your phone before an outage if you want Bluetooth speaker use available when Wi-Fi is unavailable.
Be careful with phone numbers advertised as Alexa support on spam pages. Use Help & Feedback inside the Alexa app or amazon.com to reach support.
FAQs
An Echo Show can be set up and switched to a new network right on its display, while Echo Hub also provides on-device network controls. Echo Spot 2024 has a QR-code process that takes you into the app. For a speaker without a screen, use the app rather than relying on older browser instructions.
Orange means your Echo is ready for setup or attempting to get online. Purple during initial setup points to a Wi-Fi problem. A purple flash following a request means Do Not Disturb is enabled, so timing matters.
Allow a newly powered speaker one to two minutes to start, then try disconnecting its power for 30 seconds. On models with an Action button, hold it until you see orange, allowing up to 20 seconds. Guides give different durations, so watch the light and use your model’s reset instructions if it remains stuck.
Yes, Amazon lists 5 GHz support alongside 2.4 GHz for Echo devices. If your router gives each band a separate name, Amazon recommends trying the other connection when one fails.
You may be able to, but a hotel’s website login can prevent setup because your Echo has no browser for completing it. Hotel forum advice includes asking staff to approve the Echo’s MAC address or trying a travel router. A phone hotspot is another option, although it uses mobile data.
Alexa’s online voice functions stop, but your Echo can play Bluetooth audio from a phone paired while it was online. Previously created alarms and timers can still sound. A phone hotspot can temporarily restore internet access using mobile data.
Final Word
Start with the connection method that fits your Echo. For an existing speaker, select Devices in the app, choose your Echo, then open Device Settings and use its network-change control. For a screen model, follow its on-device instructions or the Spot’s QR-code route. Once it’s back online, you can even change Alexa’s name and wake word.
Still offline? Work through the fixes in order, leaving a model-specific reset until the simpler checks have failed. Keep your network name and password handy for the next router change, so you can get back to asking Alexa for music, news, or the weather.
