




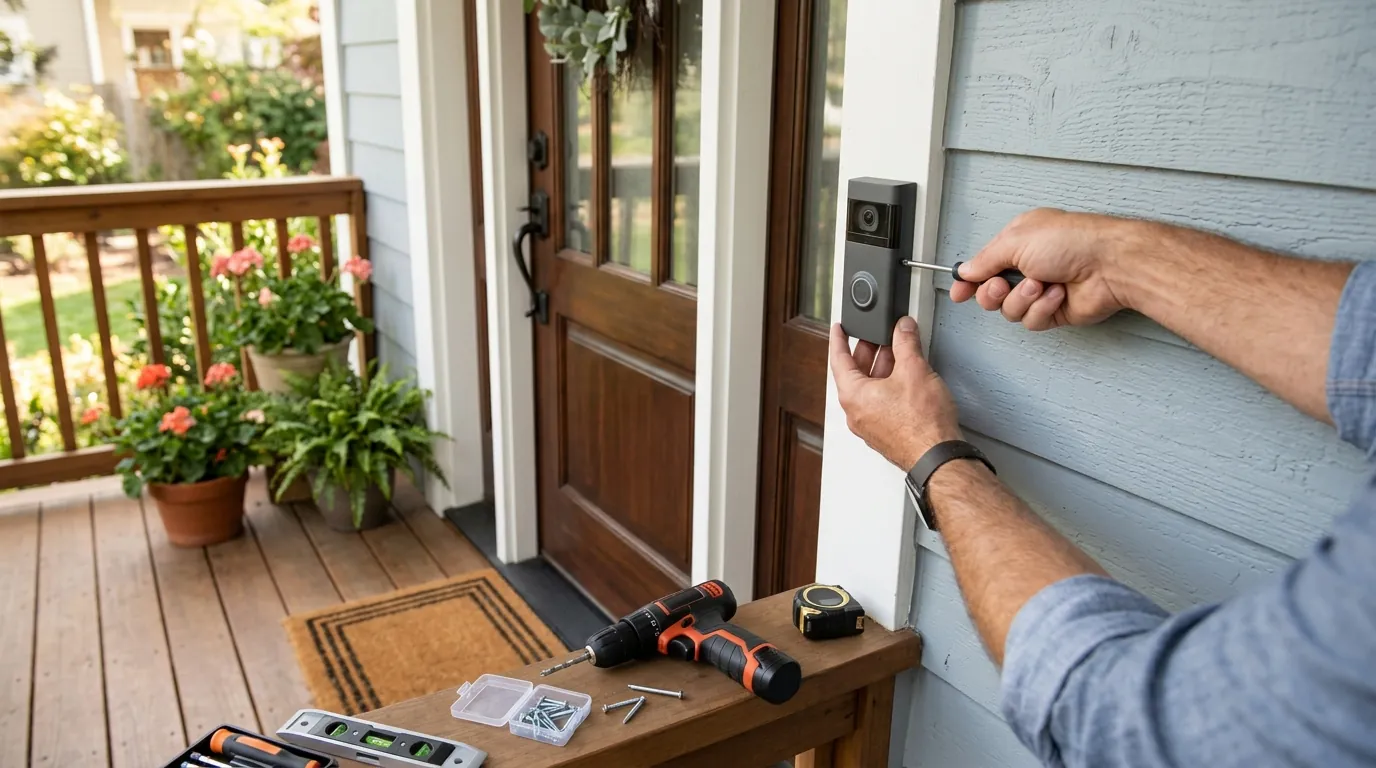
INCOMPLETE DRAFT – DO NOT PUBLISH. ChatGPT hit its 5-hour Work limit on Oct 13 before writing the last sections (no-drill install, DIY vs pro cost, Ring plans, FAQs, Final Word). Internal and external links, Yoast fields and the final checks are also still to do.
Wondering how to install ring doorbell when you’re not sure what to do with the wires? You’ll prepare the power source your model needs, set up the Ring app, secure the doorbell and test it. If you’re connecting existing doorbell wires, switch off the circuit at the breaker before touching them.
Here’s the thing. You don’t need an old doorbell to install a battery model. You can run it on its battery, while supported models can use existing wiring or a compatible plug-in adapter.
Already have wires beside your front door? That doesn’t mean you can connect any Ring model and call it done. Your transformer must meet your doorbell’s requirements, and some models need extra work inside the chime box. Others won’t ring your existing chime at all.
In this guide, we’ll walk you through 9 steps covering battery, wired and plug-in models. You’ll learn what to charge, which parts to prepare, how to mount your doorbell and what to check before testing it. We’ll also cover your options when drilling isn’t suitable and when you should bring in an electrician.
Start by checking your exact model. That one detail tells you which power requirements, mounting instructions and chime connections apply to your installation.
Battery, Wired or Plug-In? Pick Your Install Path First
Do you need existing doorbell wiring? No, you can install a battery model without it. But if you want to use those wires or a plug-in adapter, your doorbell must support that power source. Here’s how your three main options compare.
| Path | What powers it | What you need | Best for |
|---|---|---|---|
| Battery only | Your doorbell’s rechargeable battery | A battery model, charging cable and suitable mount | You have no existing doorbell wires |
| Hardwired | A compatible transformer through doorbell wiring | Suitable wiring, the correct transformer and any required chime accessories | You want to use your existing doorbell circuit |
| Plug-in adapter | An outlet through a compatible adapter | A supported model, Ring Plug-In Adapter and cable clips | You want outlet power instead of a direct transformer connection |
With the battery-only path, you charge your doorbell, complete app setup and mount it. Depending on your model, you’ll charge either a removable battery or the battery built into the unit. No old doorbell button or chime connection is needed.
Already have wiring? You may be able to replace your existing button and connect your Ring doorbell to the circuit serving your indoor chime or directly to a compatible transformer. On supported battery models, that connection supplies a trickle charge. You still need to check the transformer rating and switch off the breaker before handling wires.
Here’s the thing. A wired connection doesn’t guarantee your indoor chime will ring. Video Doorbell Wired requires you to bypass the existing chime, while other installations may need a Pro Power Kit. More on that in the compatibility checks.
Your plug-in option uses an adapter connected to the doorbell’s rear terminals. Ring’s second-generation Plug-In Adapter supports battery doorbells and Video Doorbell Plus, Pro and Wired, but excludes Peephole Cam and Video Doorbell Elite. For this installation, select None or No Chime in the app.
Some models support PoE too. Wired Doorbell 4K Pro has a PoE exception that allows existing chime support, so check its specific instructions if that’s your model.
Your next move is simple. Match your exact doorbell to a supported power source before preparing the wall.
Tools, Parts and Info to Have Ready
Do you need a drill for every installation? No. Your wall material determines that, and your doorbell model determines which extra parts you need. Before you start, work through this checklist so you have the right items ready.
- Mounting screws and anchors: Check bag A for the hardware that secures your doorbell or bracket. You’ll use the anchors on surfaces such as brick, concrete or stucco.
- Faceplate security screw: Keep this separate from your mounting screws. Using the wrong screw here can damage the battery and create a fire risk, so use the supplied security screw.
- Wedge or Corner Kit: Your model may include one of these mounting accessories, along with extra screws and anchors. If you’re using a kit, fit it before attaching the doorbell.
- Wire nuts and extenders: Some models include these wiring accessories. Check your box and the instructions for your exact model before preparing a wired connection.
- Video Doorbell Wired jumper cable: If you have this model, locate the included jumper cable. You need it to bypass an existing indoor chime before connecting the new doorbell.
- Screwdriver and drilling tools: Have a Phillips screwdriver ready. For masonry, you’ll also need a drill with a 1/4 inch or 6 mm bit for pilot holes. Wood generally needs neither drilling nor anchors.
- Ring app and account: Download the app to your phone, then create an account or sign in. Keep your Wi-Fi password available for the connection stage.
- Fully charged battery: Charge your battery model before setup, including when you plan to use solar power. Your charging indicator depends on whether the battery is removable or built in.
Here’s the thing. Your box contents can vary by model. Check what you have, identify each screw and finish charging before moving on.
Check Your Transformer and Chime Before You Touch a Wire
Can you use the transformer already powering your old doorbell? Only if its ratings meet your Ring model’s requirements. An unsuitable supply can damage your device or cause an electric shock, so check compatibility before connecting anything.
Switch off the installation circuit at your breaker or fuse box before handling wires. If you’re unsure about the electrical work, call a qualified electrician. Your area may require one, along with a permit.
Use this table to compare your model with the listed AC transformer requirements.
| Your doorbell model | Voltage range | Power rating | Frequency |
|---|---|---|---|
| Ring battery doorbells and Video Doorbell Elite | 8 to 24 VAC | 5 to 40 VA | 50/60 Hz |
| Video Doorbell Wired | 10 to 24 VAC | 8 to 40 VA | 50/60 Hz |
| Video Doorbell Plus, Video Doorbell Pro formerly Pro 2, and Wired Doorbell 2K Plus | 16 to 24 VAC | 10 to 40 VA | 50/60 Hz |
| Wired Doorbell 4K Pro | 16 to 24 VAC | 10 to 40 VA | 50/60 Hz |
Here’s the thing. A compatible transformer answers the power question, but you still need to check your indoor chime. The parts you need depend on the exact doorbell and wiring arrangement.
- Pro Power Kit: If you’re wiring a Wired Doorbell Plus or Wired Doorbell Pro, you need this kit. Follow your model’s instructions for connecting it and keep it clear of the chime’s moving components.
- Chime bypass: With Video Doorbell Wired, you use the jumper cable to bypass your existing chime. That indoor chime will no longer sound when someone presses the button.
- Indoor sound alternatives: You can use a Ring Chime, Chime Pro or Echo with models that lack existing-chime support. Wired Doorbell 2K Plus and Wired Doorbell 4K Pro have Chime Kit Mini as an option, with a PoE exception for the 4K Pro’s existing-chime support.
- Older doorbells: Your first-generation Video Doorbell or Video Doorbell 2 needs a diode when paired with a digital chime. A direct AC transformer connection requires a resistor.
Prefer an outlet connection? Ring’s second-generation Plug-In Adapter supports battery doorbells and Video Doorbell Plus, Pro and Wired, but not Peephole Cam or Video Doorbell Elite. Select None or No Chime in your app’s In-home Chime menu when using this route.
Once you’ve confirmed your power supply and chime requirements, you’re ready to work through the nine installation steps.
How to Install Ring Doorbell in 9 Steps
Your installation depends on how you’ll power the doorbell. With a battery-only model, you’ll charge it, connect it through the app and complete the mounting steps. You can skip the old-button removal and chime work when you have no existing doorbell.
Using existing wiring? Follow the breaker, removal, chime and connection steps that apply to your model. With a plug-in adapter, follow the supported adapter connection instructions. One detail matters before you begin. Battery models can complete app setup before mounting, while hardwired-only models need installation and power before you can finish that process.
1. Charge the Battery Before Anything Else
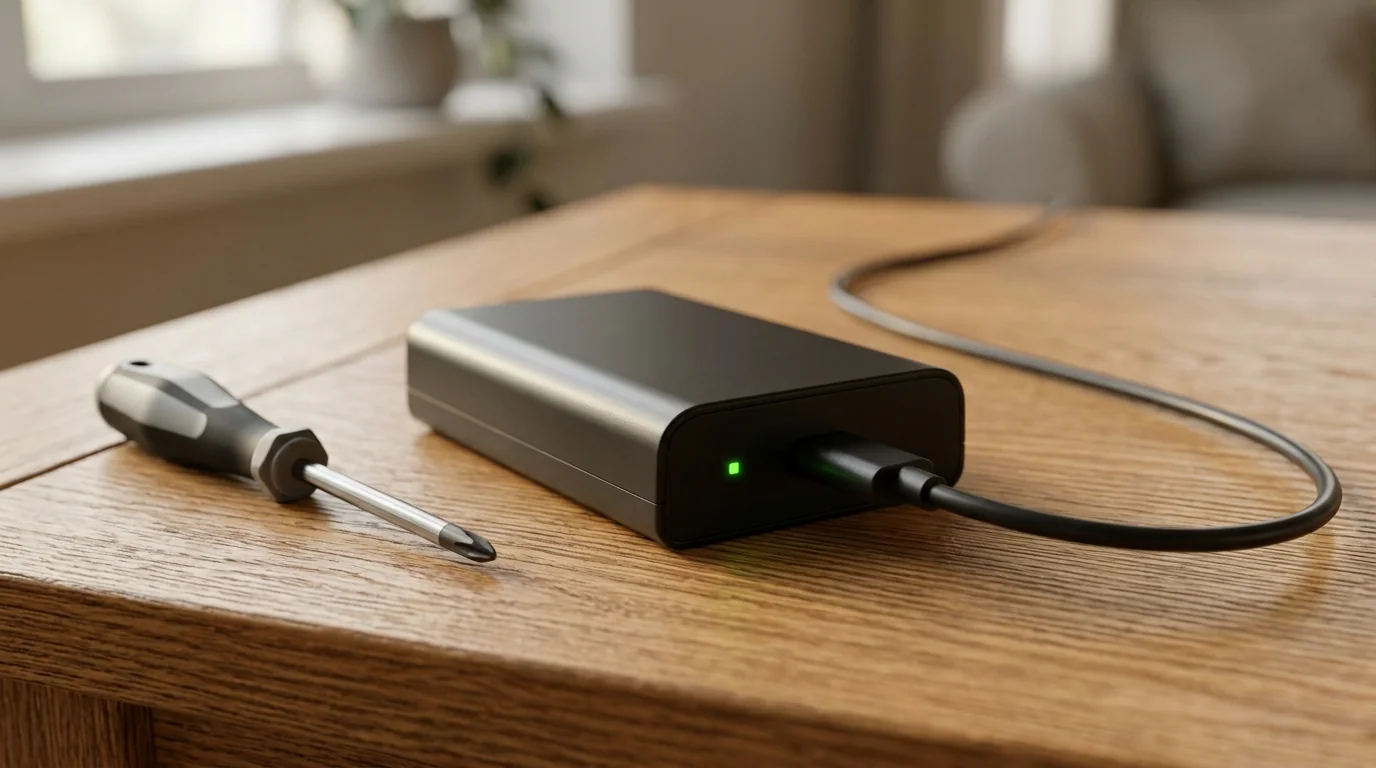
Start by fully charging your battery doorbell. This applies when you’re using solar power too, so don’t leave the initial charge for later. Your model’s battery design determines how you connect the cable and recognize a completed charge.
If your doorbell has a removable battery, undo the security screw beneath the faceplate and take the faceplate off to access it. Connect the charging cable and watch the battery’s indicators. You’re ready to move on when the green light is the only one still illuminated.
Have a built-in battery instead? Connect the supplied USB charging cable to the doorbell. Wait until the entire circular indicator lights up to show that charging is complete. If your model has no battery, skip this step and follow its wired installation instructions.
2. Set Up the Doorbell in the Ring App First
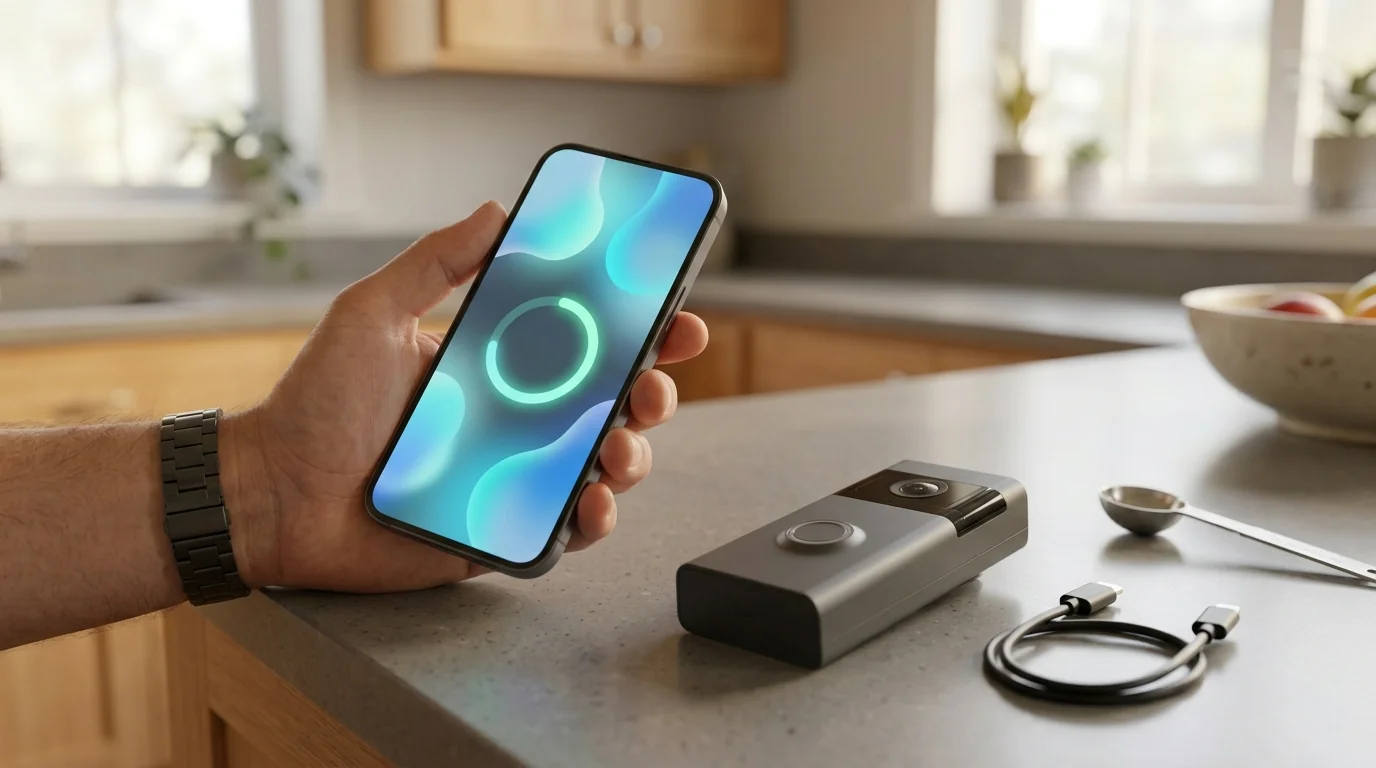
With your battery charged, open the Ring app and sign in or create your account. Keep your phone near the doorbell and have your home Wi-Fi password ready. You’ll use the app to identify the device and connect it to your network.
For a hardwired-only model, begin with the app’s preparation and installation tutorial. You’ll return to finish the network connection once the doorbell is installed and powered. For your battery model, work through the setup now.
- Add your doorbell: Tap Set Up a Device on the main dashboard. Scan the QR code behind your doorbell or beneath its removable faceplate. If scanning fails, use the manual setup option.
- Confirm your location: Choose an address already saved to your account or add a new Home or Business location. Check the map pin, confirm the address and save the location with a name.
- Name your device: Choose one of the suggested doorbell names or enter your own. Follow the preparation prompts for your model, including removing protective film where instructed.
- Start the temporary connection: Press your doorbell’s setup button. When its light ring spins white, select the matching confirmation in the app. Join the temporary Ring network on your iPhone or accept the connection prompt on Android.
- Find the Ring network manually if needed: Open your phone’s Wi-Fi menu and select the network beginning with Ring- or named Ring Setup. Then return to the Ring app to continue.
- Connect to your home Wi-Fi: Select your network and enter its password. Follow the audio and light prompts, then tap Continue when the connection finishes.
Your doorbell may then install a firmware update, which can take several minutes. Leave its power connected and don’t press the setup button during the update. Once setup is complete, open Live View to check the camera feed and video quality before mounting your battery model.
3. Switch Off Power at the Breaker
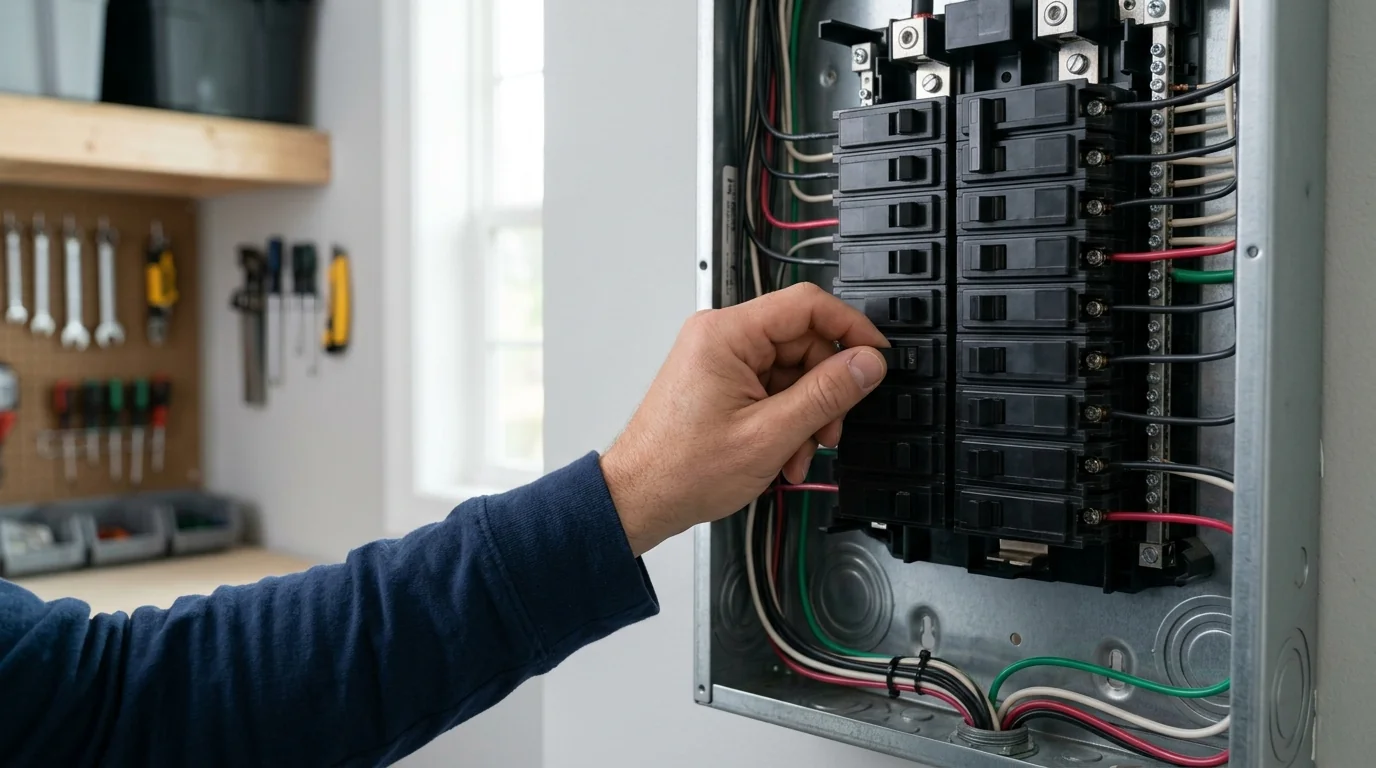
Ready to touch the existing wires? Switch off the relevant circuit at your breaker or fuse box first. Do this before removing the old button, opening the chime for wiring work or connecting your new doorbell.
This step applies even when you’re connecting a battery doorbell to an existing transformer for a trickle charge. The battery doesn’t remove the electrical hazard from those wires. If you’re installing on battery power alone and leaving household wiring untouched, you can skip the electrical work.
That said, you don’t have to handle wiring yourself. If you’re uncomfortable working inside the chime box, consult a licensed electrician, and check whether your area requires professional installation or permits. Keep the circuit off while you complete the wiring steps ahead.
4. Take Off the Old Doorbell Button
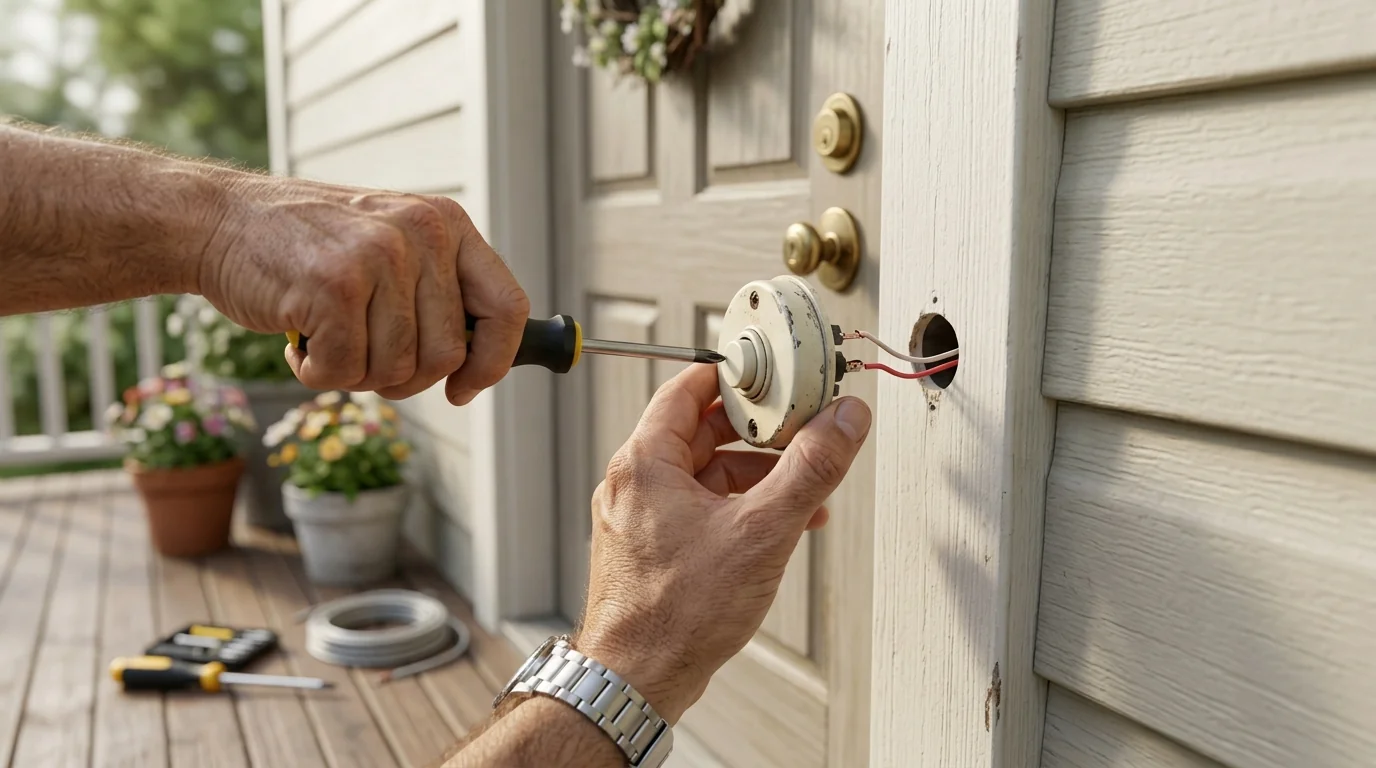
With the circuit switched off, undo the screws holding your old doorbell button to the wall. Remove the button and disconnect its wires, keeping the wire ends outside the wall opening.
Why keep those ends within reach? You’ll need them when you connect your new doorbell. Don’t let them slip back into the wall as you remove the old unit.
If you’re fitting Video Doorbell Wired, remove its faceplate before preparing it for mounting. Hold the edges and gently press the front to release it. You’ll put it back after securing the doorbell.
No existing button to replace? Skip this removal. Your next task depends on whether you’re working with an indoor chime or moving directly to wall preparation.
5. Prepare the Chime With the Jumper Cable or Pro Power Kit
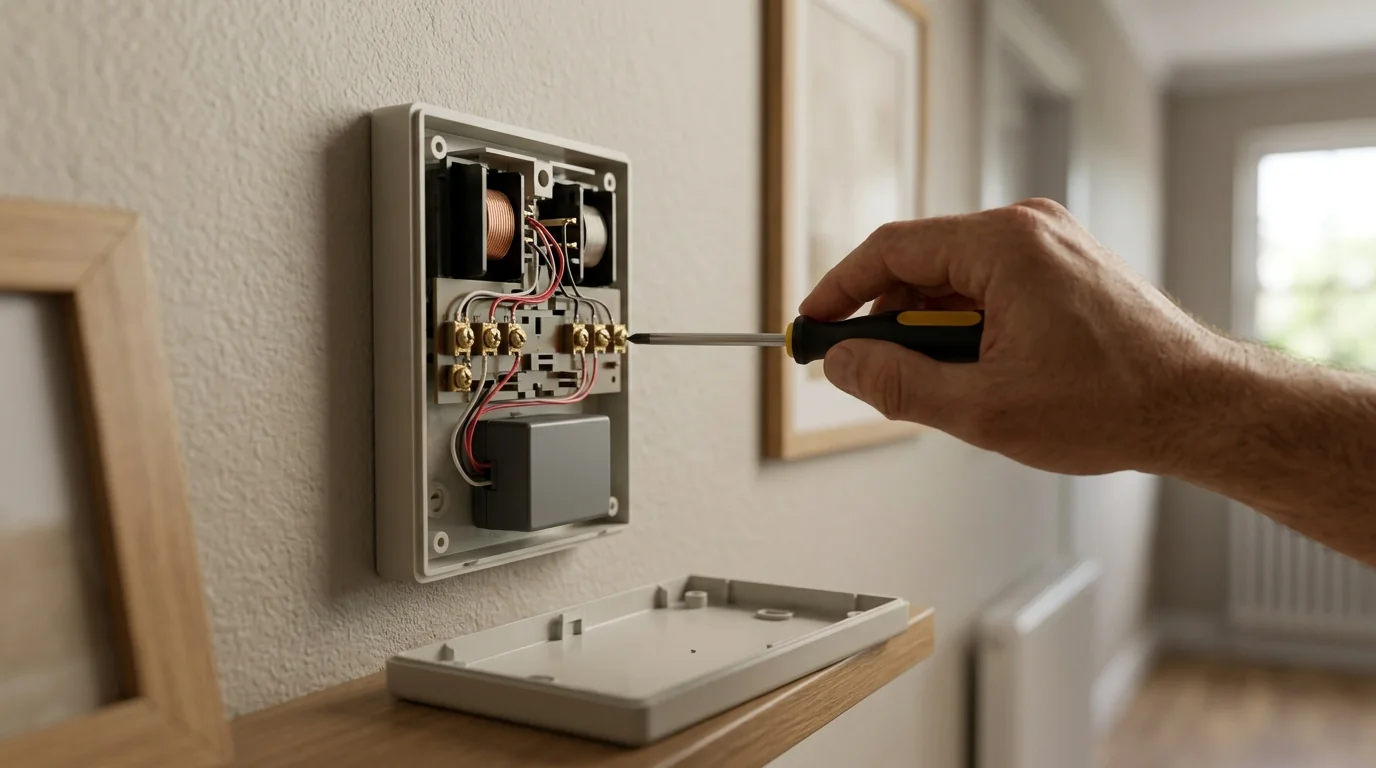
Keep the breaker off while you work inside your chime. Wired Doorbell Plus and Wired Doorbell Pro need a Pro Power Kit, while Video Doorbell Wired uses a jumper cable to bypass the old chime. These parts have different connection instructions, so follow the route for your exact model.
For a battery-only installation with no old button to remove or household wiring to change, skip steps 3 to 5. You can go straight to choosing the mounting position.
- Standard Pro Power Kit connection: Remove your chime cover and loosen the screws labeled Front and Trans without taking away the existing wires. Add one kit wire at each terminal beside the wire already there, then tighten both screws. Either kit wire can go to either terminal.
- Kit placement: Attach the Pro Power Kit inside your chime where it won’t interfere with moving components. Put the cover back once you’ve completed the connections.
- Pro Power Kit bypass mode: Where your model’s instructions require bypass mode, disconnect the Front and Trans wires and straighten their ends. Peel away the label covering the kit’s bypass terminals, insert the wires into those terminals and secure the kit.
- Video Doorbell Wired jumper: Use the supplied jumper cable to bypass your existing chime, following the connection instructions for that model. Your old indoor chime will no longer sound through this arrangement.
Here’s the thing. Bypass mode also needs the correct app choice. When you restore power later, select None or No Chime in your In-home Chime menu before pressing the doorbell button. For now, leave the circuit off while the remaining wiring work is unfinished.
6. Mark the Height and Prep the Wall
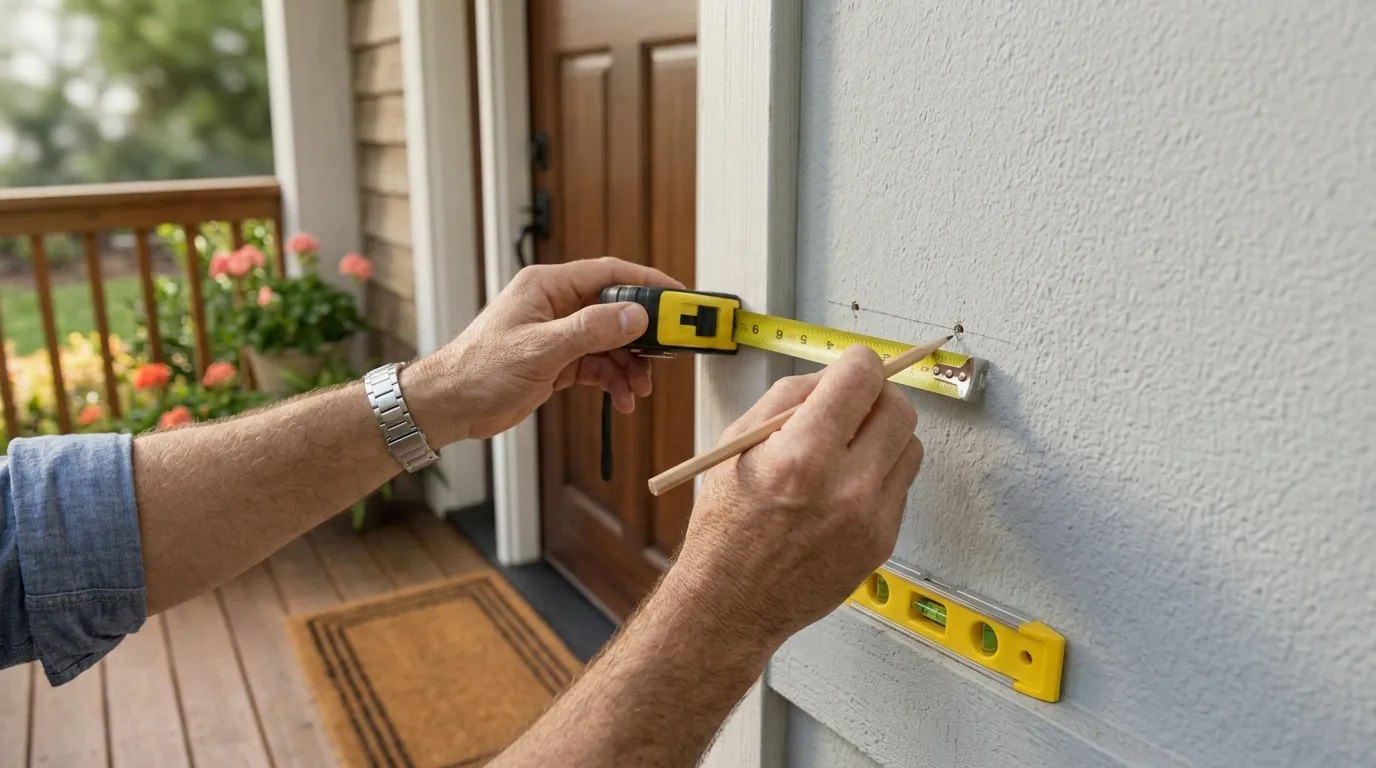
Position your doorbell roughly 4 feet, or 1.2 meters, above the ground. If your model includes a level tool, use it to keep the unit level while you indicate the mounting-hole positions with a pencil. Check the position before preparing any holes.
Using a Wedge Kit or Corner Kit? Install it before attaching the doorbell, along with any bracket your model requires. Your wall material determines what comes next.
- Wood: You generally don’t need pilot holes or wall anchors. Use the supplied screws for the mounting parts specified in your model’s instructions.
- Brick, concrete or stucco: Drill pilot holes at your penciled positions with a 1/4 inch or 6 mm bit. Insert the supplied anchors before fastening the bracket or mounting accessory.
- Video Doorbell 3 on wood or vinyl: You can use the optional adapter mounting plate with the included screws. Follow that model’s mounting instructions for your surface.
You don’t need to drill just because a bit appears on the tools list. Match the wall preparation to your surface, fit the required mounting parts and leave the doorbell ready for its power connection.
7. Connect the Wires or the Plug-In Adapter
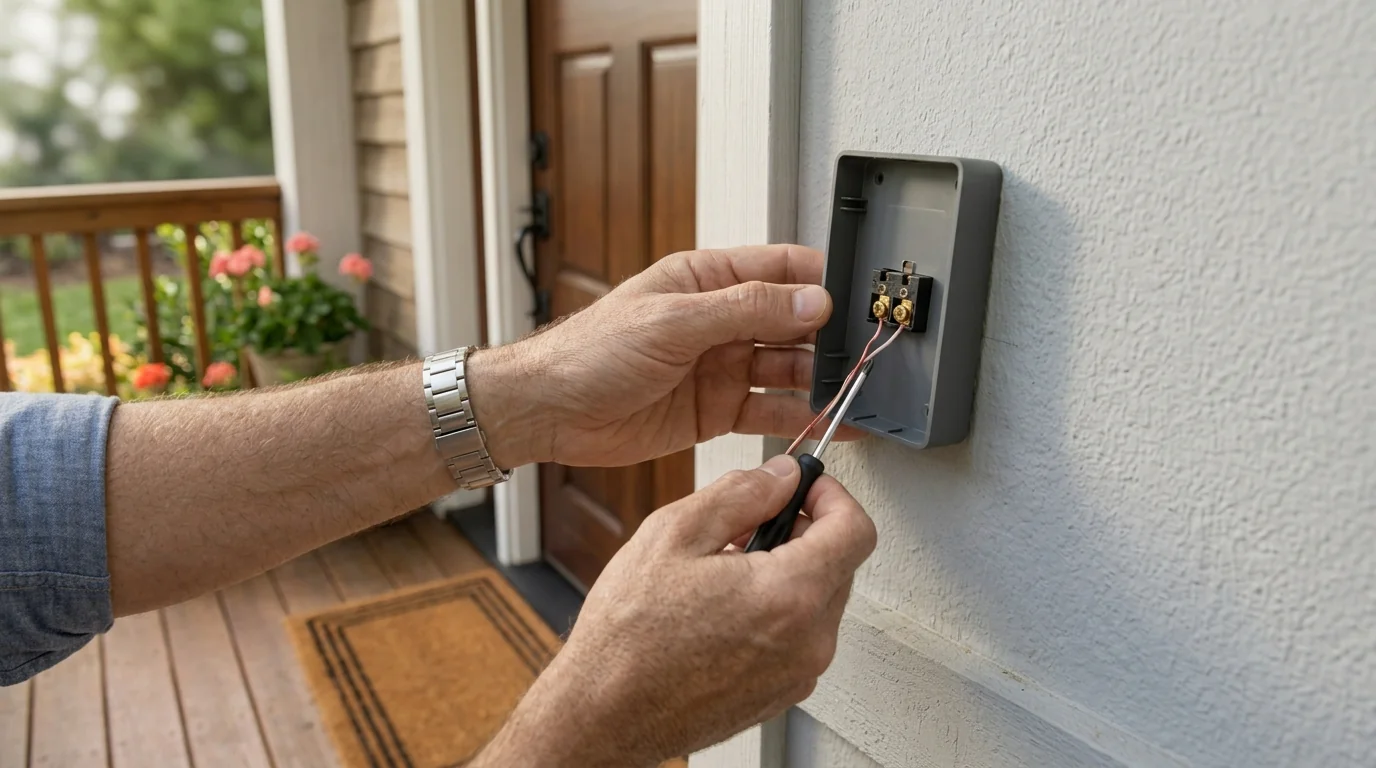
If you’re using existing doorbell wiring, keep the breaker off while making the connections. Place one wire under each terminal screw on the back of your doorbell, then tighten both screws to hold the wires in place. Your transformer and any required chime accessories should already match your model’s requirements.
Using a plug-in adapter instead? Pass its wires through the bracket or mounting accessories before attaching them to the rear terminals. Once the connections are secure, plug the adapter into an outlet and use cable clips to hold the cable in place.
For the adapter route, choose None or No Chime as your chime type in the app. Don’t expect the old indoor chime to ring through this connection. If you’ve used a bypass arrangement, make the required app change before pressing your doorbell’s button.
You can also connect a supported solar charger to your battery doorbell. Position the charger where it receives direct sunlight and connect it before mounting the doorbell. Here’s the thing. Use only one external power source, whether that’s compatible wiring, an adapter or solar. If you’re running entirely on the battery, skip these connections.
8. Mount the Doorbell on Its Bracket
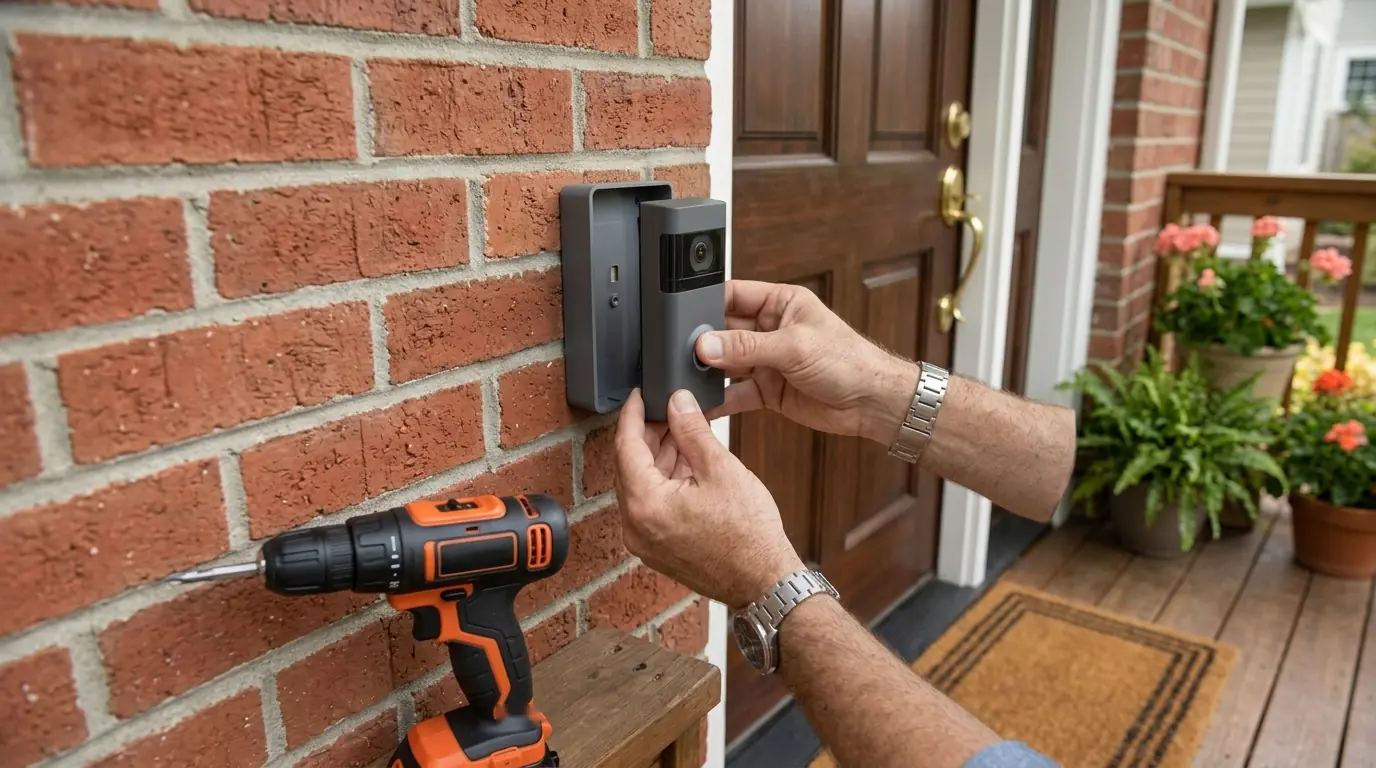
With your mounting surface prepared and any power connection complete, you’re ready to fasten the doorbell. If you’re using existing wall wiring, tuck the extra wire back into the wall opening before securing the unit.
Your battery design determines the mounting sequence. Follow the instructions for the type you have.
- Removable battery: Take the battery out before fastening the doorbell. Use the mounting screws from bag A for the wall installation, or the short bag C screws for a supported Corner Kit connection. Once the doorbell is secured, slide the battery back into place.
- Built-in battery: Fasten the bracket using the four supplied bag A screws. Engage the doorbell with the tab at the top of the bracket, then press the unit downward until it rests flush against the mount.
For Video Doorbell Wired, secure the unit to your prepared wall or its Wedge or Corner Kit after putting the excess wiring into the wall. You’ll then be ready to refit the faceplate. Keep the mounting hardware separate from the security screw you’ll use next.
9. Lock the Faceplate, Restore Power and Test It
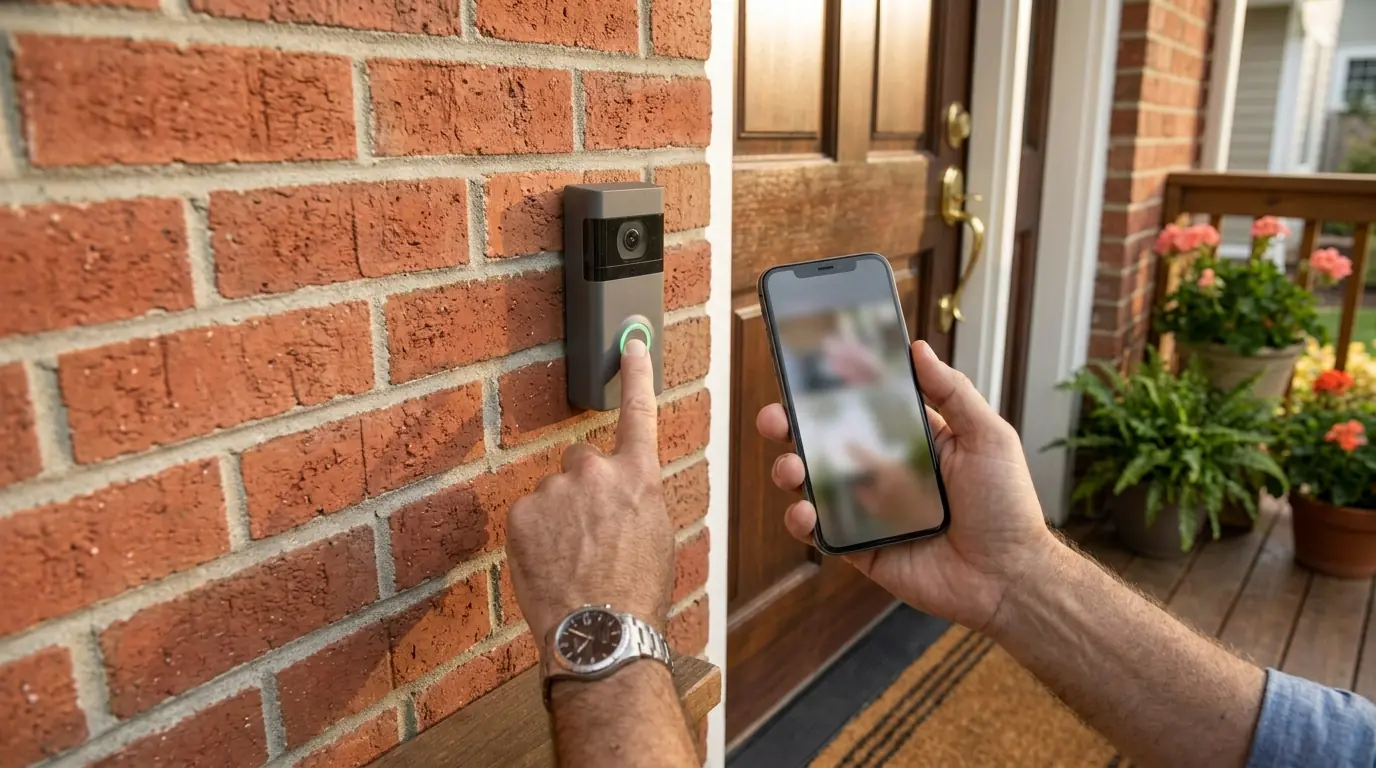
Refit your faceplate using the method for your model, then tighten the correct supplied security screw with the included tool. For Video Doorbell Wired, use its 3/16 inch security screw. Don’t substitute a mounting screw. The wrong screw can damage a battery, cause a fire and lead to serious injury.
Once the installation is complete, turn your breaker back on if you disconnected it earlier. Your wired doorbell needs a moment to start, and its light will illuminate when it’s ready. Finish any remaining Ring app setup, then open Live View to check the camera feed and video quality.
Does your model support the existing indoor chime? Test it through the app after choosing the correct chime type.
- Open your doorbell’s options: In the Ring app menu, select Devices, choose your doorbell and open the In-home Chime menu through its device options.
- Choose your chime type: Use automatic detection where available or select the appropriate mechanical or digital option. For an adapter, bypassed chime or direct transformer connection, use None or No Chime.
- Test a supported chime: Enable Ring my In-home Chime and press the doorbell button. Check that your indoor chime sounds as expected.
If your chime buzzes or fails to sound, review its selected type and the chime toggle. Switch off power before checking wiring or moving wires away from the chime’s working parts. Finish with both the camera feed and your supported chime tested.
Chime Buzzing or Silent After the Install?
Your doorbell is mounted, but the indoor chime buzzes, rings continuously or stays silent. What should you check? Start with the chime options in the app, then check the wiring with power disconnected. Reports from other owners include these symptoms, so work through the following checks before repeating the installation.
Match the App to Your Actual Chime
Open the Ring app menu, select Devices and choose your doorbell. From its device options, open the In-home Chime menu and check the selected type. If your chime uses a hammer and bell to make its sound, choose Mechanical. If it plays recorded tones through a speaker, use the appropriate digital option.
Here’s the thing. You shouldn’t assume the choice made during setup is correct. One owner reported a silent chime after setup treated it as digital. You can use automatic detection where available or choose the type manually. Select None when you use a plug-in adapter, bypass the chime or connect directly to a transformer.
Check Whether Your Indoor Chime Is Enabled
If your model supports your existing chime, look for the Ring my In-home Chime toggle in the same menu. Make sure it’s enabled, then press your doorbell button to test the sound. You need to check this option as well as the mechanical or digital chime selection.
Does enabling it make every old chime work? No. Video Doorbell Wired bypasses the existing chime, and several other models lack support for it. If that applies to your installation, use a supported Ring Chime, Chime Pro or Echo instead. Keep a bypassed installation set to None or No Chime before pressing the button.
Give the Chime’s Moving Parts Room
If the app choices are correct, switch off the circuit at your breaker or fuse box before opening the chime. Check whether a wire or the Pro Power Kit is touching the parts that move when the chime sounds. Your kit and its wiring need to sit clear of those components.
Reposition anything that interferes with that movement, then refit the cover before restoring power and testing again. If your chime still buzzes or sounds only partly, you’ll also need to review the wiring connections and transformer compatibility. Uncomfortable working inside the box? Have a licensed electrician handle those checks.
Check the Wiring Arrangement Before a Bridge Test
A screwdriver bridge test is another chime troubleshooting check, but it has an important restriction. You must not use it when your chime has been bypassed or your doorbell is connected straight to a transformer. Confirm your wiring arrangement before considering this test, even if you’ve already checked the app options.
The test involves making contact across the relevant terminals with a screwdriver. Follow the instructions for your exact device and wiring arrangement rather than guessing which terminals to touch or when power is required. If you cannot confirm those details, have an electrician perform the check. Keep power disconnected whenever you adjust wiring, and leave the bridge test out entirely for the excluded installations.
Setup Keeps Failing? Sort Out the Wi-Fi Side
Your doorbell gets almost through setup, then refuses to finish. Where do you start? Check your Wi-Fi band, security options, network name and distance from the router. Before retrying, update the Ring app and your phone, keep your Wi-Fi password ready and bring your phone close to the doorbell.
Try Your 2.4 GHz Network
If your 5 GHz network doesn’t appear in the app, select your 2.4 GHz network instead. Some Ring devices support both bands, while others work only with 2.4 GHz. You need to choose a network your exact model supports, even if your phone connects to 5 GHz without trouble.
You’ll find forum reports of second-generation Ring doorbells getting stuck around 95 percent through setup, with users reporting success after changing to 2.4 GHz. That gives you a useful next check when setup stalls near the end. Select the compatible network, enter its password and follow the app’s connection prompts again.
Check the Security Type Behind the Error
Seeing an Incompatible Network message? Your network may use an encryption type the doorbell doesn’t support. WPA3 can cause this problem with Video Doorbell 3, 3 Plus, 4 and certain Ring cameras. Check your router’s wireless security options before repeating the same connection attempt.
You can change the network to WPA2-Personal and disable PMF, or use a separate 2.4 GHz network with WPA2 for the doorbell. Here’s the thing. You need compatible security as well as a supported Wi-Fi band. Choose the suitable network in the Ring app and retry setup after making the change.
Remove Symbols From Your Network Name
Look at the name of the Wi-Fi network you’re trying to join. If it contains spaces, apostrophes or other symbols, remove those characters through your router’s Wi-Fi options. Ring includes this check among its troubleshooting steps for repeated setup failures.
Then return to the app, choose the renamed network and enter the Wi-Fi password. Keep the network name and password separate in your checks, since this change concerns the name you select from the available networks. If setup still fails, continue with the other checks rather than assuming the name was the only problem.
Check the Distance to Your Router
Is your doorbell far from the router? Ring recommends an extender such as Chime Pro or a mesh router when distance is a problem. Keep your phone close during setup too, as instructed when joining the doorbell’s temporary Ring network.
That said, distance is only one thing to check. If setup keeps failing after you review the network, confirm that your battery doorbell is charged or your wired model has a suitable power supply. You can also try another phone, power-cycle the device or perform a factory reset by holding its setup button for 20 seconds. Don’t interrupt power or press that button while a firmware update is running.
Doorbell Won’t Power On or Sit Flat on the Bracket?
Your doorbell won’t start, or it refuses to sit flush against its mount. What should you check first? Confirm the power supply, review the connections and check how your model attaches to its bracket. Leave a reset until you’ve worked through those checks.
Compare Your Transformer With Your Model’s Requirements
Check your transformer’s voltage and VA rating against the model table earlier in this guide. Your doorbell needs a supply within its listed range. If you’re using a battery model, confirm that the battery is charged before treating the problem as a wiring fault.
In forum discussions, owners suggest checking voltage at the doorbell wires with a multimeter and confirming that it stays stable. One Pro 2 installation report described success after replacing the transformer with a higher-rated 16 to 24 VAC unit. That doesn’t make it the right replacement for every model. If you’re unsure about testing or replacing the supply, use a qualified electrician.
Recheck Connections at Both Ends
Switch off the circuit before inspecting your wiring. Check the connections behind the doorbell and inside the chime, including the Pro Power Kit where required. At the doorbell, each rear terminal should hold one wire securely beneath its screw.
Follow the connection instructions for your exact installation when checking whether wires have been connected incorrectly. With a standard Pro Power Kit connection, its wires attach beside the existing wires at Front and Trans, and either kit wire can use either terminal. Bypass mode uses a different arrangement. Check which method your model requires before moving anything, then replace the chime cover before restoring power.
Seat the Doorbell Using the Correct Mounting Method
If your built-in-battery doorbell won’t latch, check how it meets the bracket. Engage the upper tab first, then press the unit downward until it sits flush. Forum users have reported difficulty getting a doorbell to latch even when the bracket appeared flat, so review the attachment sequence.
Keep excess wall wiring out of the way by feeding it back into the opening before mounting. Check that you’ve used the mounting screws specified for your bracket or accessory. A removable-battery model follows a different process, with the battery taken out while you fasten the unit and reinserted afterward. Use your model’s mounting method before fitting the faceplate security screw.
Retry Setup After Checking the Power
If your doorbell has power but setup still fails, you can try a power cycle or factory reset. Forum users describe turning the breaker off and back on during troubleshooting, while Ring also lists restarting and resetting among its setup checks. Confirm your battery charge or wired supply requirements before retrying.
To perform the listed factory reset, hold your doorbell’s setup button for 20 seconds, then follow the app’s setup process again. Don’t disconnect power or press the setup button while a firmware update is running. Your next move depends on what remains wrong, so finish the power and mounting checks before repeating app setup.
